6 installing and operating a single vs-162avm, Installing and operating a single vs-162avm – Kramer Electronics VS-162AVM User Manual
Page 14
KRAMER: SIMPLE CREATIVE TECHNOLOGY
Installing and Operating a Single VS-162AVM
10
6
Installing and Operating a Single VS-162AVM
To install the VS-162AVM, connect the following
•
Video input and output cables
required:
•
Audio input and output cables
•
Control interface cables between switcher units, or PC (or other
•
Set the DIP-switches, as section
•
Power cord
•
Set the system variables using the MENU function, as section
describes
By default, the VS-162AVM is setup for use as a single machine. This
means that it is:
•
A 16x16 composite video switcher and a 16x16 balanced stereo
audio switcher are set to function by default, in the audio-follow-
video mode
•
Switched during the vertical interval of the external reference
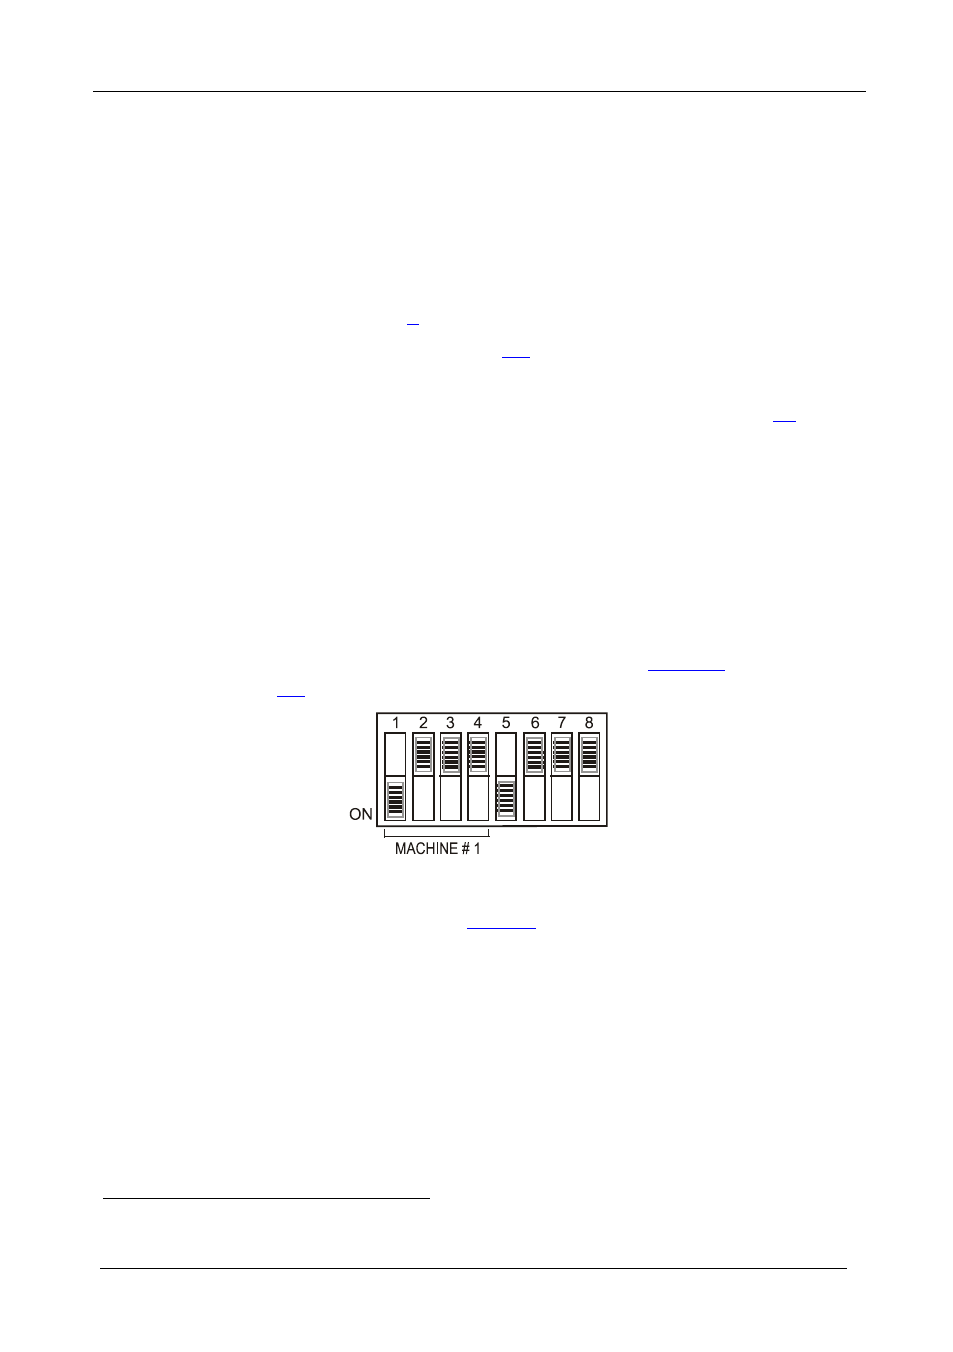
In particular, be sure that the DIP-switches are set as
Figure 2: Default DIP-Switch Setup on a Single Machine
To operate a single machine, see
1 Switch OFF the power on each device before connecting it to your unit