Attaching the access point to the top panel – Allied Telesis AT-TQ2450 User Manual
Page 41
AT-TQ2450 Wireless Access Point Installation Guide
41
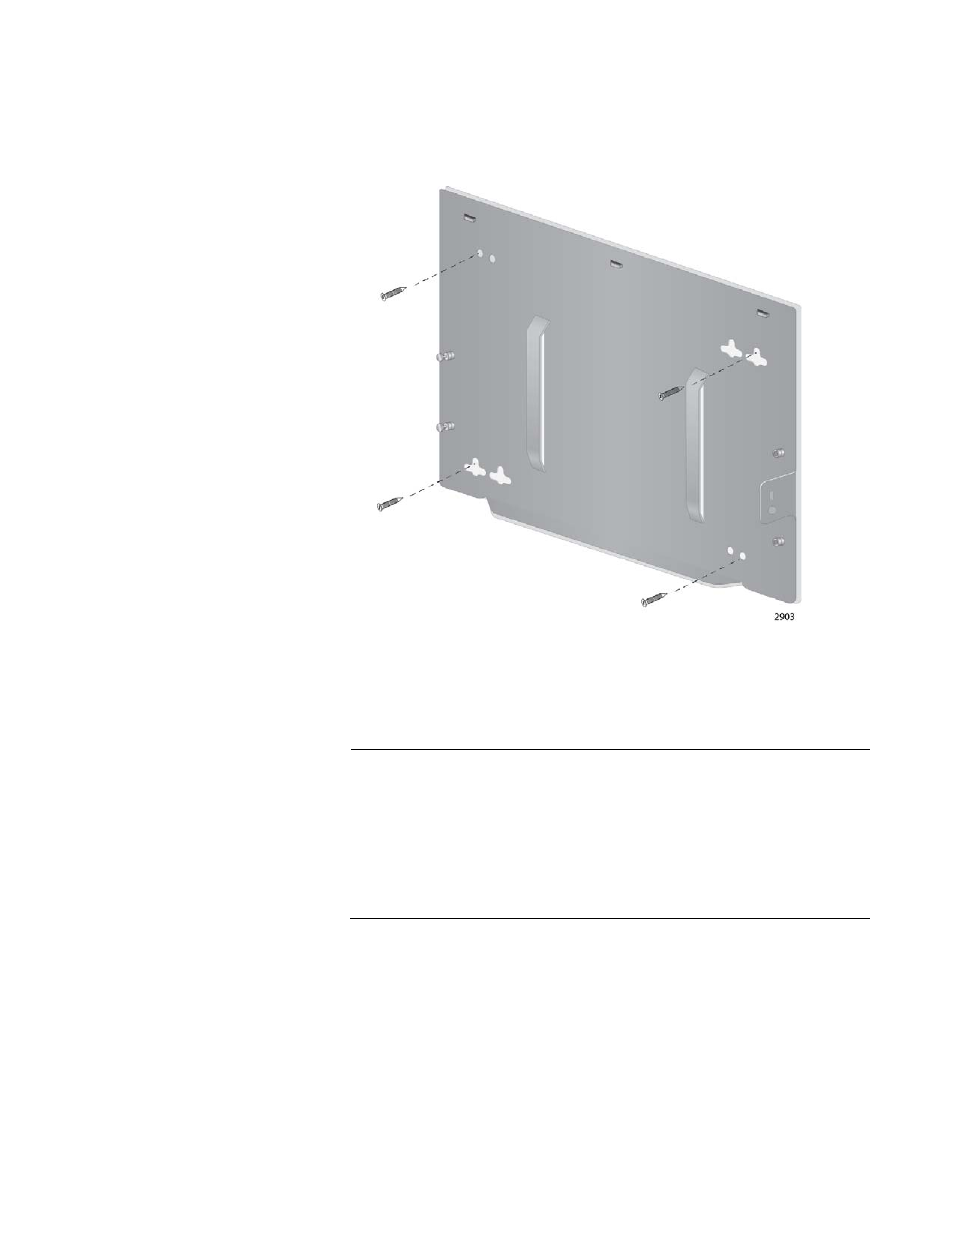
4. Have someone hold the panel at the selected wall or ceiling location
while you secure it to with four self-tapping screws (not provided with
the access point). Refer to Figure 18.
Figure 18. Attaching the Bottom Panel to the Wall or Ceiling
Attaching the
Access Point to
the Top Panel
The following procedure explains how to attach the access point to the top
panel of the AT-BRKT-J26 Bracket.
Note
In the following instructions, the antennas are not installed until the
access point is installed on the wall or ceiling. However, you may
install the antennas at any point in the installation. In fact, if you are
installing the access point in a corner, it may be necessary to install
the antennas earlier, such as immediately after the unit is installed
on the top panel, but before it is installed on the bottom panel on the
wall or ceiling.
1. Place the AT-TQ2450 Access Point upside down on a table or desk,
with the rear panel facing you. Refer to Figure 19 on page 42.