Setting the stack id number, Starting a local management session – Allied Telesis 8100S Series User Manual
Page 95
Stand-alone Switch Installation Guide for 8100L and 8100S Series Switches
95
Setting the Stack ID Number
After the switch has initialized its management software, examine the
Stack ID LED on the front panel and do one of the following:
If the LED is displaying “0,” the installation procedure is complete.
The switch is now ready for network operations as a stand-alone
unit. Refer to the AT-8100 Series AlliedWare Plus Command Line
Interface User’s Guide for instructions on how to configure the
operating parameters.
If the LED is displaying a number other than “0,” perform the
following procedures to change it.
You may set the stack ID number from a local management session of the
switch using the Console port or, because the switch has a factory IP
address, from a Telnet management session from any of the unit’s
networking ports. If you prefer to use the Console port, go to “Starting a
Local Management Session,” next. To use the Telnet application protocol,
go to “Starting a Telnet Management Session” on page 96. (You cannot
use the web browser management interface to change the switch’s stack
ID number.)
Caution
Setting the stack ID number resets the switch. Some network traffic
may be lost if the device is already connected to a live network.
Starting a Local
Management
Session
This procedure requires a terminal or a terminal emulator program and
the management cable that comes with the switch. To start a local
management session on the switch, perform the following procedure:
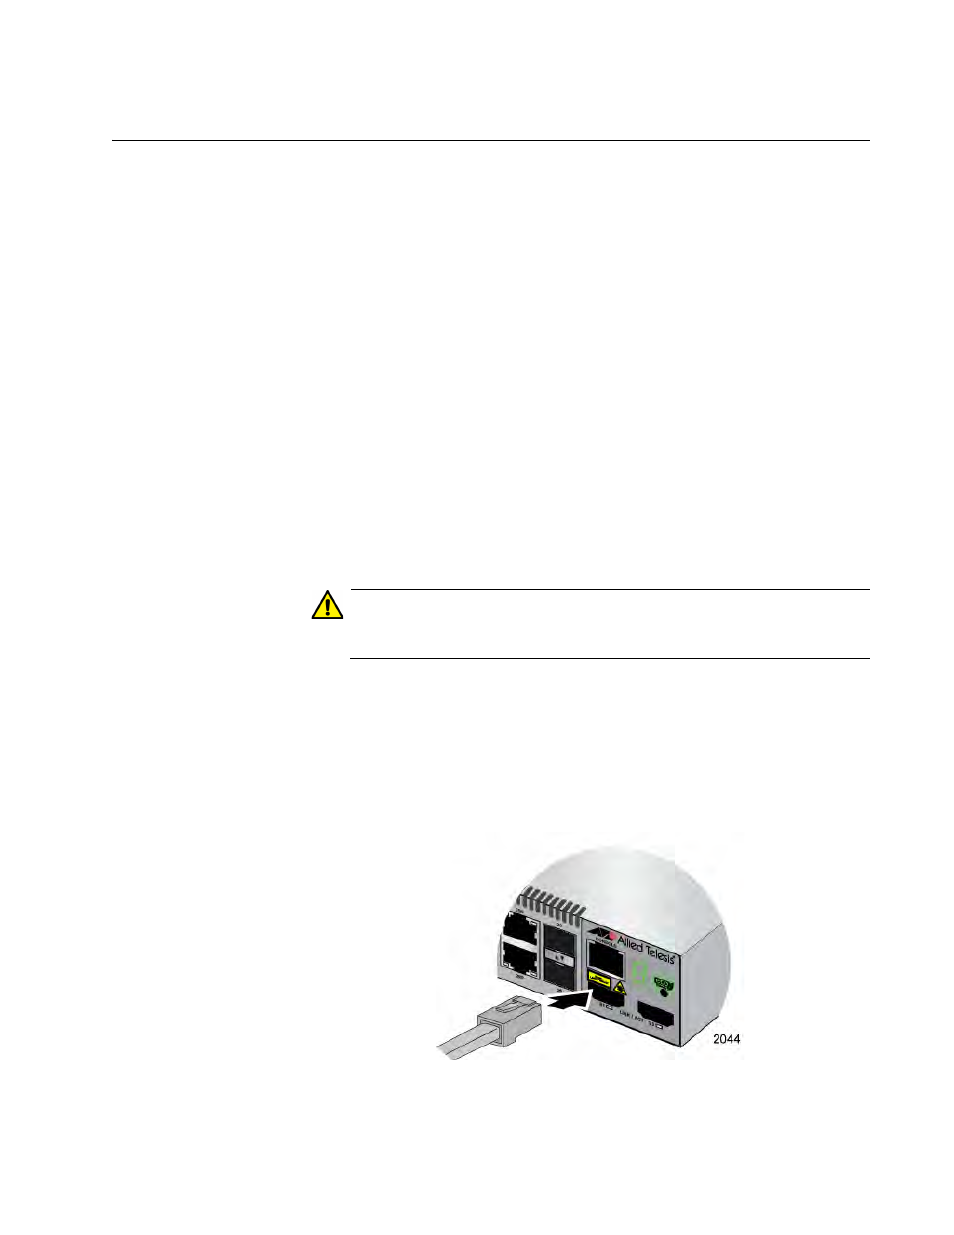
1. Connect the RJ-45 connector on the management cable to the
Console port on the front panel of the switch.
Figure 40. Connecting the Management Cable to the Console Port