Ashcroft ATE-2 - Handheld Calibrator User Manual
Page 16
14
Prior to removing the HHC from the packaging material, inspect
all cartons for shipping damage. Document any damage evident
in the event that a damage claim must be made against the ship-
per. After inspection, remove the base unit, module(s), manual
and any accessories purchased from the packaging material.
Retain the packaging for use in returning the HHC to the factory
for future calibration or repair.
Store in an area that is maintained in the temperature range
indicated in the storage temperature in the product specification,
-4/+158F (-20/+70C). Storage of product in environments that
will exceed this temperature limit increases the risk of product
damage.
Note: It is recommended that the product not be left in closed
cars or truck cabs as temperature damage can easily occur due
to drastic temperature changes.
Clean with a cloth moistened with a warm water/ mild detergent
mixture.
1. To gain access to the battery compartment, loosen the strap
assembly by detaching the Velcro connection and move the
strap to the side to allow access to the Phillips head screw on
the battery cover door.
2. Open the battery compartment by loosening the Phillips head
screw located in the battery compartment door immediately
above the product label.
3. Using thumb and forefinger gently lift battery door up and
toward the top of the calibrator to remove door.
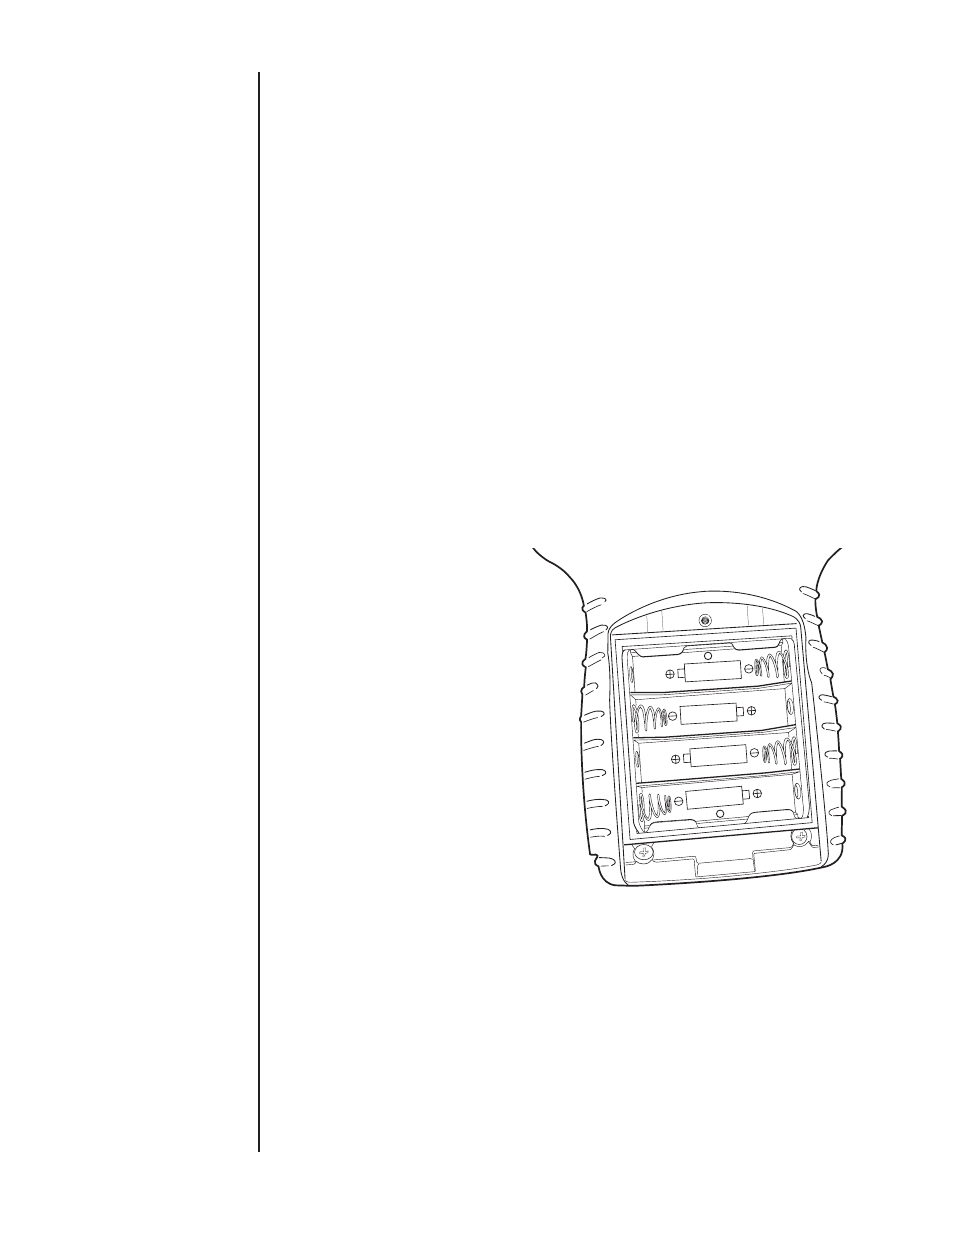
4. I nstall four new AA Alkaline batteries. (Only Duracell Alkaline
part number MN1500 for I.S. units.) Observe polarity markings
to install batteries correctly. Never mix old and new batteries.
5. Reinstall battery door. Be sure that the lower latch tab is
engaged beneath the clasp hook to ensure proper watertight
sealing of the battery compartment.
6. Tighten Phillips head screw in top of cover.
7. Replace strap by tightening strap and secure with Velcro.
Note: if unit will be stored for six months or more be sure to
remove batteries before storage to prevent possible battery
leakage.
SIZ
E “
AA
” O
R E
QU
IV
OR
U
M-3
X4
SECTION 7
UNPACKING
SECTION 8
STORAGE
SECTION 9
CLEANING
SECTION 10
BATTERY INSTALLATION