P.76 – Canon imagePROGRAF iPF9400S User Manual
Page 76
13
Confirm the print settings and print as desired.
Note
•
For tips on confirming print settings, see "Confirming Print Settings
Resizing Originals to Match the Paper Size (Mac OS X)
Resizing Originals to Match the Paper Size (Mac OS X)
This topic describes how to enlarge originals before printing to match the paper size, based on the following example.
•
Document: Any Type
•
Page size: A4 (210.0 × 297.0 mm [8.3 × 11.7 in])
•
Paper: Roll paper
•
Paper type: Plain Paper
•
Roll paper width: A2/A3 roll (420.0 mm [16.5 in])
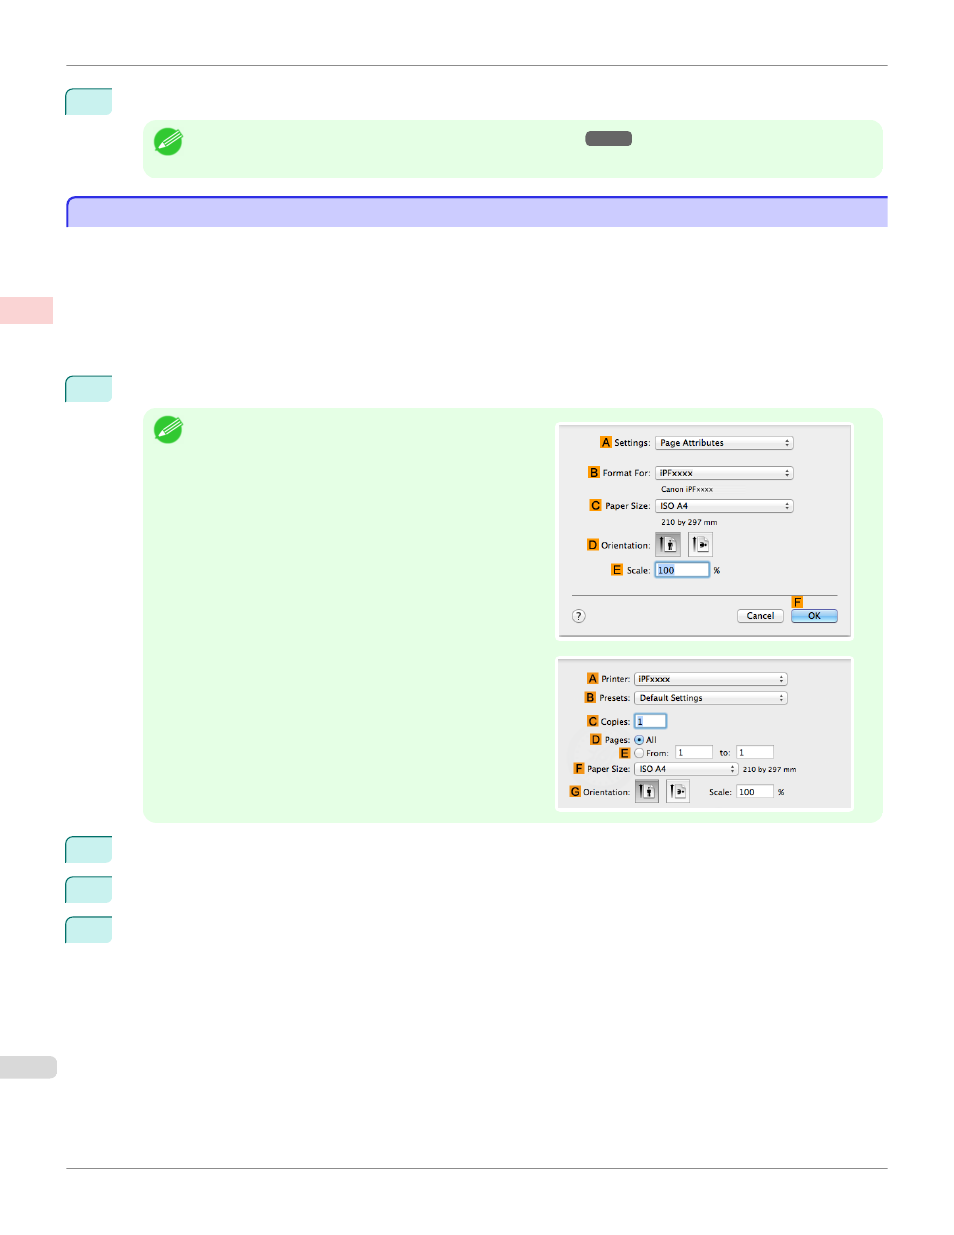
1
This sets the
B
Format for and
C
Paper Size.
Note
•
The configuration method varies depending on the OS and
application software you are using.
If Page Setup is displayed in the application menu, the set-
tings are configured by opening the Page Attributes dialog
box from Page Setup.
If it is not displayed, the settings are configured in the up-
per part of the printer driver displayed when you select
Print from the application software menu.
2
Select the printer in the
A
Printer list.
3
In the
F
Paper Size list, click the size of the original. In this case, click ISO A4.
4
If you configured the settings using the Page Attributes dialog box, click
F
OK to close the dialog box, and
then select Print from the application software menu.
Resizing Originals to Match the Paper Size (Mac OS X)
iPF9400S
Enhanced Printing Options
Printing enlargements or reductions
76