P.498 – Canon imagePROGRAF iPF9400S User Manual
Page 498
4
Drag the slide bar in the direction of Low in Saturation.
5
Drag the slide bar in the direction of Warm Black in Gray Tone.
Note
•
You can change the numbers by inputting in numerical characters.
•
You can change the numbers by clicking either ▲ button or ▼ button.
6
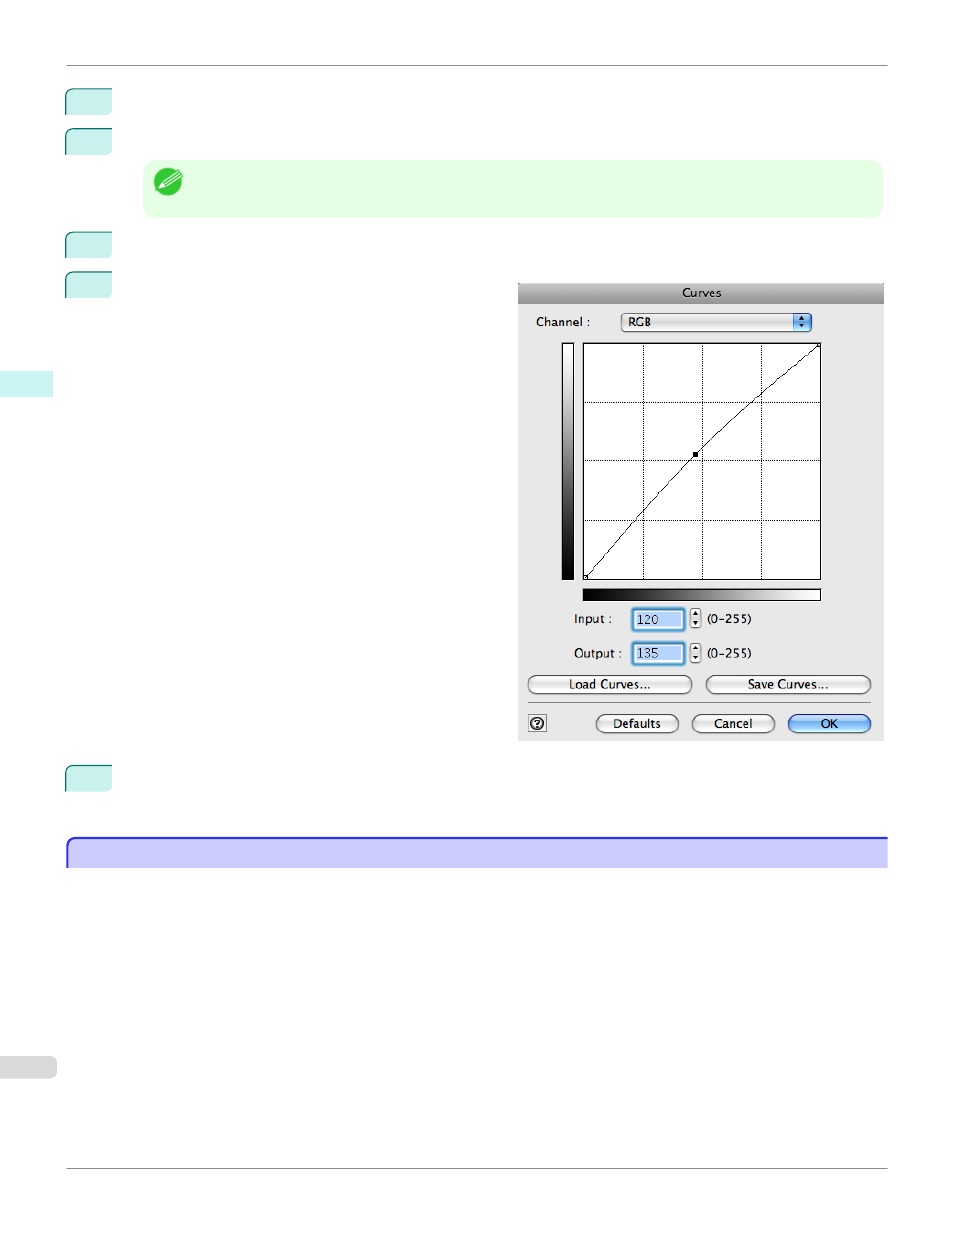
Click the Curves button then click near the center of the curve.
7
Enter 120 in Input and 135 in Output then click the OK
button.
8
Click the Print button.
The adjustments are reflected in the image and printing begins.
Adjust the Colors while Checking the Preview (for Monochrome)
Adjust the Colors while Checking the Preview (for Monochrome)
You can adjust the colors while checking the adjustments in the preview.
The following explanation is about the procedures for adjusting example image below.
•
Low for Contrast
•
Light for Highlight
•
Light for Shadow
•
Enhance brightness for the curves
Adjust the Colors while Checking the Preview (for Monochrome)
iPF9400S
Mac OS X Software
Print Plug-In for Photoshop / Digital Photo Professional
498