Testing lpr connections – Milestone Analytics 2.2 Dacolian LPR User Manual
Page 25
Milestone XProtect Analytics 2.2 – Dacolian LPR; Administrator’s Manual
www.milestonesys.com
Page 25
Dacolian LPR Administrator
11. Save the settings by clicking the Save button in the settings editor’s lower part. You will be
asked to specify a name for the settings file. Give the file the same name as your LPR
connection (you specified this name in step 2), and save the file in the folder containing
your Milestone XProtect Analytics license plate recognition software.
Example: If you specified settings for a configuration named MyConnection, save the file as
C:\Program Files\Milestone\Milestone XProtect
Analytics\plugin\DacolianLPR\MyConnection.txt.
12. Close the settings editor by clicking OK in the settings editor’s lower part. You are now
returned to the XProtect Analytics Administrator application.
13. Save your new settings by clicking the Save button in the Administrator application's
toolbar.
Note that when certain settings have changed, the LPR Server service must be restarted.
To verify whether this is required, look at the LPR Server service
status indicator in the bottom right corner of the Administrator
application.
In case restart is required, click the Restart LPR Server button in the Administrator
application's toolbar.
If you want to add further LPR connections, repeat steps 1-13 for each new LPR connection.
Testing LPR Connections
Once you have added LPR connections, you are able to quickly test each of your LPR connections in
order to verify that they work properly.
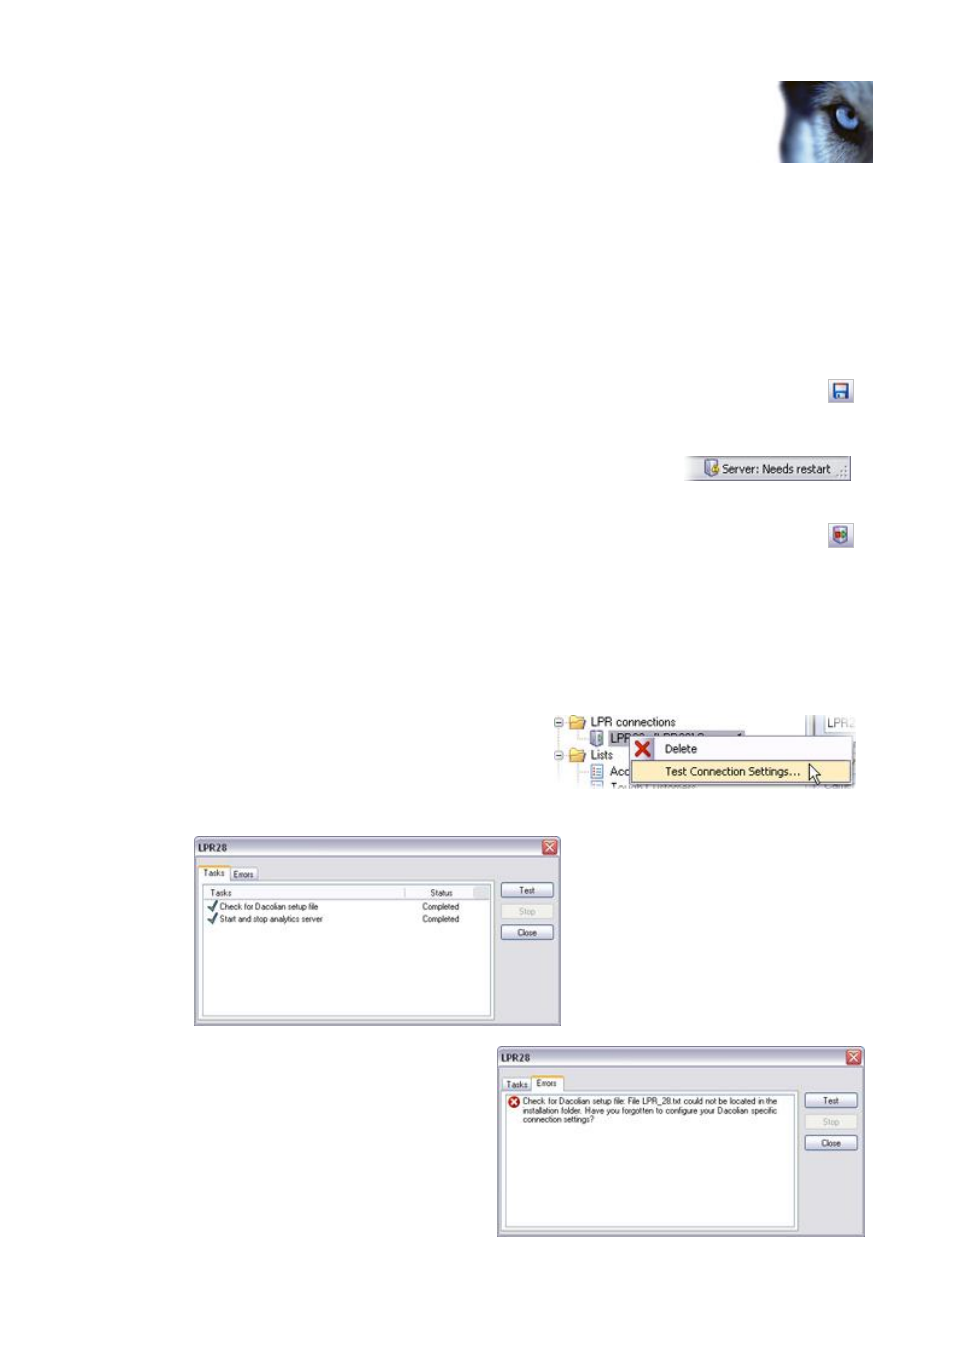
1. In the Administrator application, expand the
LPR connections folder, right-click the required
LPR connection, and select Test Connection
Settings...
2. The test will begin. A small window lets you monitor the progress of the test.
If any errors are detected during the
test, details about the error are
available on the test window's Errors
tab.