Specifying lpr connections – Milestone Analytics 2.2 Dacolian LPR User Manual
Page 22
Milestone XProtect Analytics 2.2 – Dacolian LPR; Administrator’s Manual
www.milestonesys.com
Page 22
Dacolian LPR Administrator
Specifying LPR Connections
Once XProtect Analytics has information about which surveillance system server(s) it should
connect to, and hence which cameras are available, you can specify LPR connections. LPR
connections define the exact analytics configuration for each camera you are going to use for
license plate recognition.
Tip:
In order to complete the following steps, the camera you are going to use for the LPR
connection must be able to capture license plates. You will need this because you are going to
capture a reference image, and base your further configuration on this image. If the camera is not
physically positioned at a location with frequent traffic, you may consider having a colleague help
you by driving a vehicle into the area covered by the camera's angle of view.
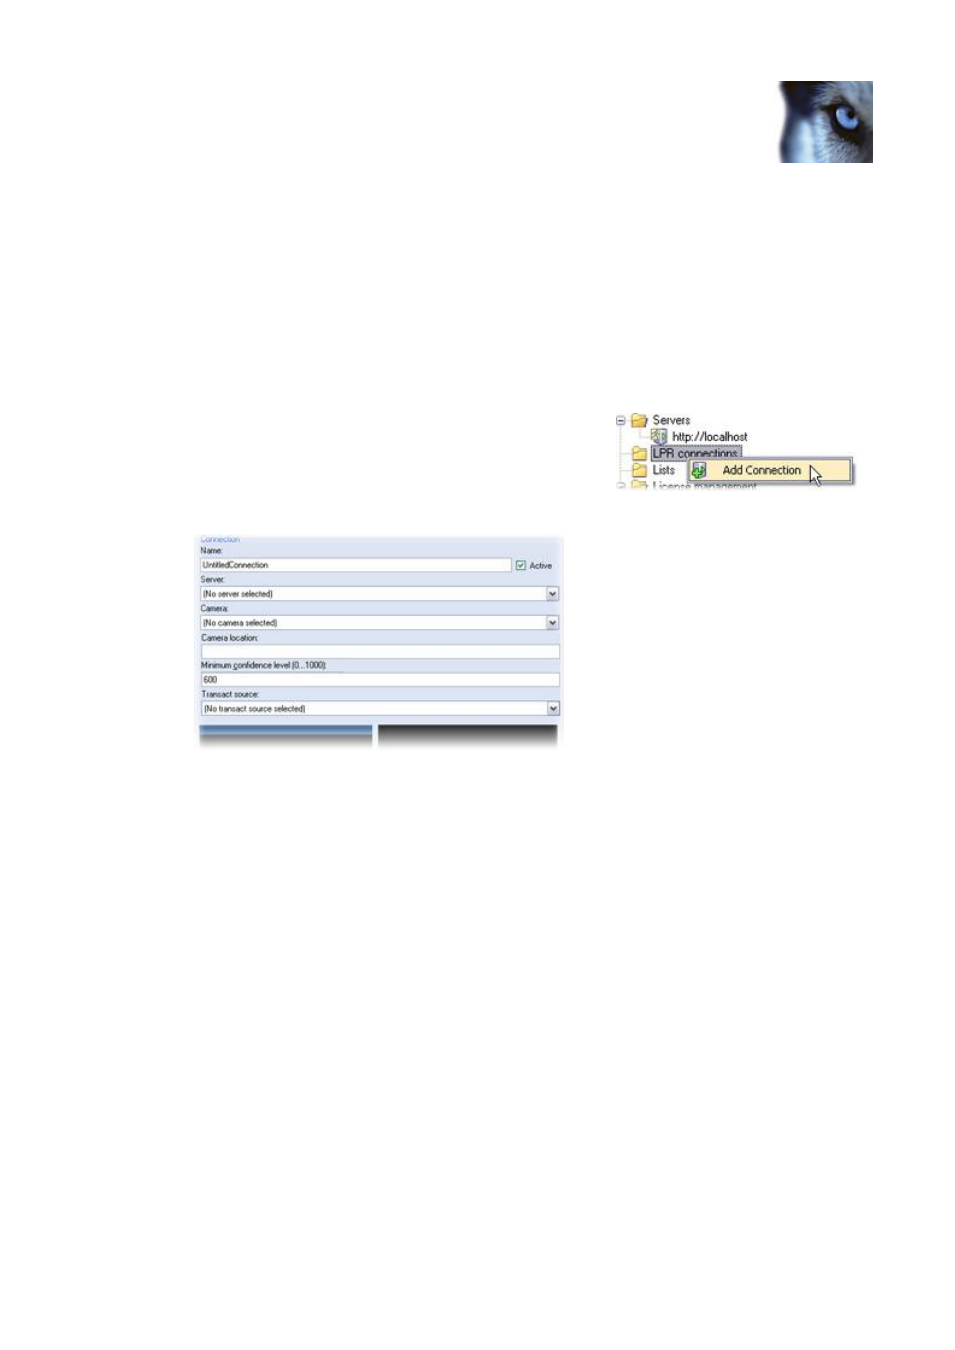
1. In the Administrator application, right-click the LPR
connections folder, and select Add Connection.
Tip: Alternatively, press ALT+F2 on your keyboard.
2. Now you are able to specify information about the required surveillance system server.
Name: Type a descriptive name for the LPR connection. If in doubt, choose a name
which refers to the location of the camera you are going to use for the connection.
Do not use spaces or the following special characters: ! \ ? " * : < > [ ]
Active: Lets you select whether the connection should be active or not. A
connection must be active in order to be used for license plate recognition.
Tip: You can only use as many LPR connections as allowed by your Connection
License Key (CLK, see page 29), but by making some of your LPR connections
inactive, you can add more LPR connections. If you do not need to use all of your
LPR connections at the same time, this can give you the freedom to switch between
using different active LPR connections.
Server: Select the required surveillance system server from the list. The list will
reflect the surveillance system servers you have previously specified (see page 20).
By selecting a surveillance system server you are subsequently able to select a
camera connected to the server.
Camera: Select the required camera.
Tip: Provided you have a working connection to the surveillance system server and
the selected camera, live video from the selected camera will be displayed in the
left of the two reference image positions below the fields.