LumaSense Technologies INNOVA 1412i User Manual
Page 82
Chapter 7
______________________________________________________________________
_____________________________________________________________________________
BE6025-15
1412i Photoacoustic Gas Monitor
LumaSense Technologies A/S
Page 82 of 202
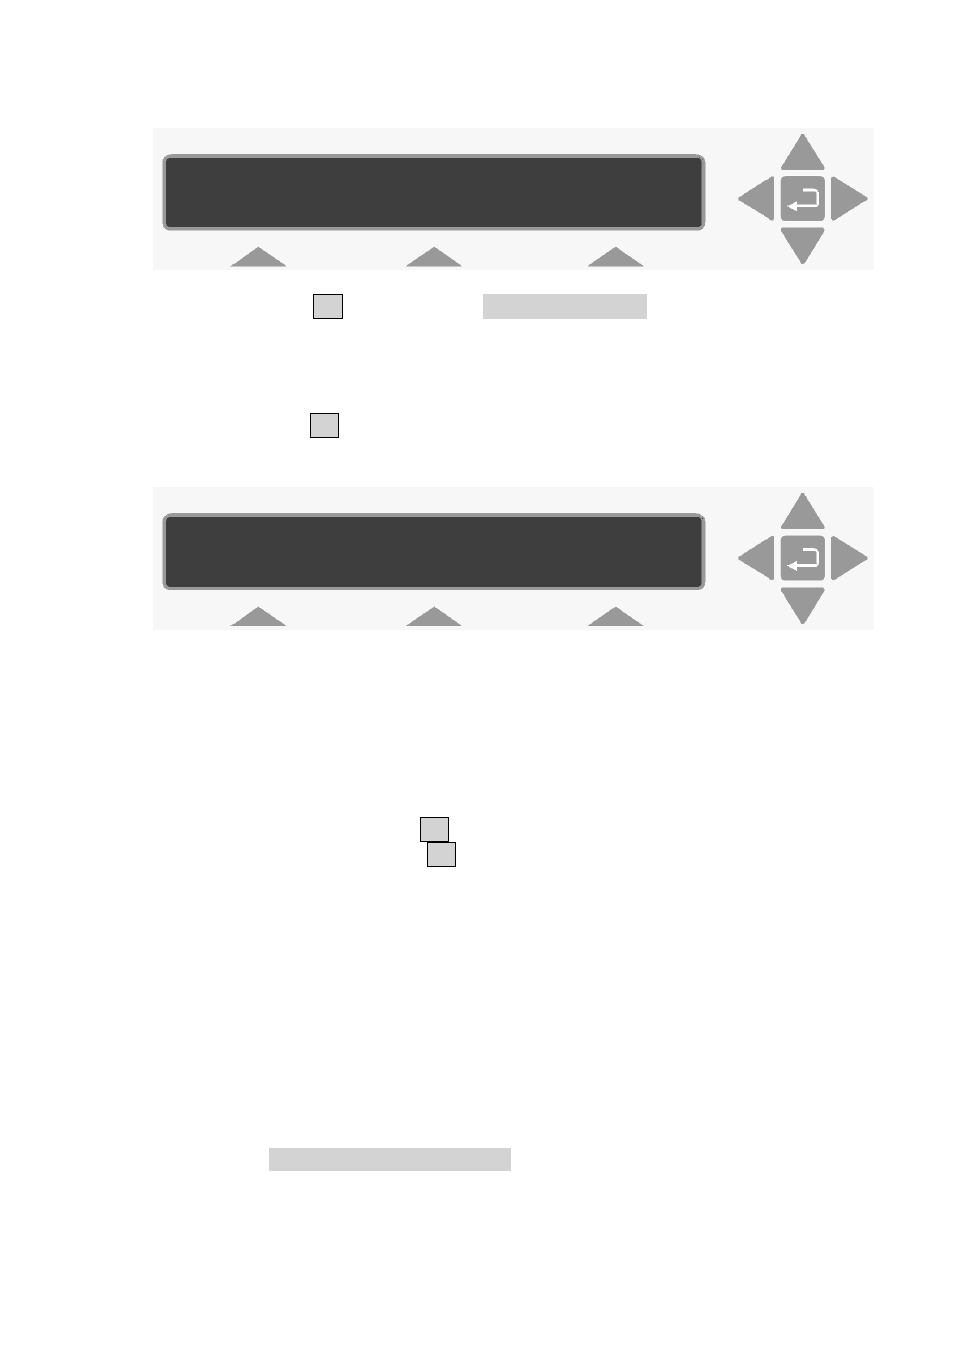
1.
Press S1 to enter the MEASUREMENT branch. The new text
displays two branches.
Monitoring Task branch
2.
Press S1 to enter the Monitoring Task branch.
The following text is displayed:
3.
Up to 10 different monitoring tasks can be defined here. These
are labelled from 1 to 10. Use the direction push-buttons to
select the desired set-up number and move on to the next
display.
4.
Use the select push-buttons to define if you want to sample
continuously:
If you select No (S1), go to step 5.
If you select Yes (S3), go to step 6.
5.
The sampling interval is displayed. Use the direction push-
buttons to change it to the correct value.
6.
Use the select push-buttons to define if you want to monitor for
a pre-set period:
If you select Yes, go to step 7.
If you select No, go to step 8.
7.
The monitoring period is displayed. Use the direction push-
buttons to change it to the correct value.
The MONITORING PERIOD is entered as Days Hours: Minutes.
For example, if this particular measurement cycle needs to be
performed during 5 days, 14 hours and 30 minutes, the
“monitoring period” should be “entered” as 5 14:30. The Monitor
SELECT SET_UP BRANCH
MEASUREMENT FORMAT CONFIGURATION
MONITORING TASK SET-UP NUMBER 1
PRESS ENTER TO CHANGE VALUE