Replacing a fiber optic module, Removing a fiber optic module – Brocade FastIron GS and GS-STK Hardware Installation Guide User Manual
Page 105
Brocade FastIron GS and GS-STK Hardware Installation Guide
95
53-1002186-02
Replacing a fiber optic module
8
DRAFT: BROCADE CONFIDENTIAL
1. Replace the cover.
2. Re-fasten the screws on each side of the cover.
3. If the device is rack-mounted, replace the mounting brackets.
Replacing a fiber optic module
You can remove an SFP or XFP module from a port and replace it with a new one while the FGS is
powered on and running.
This section describes the following tasks:
•
Removing a copper or fiber optic module
•
Installing a new copper or fiber optic module
•
Cabling a fiber optic module
Removing a fiber optic module
You can remove a copper or fiber SFP (also called a mini-GBIC) or an XFP module from a port while
the FGS is powered on and running.
Before removing a copper or fiber optic module, have the following on hand:
•
An ESD wrist strap with a plug for connection to the ESD connector on the FGS.
DANGER
For safety reasons, the ESD wrist strap should contain a series 1 meg ohm resistor.
•
The protective covering you removed from the module when you initially installed the module.
To remove a copper or fiber optic module from a Gigabit Ethernet or 10-Gigabit Ethernet port, do
the following:
1. Put on the ESD wrist strap and ground yourself by attaching the clip end to a metal surface
(such as an equipment rack).
2. Disconnect the copper or fiber cable connector from the port connector.
3. Insert the protective covering into the port connectors.
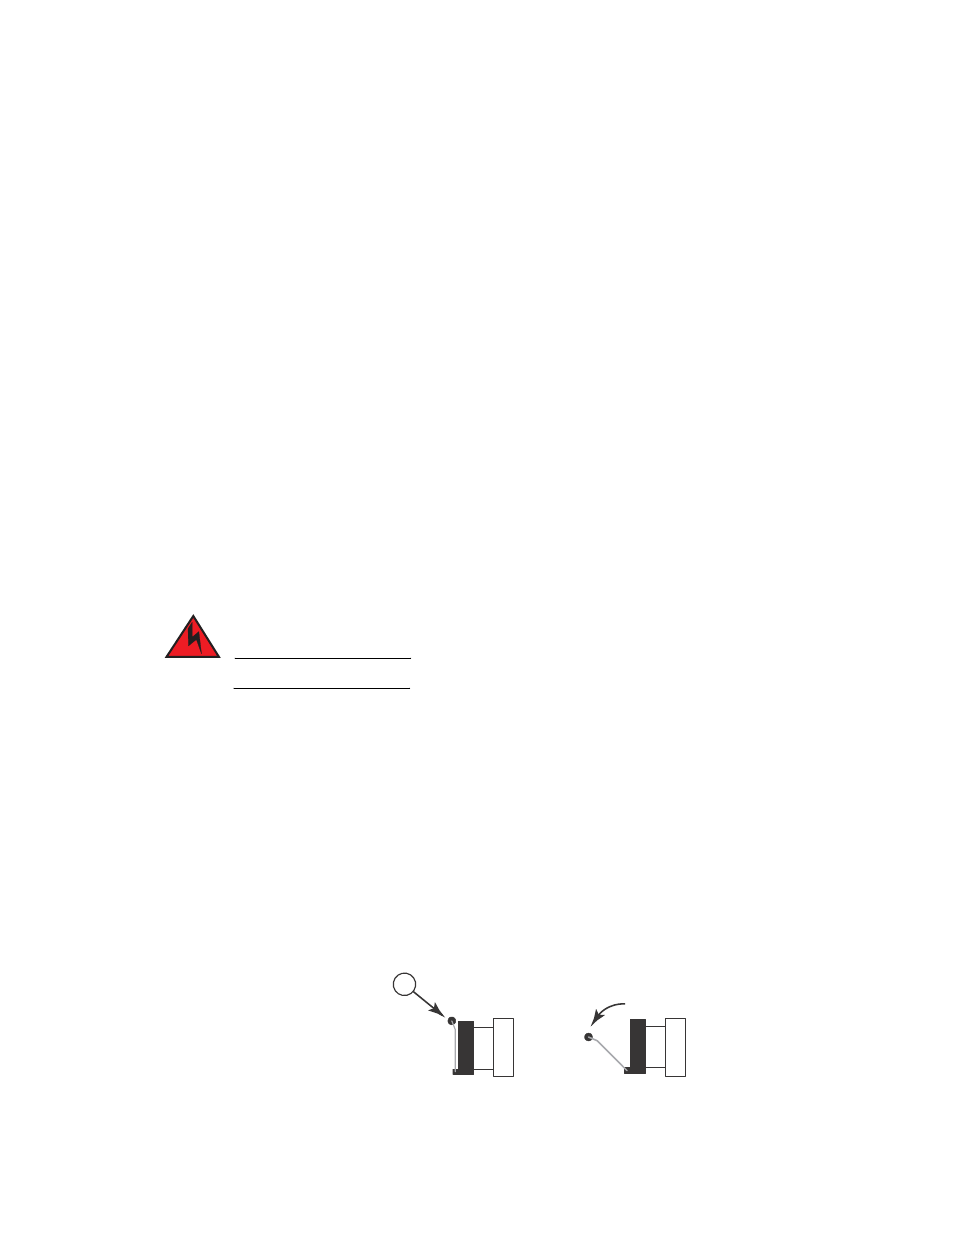
4. Pull the copper or fiber optic module out of the port by pulling the bail latch forward, away from
the front panel of the module. This unlocks the module from the front panel. On 1000BaseSX
ports, the bail latch is enclosed in a black sleeve, and on 1000BaseLX ports, the bail latch is
enclosed in a blue sleeve.
1
Bail latch
1