1 so-dimm replacement, Product disposal, 7 december, 2 – IEI Integration ECW-281B_B2-D525 User Manual
Page 96: Figure 6-1: so-dimm installation
ECW-281B/B2-D525 Embedded System
Page 83
6.3.1 SO-DIMM Replacement
WARNING:
Using incorrectly specified SO-DIMM may cause permanently damage
the ECW-281B/B2-D525. Please make sure the purchased SO-DIMM
complies with the memory specifications of the ECW-281B/B2-D525.
To replace a SO-DIMM memory module into a SO-DIMM socket, please follow the steps
below.
Step 1:
Remove the bottom surface panel.
Place the ECW-281B/B2-D525 on an
anti-static pad with the bottom panel facing up and the bottom surface removed.
(see Section
866
4.2.3
).
Step 2:
Locate the SO-DIMM
on the motherboard.
Step 3:
Remove the SO-DIMM
by releasing the arms on the SO-DIMM socket.
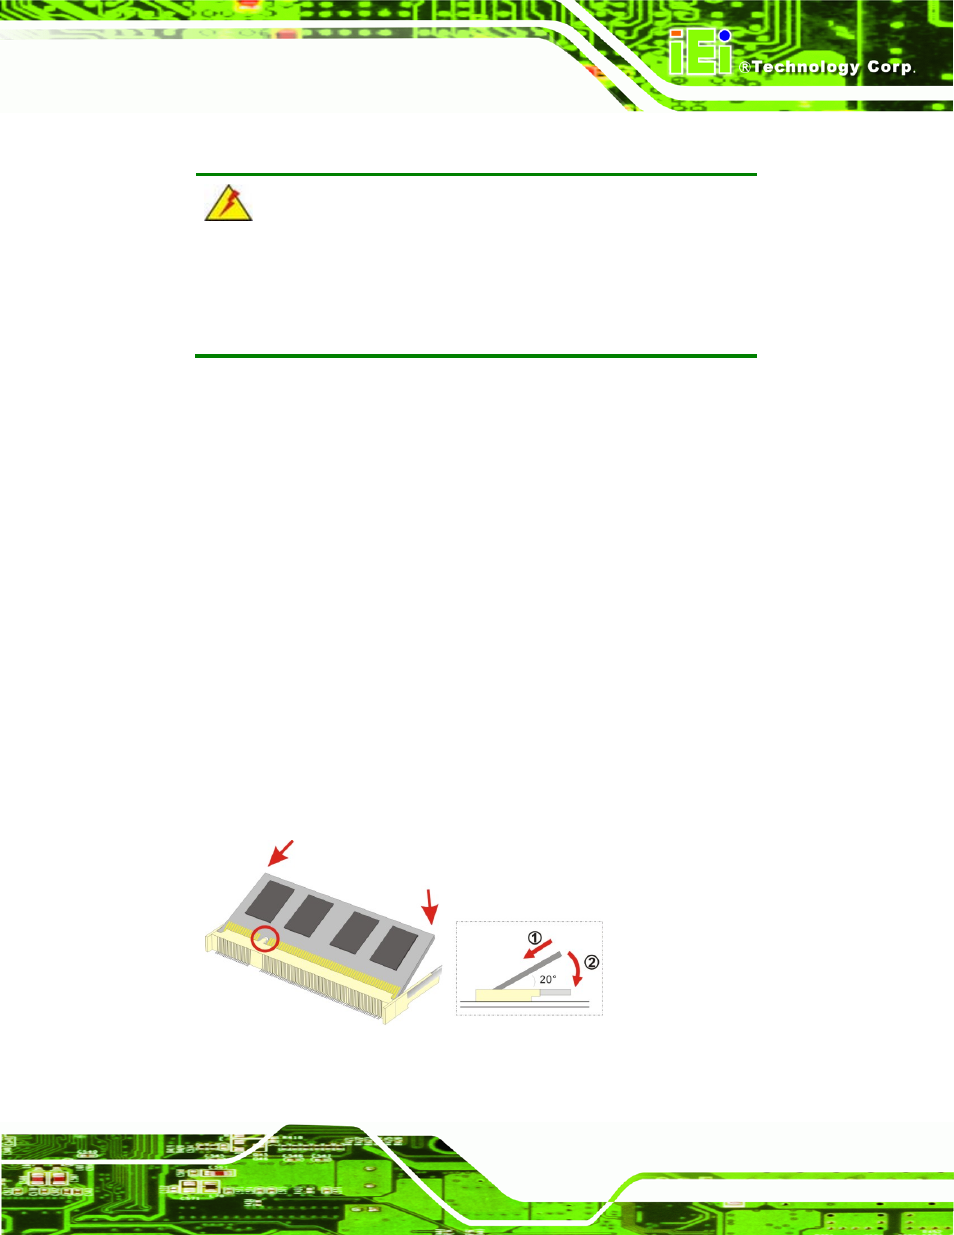
Step 4:
Align the new SO-DIMM with the socket
. The SO-DIMM must be oriented in
such a way that the notch in the middle of the SO-DIMM must be aligned with
the plastic bridge in the socket (
866
Figure 6-1
).
Step 5:
Insert the SO-DIMM
. Push the SO-DIMM chip into the socket at an angle
(
866
Figure 6-1
).
Figure 6-1: SO-DIMM Installation