IEI Integration EBC-3620 User Manual
Quick installation guide, About the ebc-3620, Specifications
EBC-3620 IEI Technology Corp. Page 1
Quick Installation Guide
EBC-3620
Mini-ITX Chassis
Version: 1.0
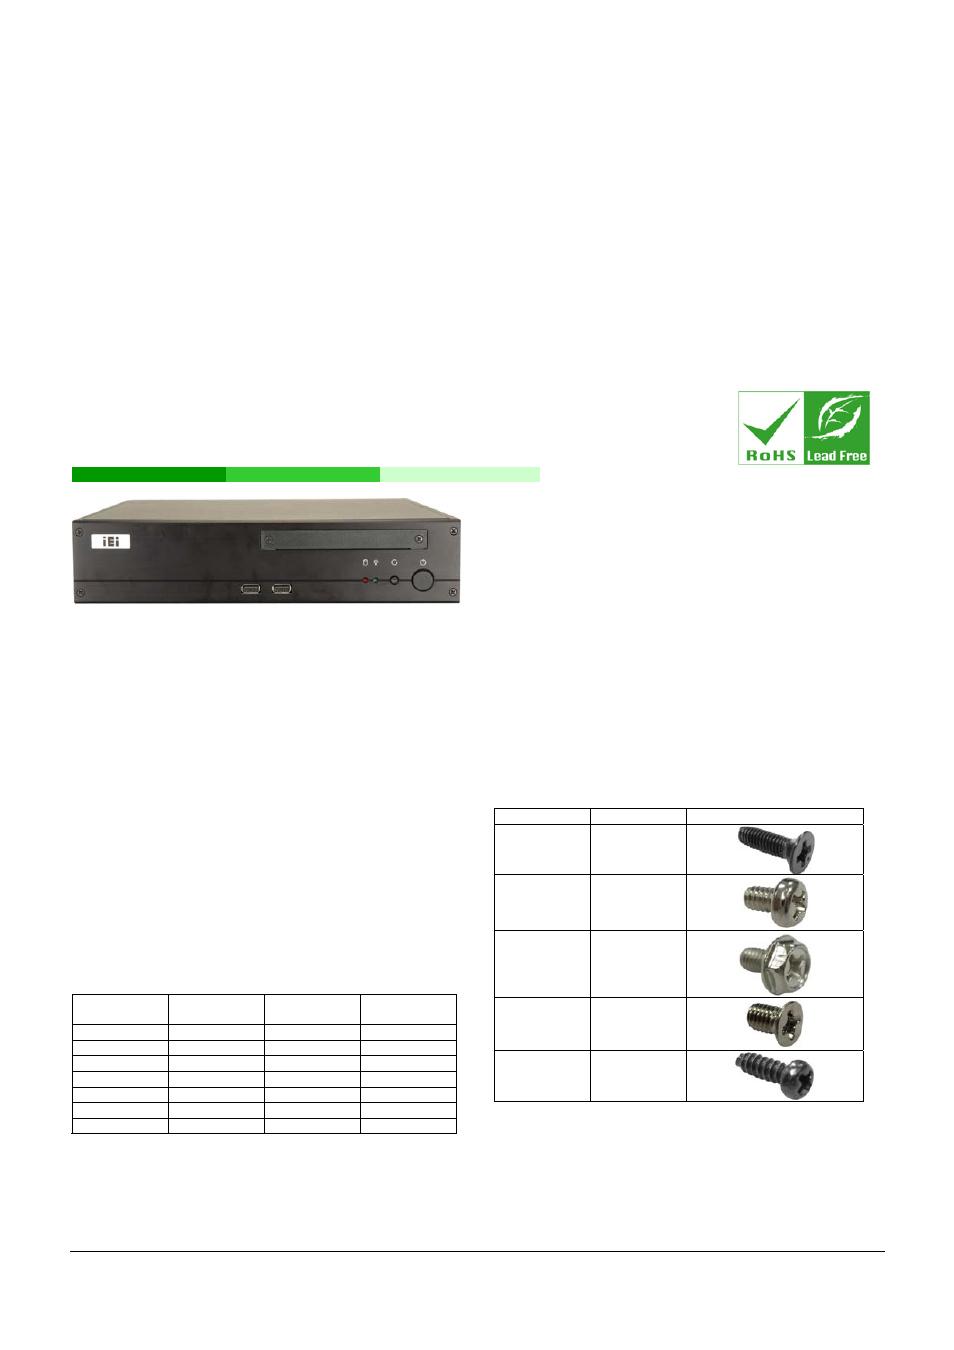
ABOUT THE EBC-3620
The EBC-3620 is designed for Mini-ITX motherboards. The
EBC-3620 has two USB ports on the front panel, and a space for a
slim-type DVD or CD drive. Up to four drives can be installed. The
EBC-3620 also supports PCI/PCIe cards (depending on the
motherboard) through expansion card slots on the rear panel.
SPECIFICATIONS
Form Factor: Fits Mini-ITX motherboards
SBC Form Factor: Mini-ITX
Construction: Heavy-duty steel
Slots: 2 slots
Cooling: 2 x 5 cm fans
Dimensions (DxWxH):
o
300 mm x 268 mm x 65 mm
Operating Temperature: 0~50°C
Relative Humidity: 10~90%
Vibration:
o
5-17Hz, 0.1” double amplitude displacement
o
17-640Hz, 1.5G acceleration peak to peak
Shock: 10G acceleration peak to peak
Drive Bay Combinations: Listed in Table 1 below
Optical Drives
Expansion
Cards
2.5” Hard
Drives
3.5” Hard
Drives
1 2 2 0
1 1 1 1
1 0 1 2
1 0 2 1
0 2 3 0
0 1 3 1
0 1 2 2
Table 1: Drive Combinations
PACKING LIST
When unpacking the chassis, make sure the following items have
been shipped.
1 x Riser card
1 x Screw set (details below)
1 x 2.5” adapter bracket
1 x System fan cable
1 x Power adapter
1 x Power cord
DETAILS OF INCLUDED SCREWS
The attached screws include all of the following screws. Both
pre-installed screws and screws that have not been installed are
included.
Description Quantity
Picture
Front cover
screws
6
Top cover
screws
2
Hard drive
bracket
screws
12
Support
bracket screw
1
DC jack
screw
2
Table 2: Screws for Peripheral/Parts
Document Outline
- ABOUT THE EBC-3620
- SPECIFICATIONS
- PACKING LIST
- DETAILS OF INCLUDED SCREWS
- DIMENSION DRAWING
- INSTALLATION STEPS
- STEP 1: UNPACK
- STEP 2: TOP COVER AND SUPPORT BRACKET REMOVAL
- STEP 3: INSTALL MOTHERBOARD
- STEP 4: INSTALL OPTICAL DRIVE
- STEP 5: INSTALL HARD DRIVES (MAIN BRACKET)
- STEP 6: INSTALL HARD DRIVE (BOTTOM BRACKET)
- STEP 7: INSTALL EXPANSION CARD
- STEP 8: FRONT PANEL CABLES
- STEP 9: COVER REINSTALLATION
- CHASSIS MAINTENANCE