Vanguard DMOM-100_200 s2 User Manual
Page 39
DMOM-100/200 Series 2 Operating Procedures
39
Rev 2, 2009
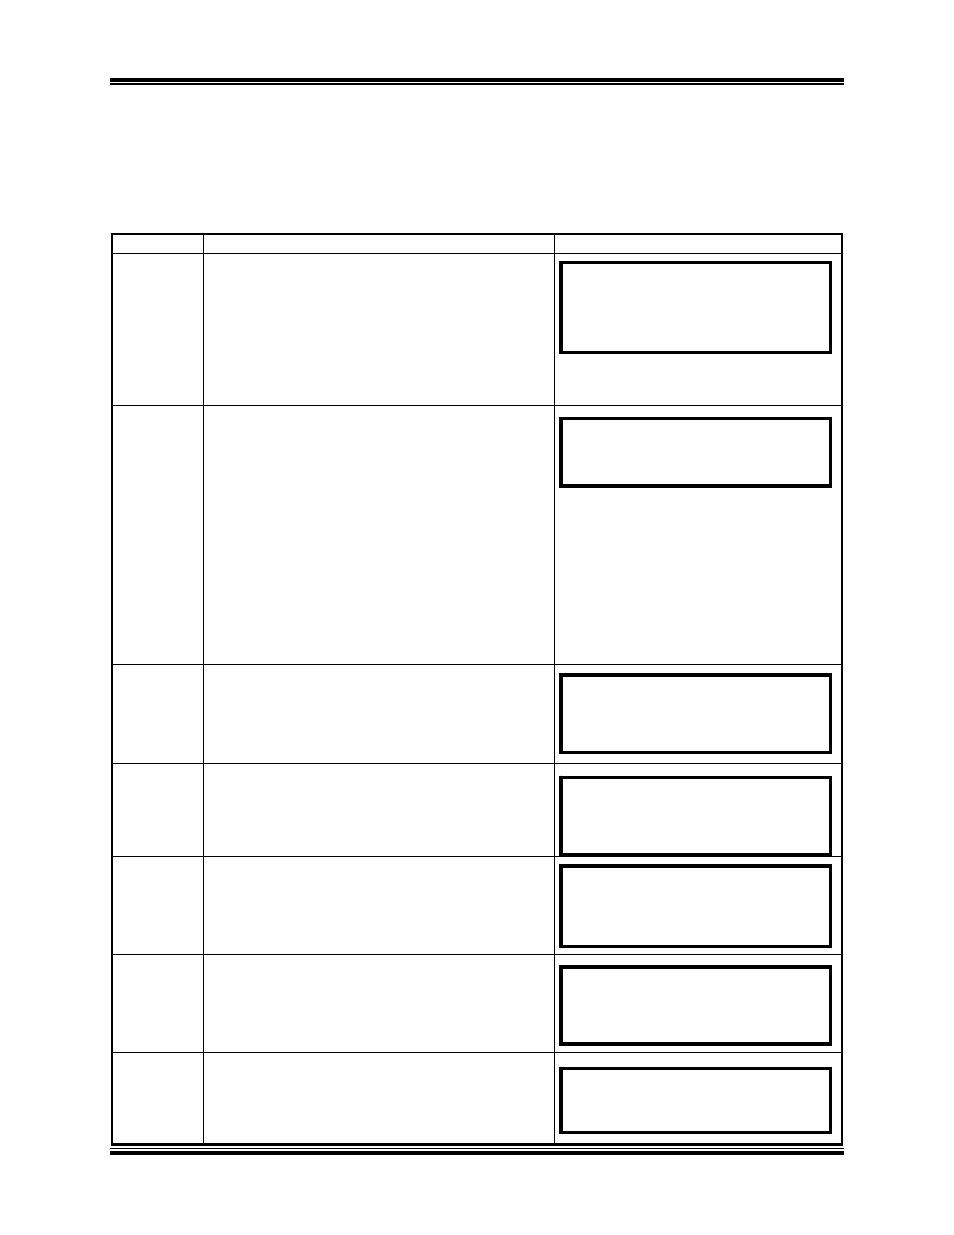
7.14 Calibration Check
This procedure describes the steps to perform the calibration check on the DMOM. Before
conducting the calibration check, connect the current probes and sense probes to a piece of
copper or aluminum bar, as shown in Figure 17.0 and Figure 18.0.
Table 13.0 Calibration Check Procedure
STEP
ACTION
DMOM DISPLAY
13-1
The calibration check is a functional
verification self-test of the DMOM. This
procedure begins by pressing key # 3 on the
START MENU, which displays a
calibration check prompt to attach the test
leads to a shorting bar (See Figure 17.0 and
Figure 18.0).
13-2
When the test leads are attached to a
shorting bar, press the ENTER key to start
the self-test process. The self-test feature
checks ramping current and displays a
percent of ramp level as it ramps to full
current. When the ramp reaches full current,
the remaining self-check functions
automatically sequence without operator
control. If any circuit fails (does not pass),
do not use the DMOM unit to measure any
resistance until the problem has been
corrected.
13-3
Automatic. No operator action required.
13-4
Automatic.
N
o operator action required.
13-5
Automatic. No operator action required.
13-6
Automatic. No operator action required.
13-7
Automatic. No operator action required.
CALIBRATION CHECK
CONNECT SHORTING BAR
“ENTER” TO CONTINUE
RUNNING CAL CHECK…
RAMPING CURRENT: xx%
RUNNING CAL CHECK…
CURRENT RAMP CKT
“PASS”
RUNNING CAL CHECK…
ZERO CKT CHECK
“PASS”
RUNNING CAL CHECK…
FSCALE CKT CHECK
“PASS”
RUNNING CAL CHECK…
MEAS CKT CHECK
“PASS”
RUNNING CAL CHECK…
RAMPING CURRENT: xx%