Vanguard DMOM-100_200 s2 User Manual
Page 22
DMOM-100/200 Series 2 Operating Procedures
22
Rev 2, 2009
7.6 Running a Normal Test Procedure
The following procedure describes the steps to measure an unknown resistance.
NOTE
The red HIGH CURRENT PRESENT indicator will flash
while the test current is applied to the resistance load.
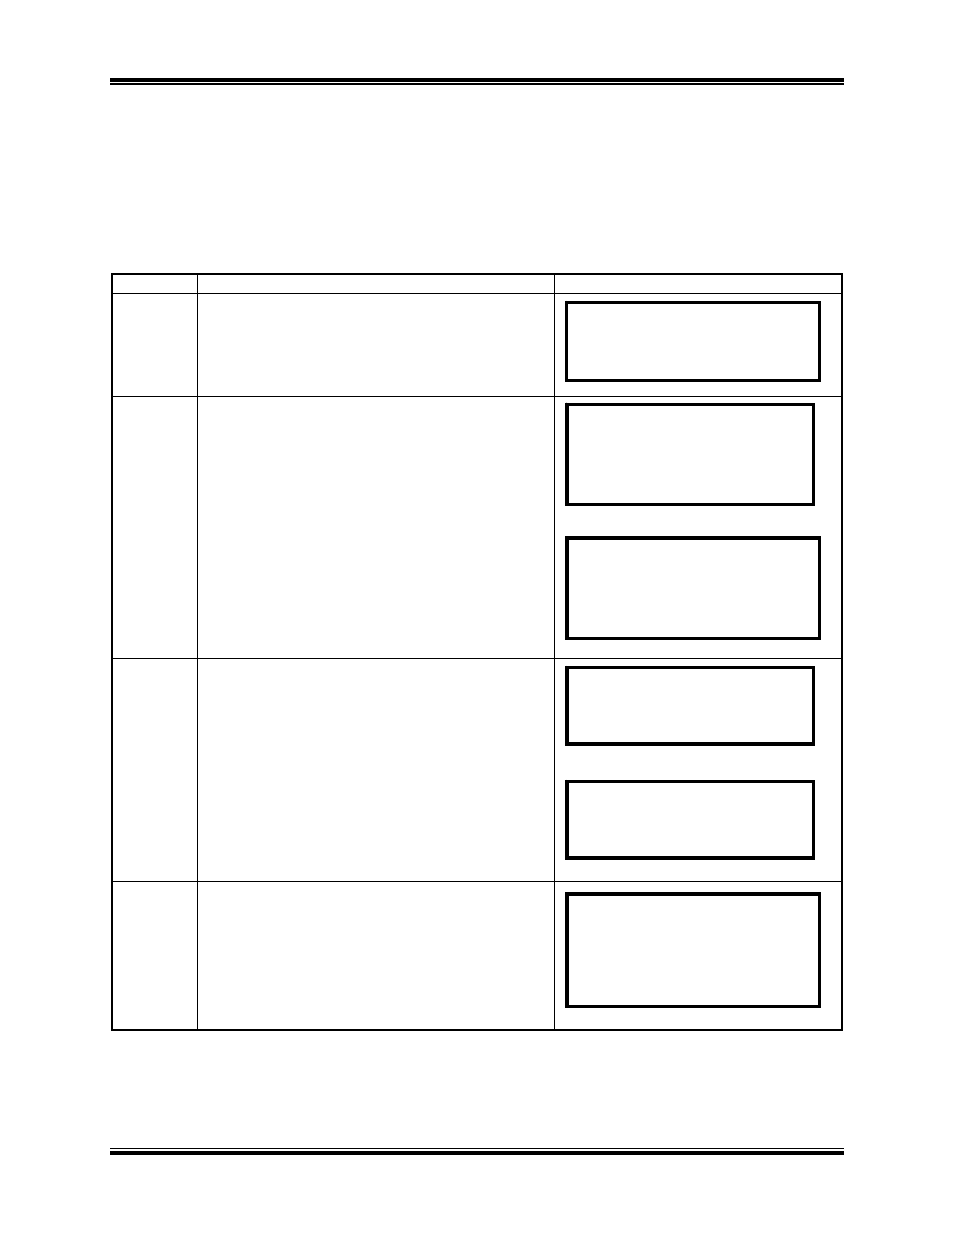
Table 5.0 Run Test Procedure (Measure an Unknown Resistance)
STEP
ACTION
DMOM DISPLAY
5-1
Begin the Run Test procedure:
From the START MENU, press key # 1.
A menu of test options will appear, as shown
at right.
5-2
Select the NORMAL TEST option by
pressing key # 1. The SELECT TEST
CURRENT menu will appear. The DMOM-
100 menu will contain 5 options. The
DMOM-200 will contain 6 options.
To select the test current, press the
appropriate key for the desired test current.
For this example, select key # 4 (100A) then
go to step 5-4. For a CUSTOM (user-
defined) current, press key # 5 (key # 6 on
DMOM-200), then go to step 5-3.
Or
5-3
The ENTER TEST CURRENT menu will
appear. Using the keypad, enter the
CUSTOM test current level (in 1 amp
steps). After entering the value, press the
ENTER key, then go to step 5-4.
For this example, use a 100A test current.
NOTE
INVALID ENTRY will appear on the
display if an invalid value is entered.
or
5-4
The SELECT BURN-IN TIME menu will
appear. Press key 1 through 6 to select a
value which corresponds to the desired burn-
in time (see the display to the right).
For this example, press key # 1 to select 5
SEC.
SELECT TEST CURRENT:
1. 10A
2. 25A
3. 50A
4. 100A
5. CUSTOM
SELECT TEST CURRENT:
1. 10A
2. 25A
3. 50A
4. 100A
5. 200A 6. CUSTOM
ENTER TEST CURRENT
(10 to 100)
100 AMPS
ENTER TEST CURRENT
(10 to 200)
100 AMPS
1.NORMAL TEST
2.AUTOMATIC TEST
SELECT BURN-IN TIME:
1. 5 SEC 2. 10 SEC
3. 20 SEC 4. 30 SEC
5. 60 SEC 6. 2 MIN