6 working with layers functions – Analog Way SmartMatriX2 User Manual
Page 53
53
8.2.5 Working with layers
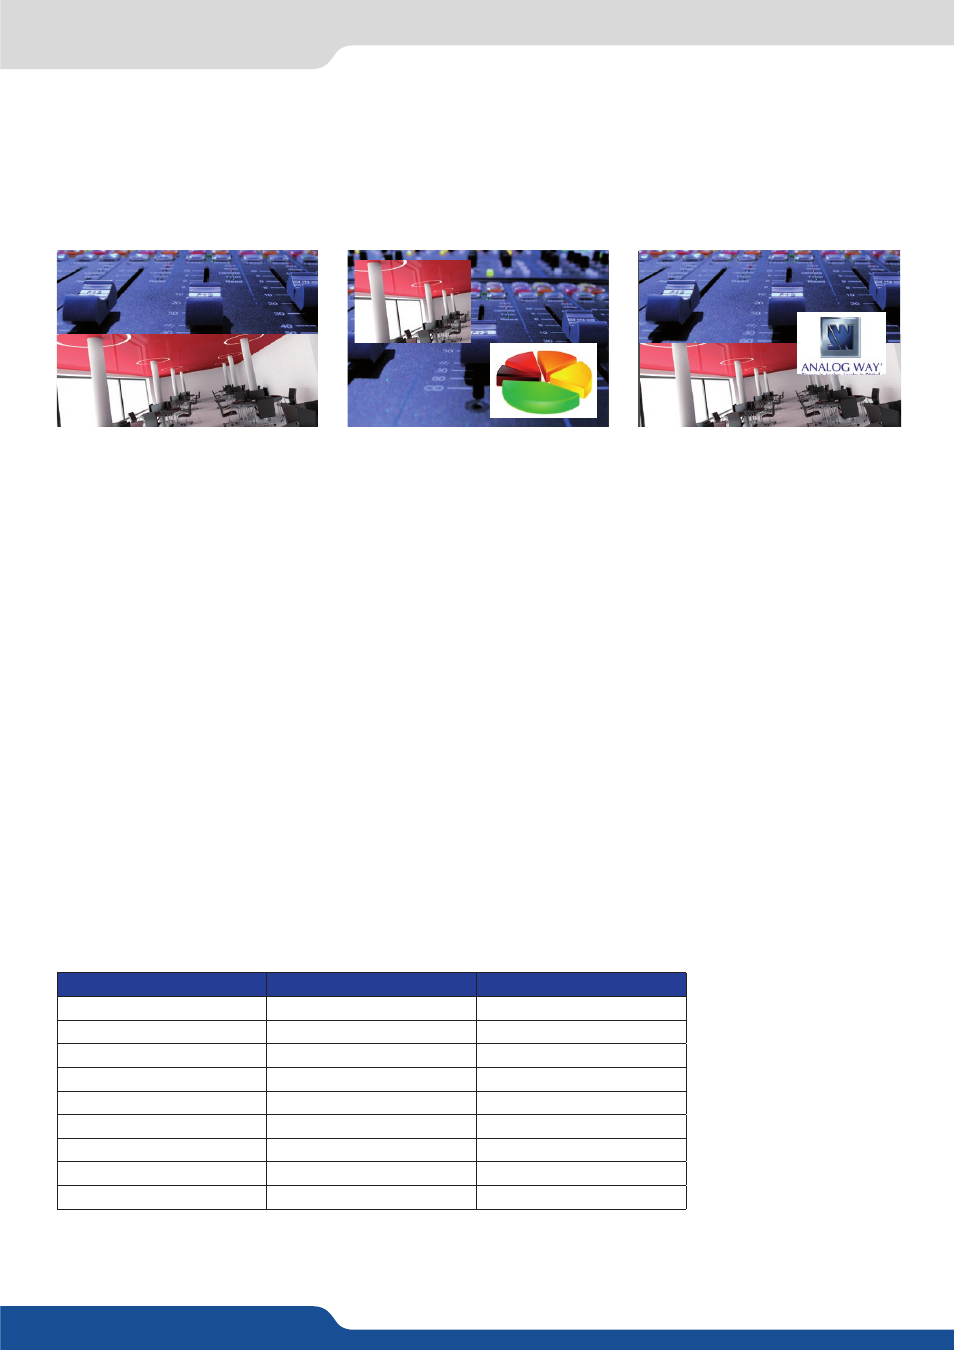
Press Matrix #1 button > Press Frame button > Press input #1
Press Matrix #2 button > Press Layer A button > Press input #3
Press TAKE to view the result on both screens
Don’t forget to press the correct Matrix # button before pressing the Layer selection button, in order to be
sure doing the manipulation on the correct output.
8.2.6 Working with layers functions
Once a source is assigned to a layer, you will have access to some layer settings in the Layer menu or direct-
ly by pressing the layer button.
The settings available depend on the layer selected:
- Layer adjusts:
set up layer size and position,
- Layer zoom:
set up layer zoom size and position,
- Size Templates:
adjust a specific size (Fullscreen, 1/2, 1/3, ...),
- Transparency:
adjust the layer transparency,
- Border:
choose the border and adjust its properties,
- Opening and Closing effect:
adjust the Open/Close effect type and duration,
- Smooth move:
enable/disable smooth move,
- H&V Flip:
flip the data of the layer,
- Status:
get the selected layer status.
All changes have to be validated by pressing the ENTER button in order to be saved
Press TAKE to view the result on the Program screen.
Settings available:
Settings
Background live / PIP#1
PIP#2
Position
YES
YES
Size
YES
YES
Zoom
YES
YES
Transparency
YES
YES
Border
YES
YES
Opening effects
YES
YES
Closing effects
YES
YES
Smooth Move
YES
YES
H Flip / V Flip
YES
YES
2 layers
2 layers + Frame
2 layers + Logo