5 working with layers – Analog Way SmartMatriX2 User Manual
Page 52
52
- DVI TYPE:
set up the type of color space of your digital output,
- DVI as HDMI:
DVI output content as HDMI. Audio is included,
- HDCP DETECT:
enable or not the HDCP detection on the output,
- CENTERING PIC:
display the centering test pattern,
- TEST PATTERN:
choose to display one of the available test pattern.
All changes have to be validated by pressing the ENTER button in order to be saved
NOTE: The output status can provide you all information about the output in real time. This feature is
particularly needed when HDCP is used with long cable to be sure that the communication is well
handled.
Video Out
The Video Out allows you the same settings as other outputs with some additional specific options:
- SHARPNESS:
set up the sharpness on the video out image,
- FLICKER FILTER:
apply a flicker filter on your video output to eliminate flickering,
- UNDER/OVERSCAN:
enable or not the automatic video zoom overscan,
-
ADJUST:
adjust your video output in term of H/V position and size.
In Matrix mode, the menu “Connection Mode” appears. It allows you to choose recording Output #1 or
Output #2.
In native Matrix mode, the menu “connection mode” allows you to choose recording Output #1 or Output #2.
In Matrix mode, the SDI output embeds audio from Output #1 and Output #2.
8.2.5 Working with layers
To work with native Matrix mode, you have to use the Matrix # buttons first.
For instance, if you want to put the frame #1 on the Output #1 and the live source #3 on the output #2:
8.2.4 Output selection settings
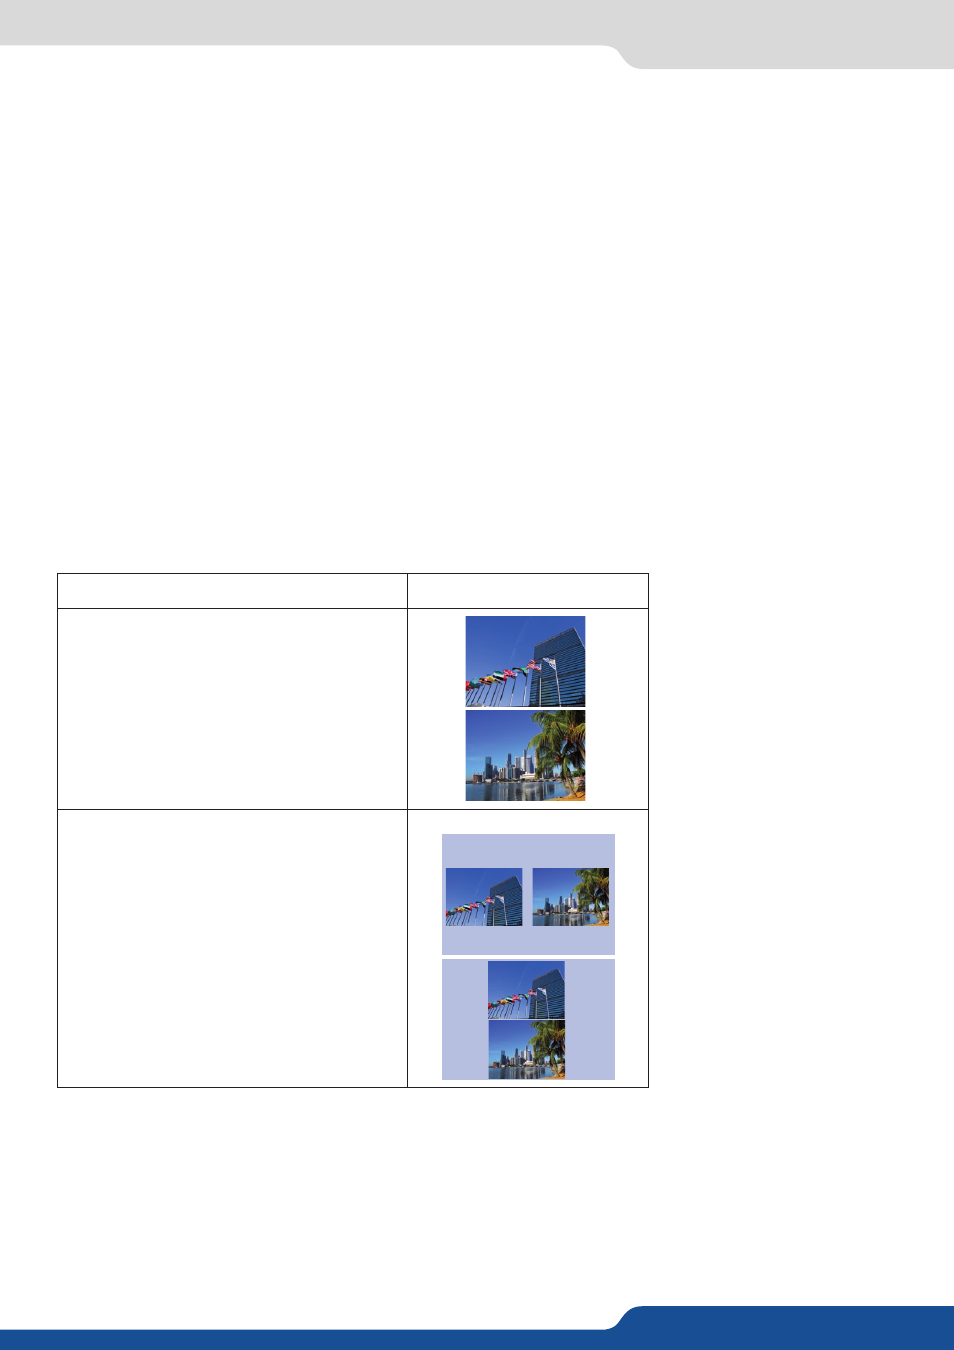
Display mode
Presentation
Output #1
Output #1 & #2 side by side
OUT #1
OUT #1
OUT #1
Output #2
Output #1 & #2 Top and Bottom
OUT #2
OUT #2
OUT #2
Menu > Video Out > Connection > Output #1
Menu > Video Out > Connection > Output Titled
Horizontally
Menu > Video Out > Connection > Output Titled
Vertically
Menu > Video Out > Connection > Output #2