Setup & operation, Easy setup and operation help minimize downtime – Climax BB6000 PORTABLE LINE BORING MACHINE User Manual
Page 3
6/00 3
Easy setup and
operation help
minimize downtime.
There are several ways to set up the Model
BB6000 depending on the application and
clearances around the work area. If you have to
mount one of the bearing supports on the surface
that needs boring, weld standoffs on the workpiece
to allow access for tool adjustment.
• Insert the bar into the bore, allowing it to rest on
wooden V-blocks.
• Slip the bearing support assemblies onto each
end.
• Lift the bar to bore center and into the support
spiders attached to the workpiece, either
internally or externally.
Setup & Operation
Tool head accepts either HSS tool bits or
carbide insert holders as shown here.
• Make final centering adjustments with the jacking
screws on the bearing plates.
• Once the bar is accurately positioned, slip the
rotational drive unit in place and lock to the bar
with the two locking collars.
• Tie-down arms are provided to secure the
rotational drive and keep it form turning during
boring operations.
• Place the axial feed unit on either end of the bar.
• Install the tool carrier, spacer blocks, and one or
two tool heads.
The machine is ready to make the first boring
pass. Boring operations are simply a matter of
adjusting the boring depth at the cutter, setting the
feed rate, and engaging the feed in forward or
reverse mode. The hydraulic power unit is turned
on and bar rotation is started with the control
pendant.
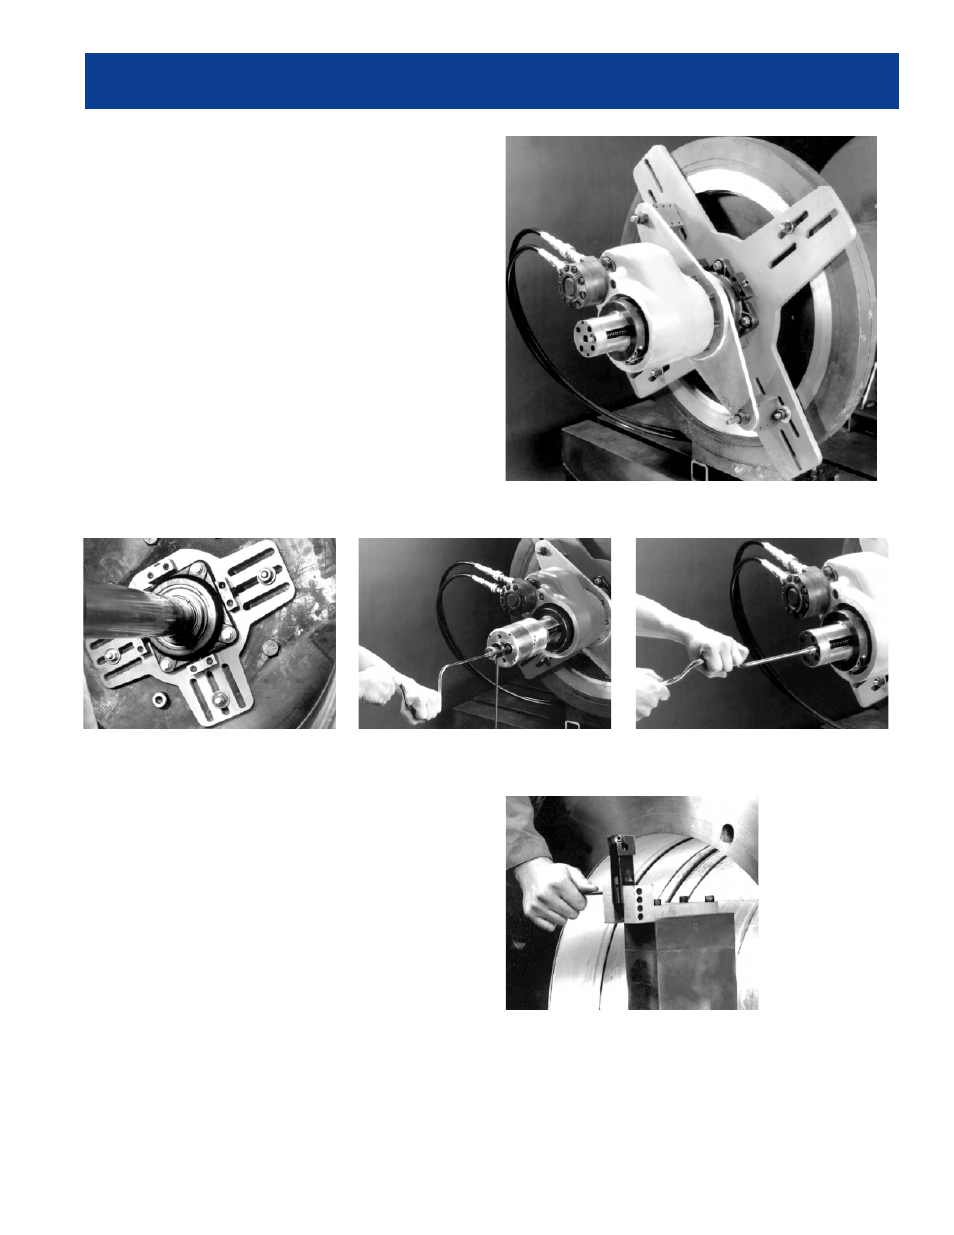
Face mounted 4-arm mounting spider for up to 36" (914.4mm)
dia. Torque arms prevent rotational drive turning.
Three-arm mounting assembly for up to
20" (508 mm) diameters.
Speed wrench or portable drill motor can be used to move tool head from either end
of the bar, with or without the axial feed unit attached.