Installing the mlm-wb on a masonry wall, Installing the mlm-wb on a masonry wall -6, Installation, cont’d – Extron Electronics MLM-WB+ User Guide User Manual
Page 12
Installation, cont’d
MLM-WB • Installation
2-6
Before mounting the MLM-WB to a wall, remove the following parts and set them
and the screws, nuts, and washers in a safe place:
• the door (remove the hex screws and washers from the hinge points)
• the top and front VCR clamp plates (remove the whole set as a unit by removing
three screws from the bottom of the outer enclosure and removing three nuts
that attach the top clamp plate to the rear wall)
• the VCR shelf (remove the five screws that secure it to the floor and rear wall of
the MLM-WB)
Installing the MLM-WB on a masonry wall
Mount the MLM-WB onto brick, stone, or concrete walls by doing the following:
1.
Select a location with adequate clearance for the MLM-WB’s enclosure and for
the open door, the extended shelf, and video tape insertion and removal.
2.
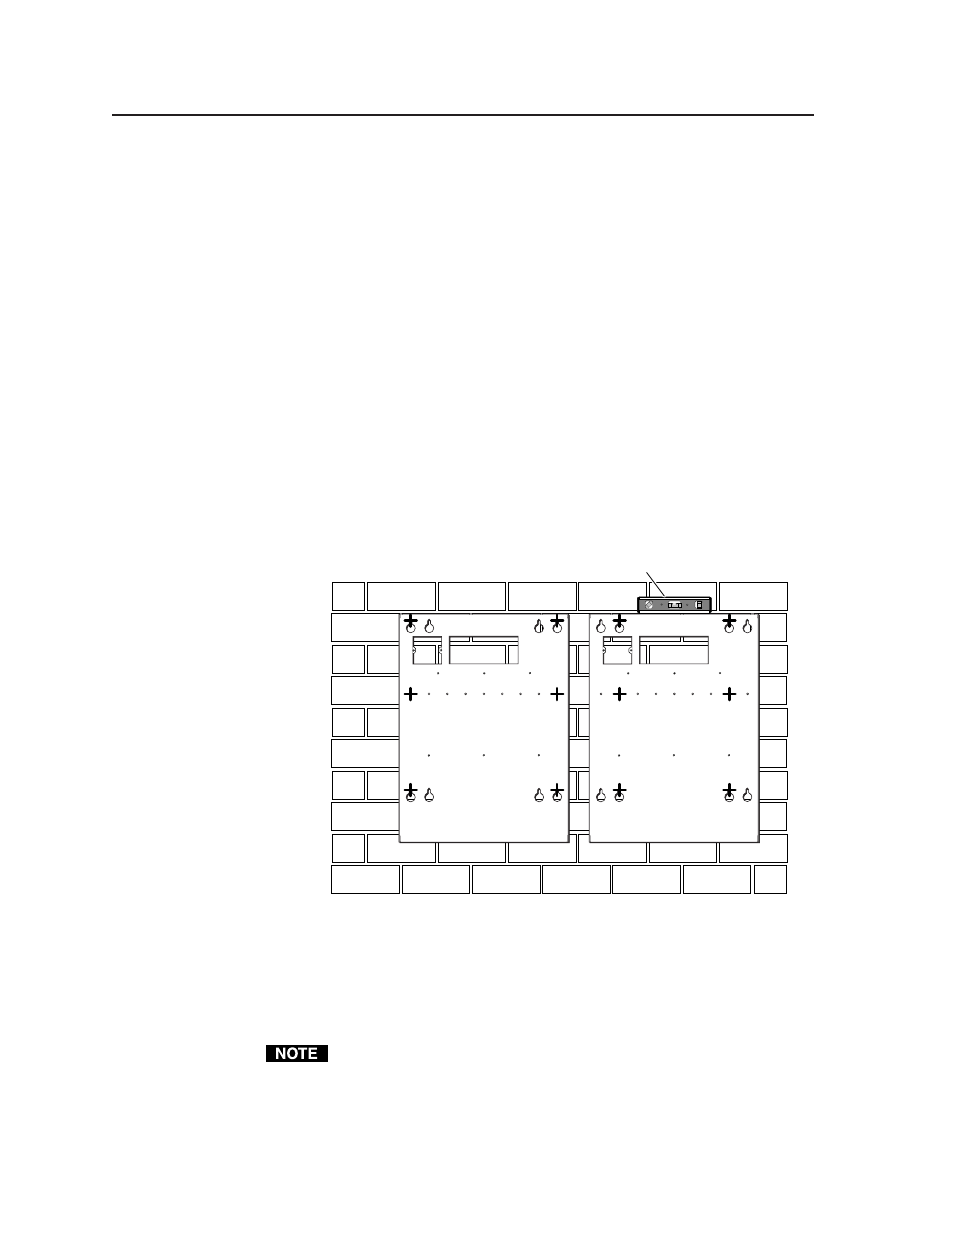
Hold the MLM-WB’s outer enclosure against the wall, and use a level tool as a
guide for leveling the enclosure. (Lay the level on the top of or on the floor of
the enclosure and observe the bubble in the horizontal tube. It will be in the
center of the tube when the enclosure is level.)
•
Select and mark at least six locations (as shown in the following pictures
of the inside rear panel) for masonry screws to ensure the strength and
stability of the installation.
Level
•
If the wall is hollow, mark additional mounting hole locations to add
toggle bolts to increase the installation’s stability and strength.
3.
Set the enclosure out of the way.
4.
Using a masonry drill bit, drill pilot holes (six or more) in the wall at the
locations you marked in step two. For masonry screws, make the holes 3/16”
in diameter and 1.75” (4.4 cm) deep.
If you make the pilot hole too shallow, the screw head might break off while it is
being fastened into the hole.
If the wall is hollow, you must use toggle bolts; see step 5 of “Installing the
MLM-WB on a non-masonry wall” for details.