Velleman Central Management System User Manual
Page 6
3
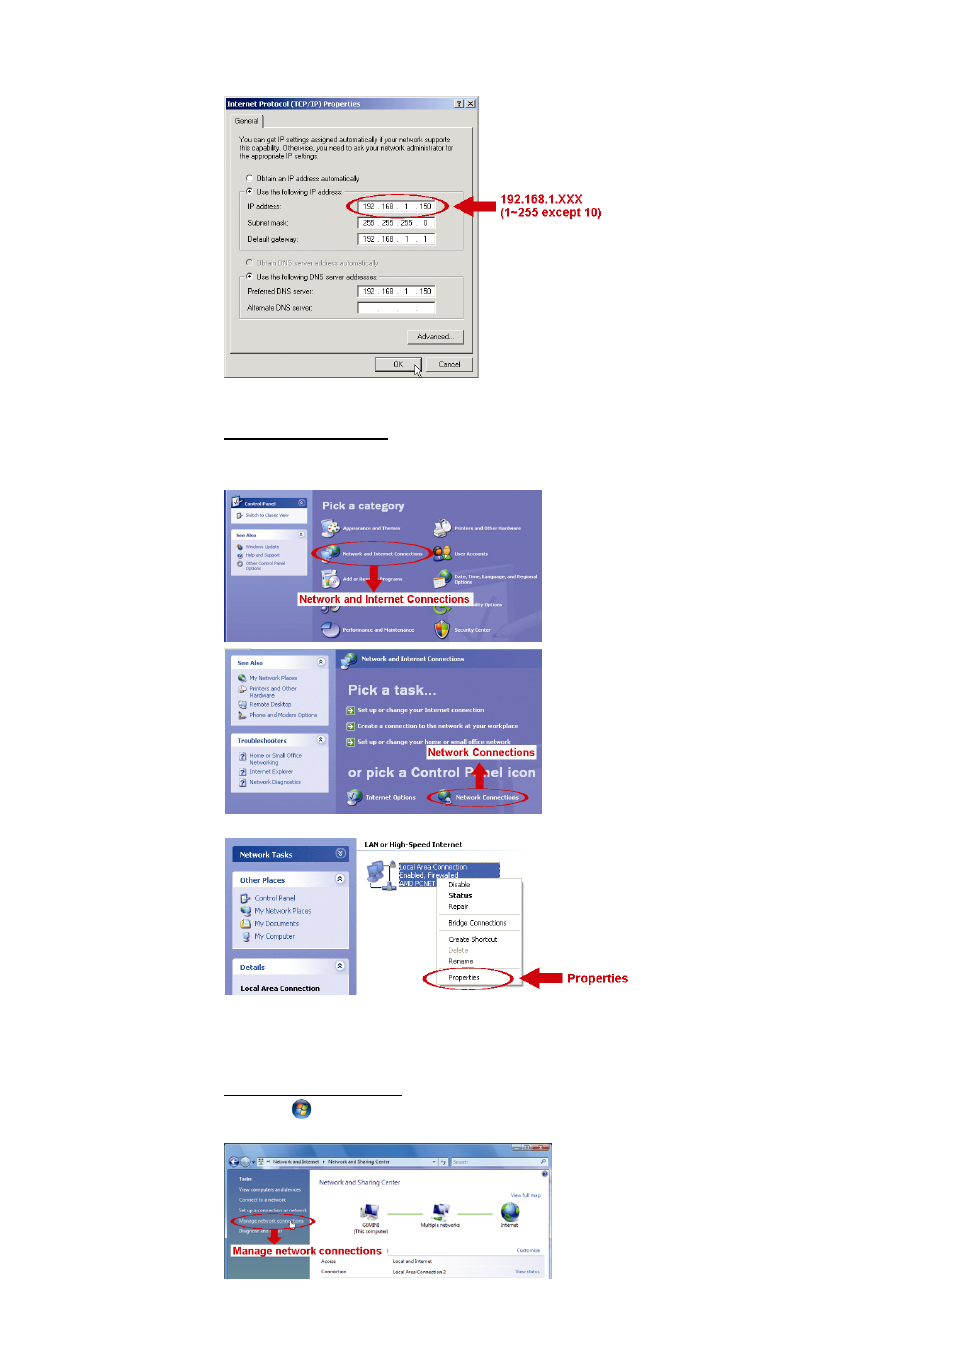
d) In the “General” tab, select “Use the following IP address”, and set the IP address as described above.
e) Click “OK” to close the “Internet Protocol (TCP/IP) Properties” dialog box. Then, click “Close” to close
the “Local Area Connection Properties” dialog box.
For Windows XP users:
a) Select
“start”
“All Programs” “Control Panel” “Network and Internet Connections” “Network
Connections” (If you’re in “Category View”).
b) In “LAN or High-Speed Internet”, right-click on “Local Area Connection”, and select “Properties”.
c) In the “General” tab, select “Internet Protocol (TCP/IP)”, and select “Properties”.
d) In the “General” tab, select “Use the following IP address”, and set the IP address as described above.
e) Click “OK” to close the “Internet Protocol (TCP/IP) Properties” dialog box. Then, click “Close” to close
the “Local Area Connection Properties” dialog box.
For Windows Vista users:
a) Select
“
” (start) “Control Panel” “Network and Internet” to enter the “Network and Sharing
Center”. Then, click “Manage network connections” (If you’re in “Category View”).