Requesting a reception notice, P.99 “requesting a reception notice – Ricoh 2000 User Manual
Page 109
E-mail Options
99
2
F
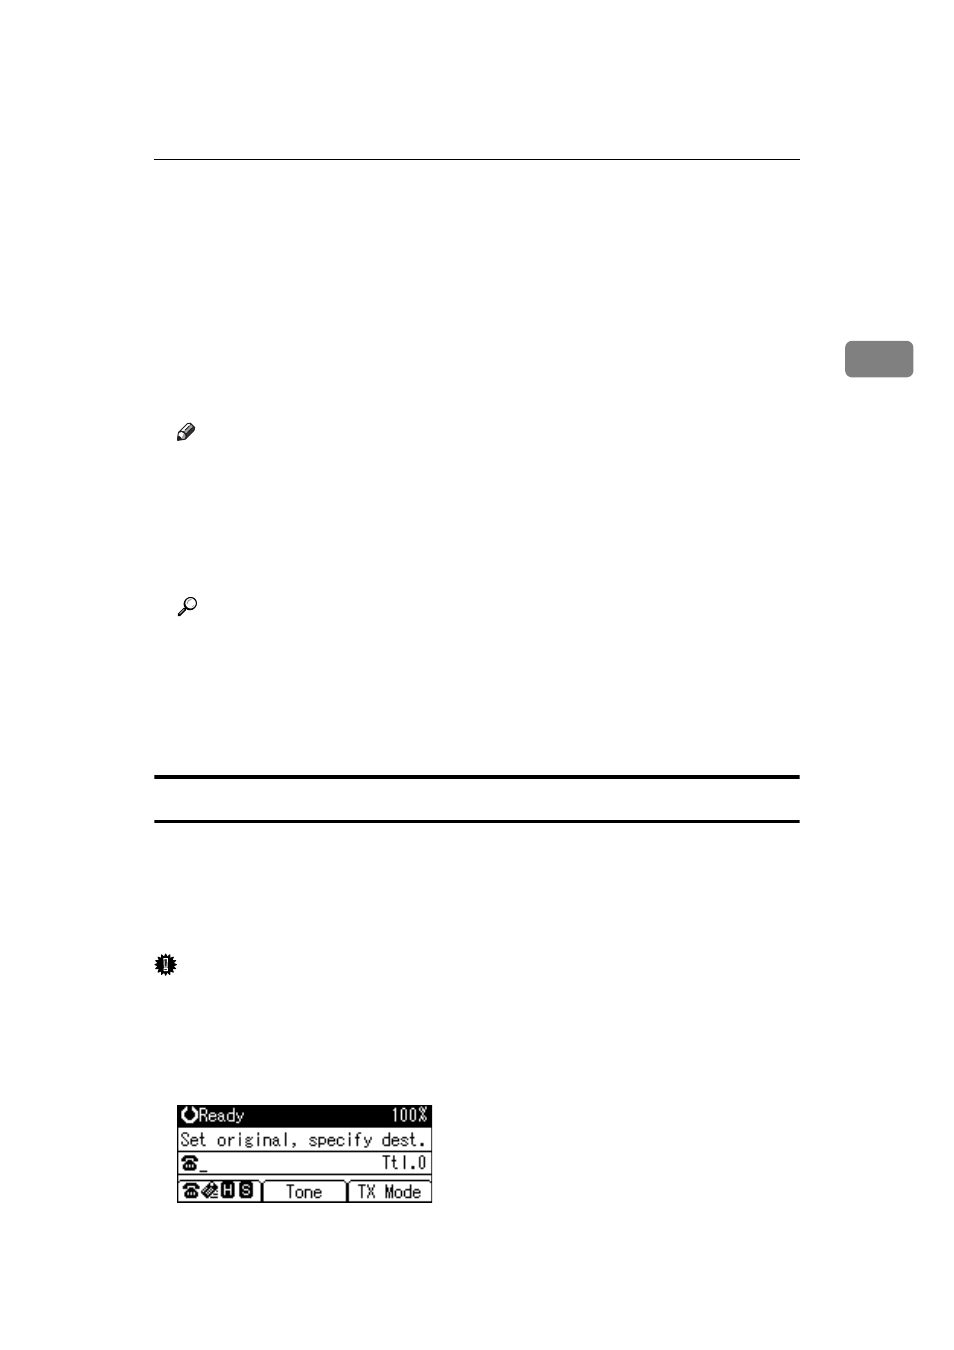
Press the {Escape} key twice.
The standby screen returns.
To check the settings, press [TX Mode].
G
Specify a destination.
H
Specify the sender.
For details about specifying senders, see “Sender Settings”.
I
Press the {Start} key.
Note
❒ If you send e-mail without setting a subject, a subject is automatically in-
serted. For details about how the subject is automatically inserted, see “E-
mail Subject” and “Received Images”.
❒ You cannot send a subject only as e-mail without an original.
❒ For the maximum number of characters for an e-mail subject, see “Maxi-
mum Values”.
Reference
p.31 “E-mail Subject”
p.93 “Sender Settings”
p.125 “Received Images”
p.186 “Maximum Values”
“Entering Text”, About This Machine
Requesting a Reception Notice
You can confirm sent documents were properly received using e-mail or the Journal.
When Reception Notice is set under “E-mail Options”, the receiver sends back a
reception notice message. Once the reception notice message is received, “OK”
appears in the Result column of the Journal, allowing the originator to verify the
transmission was received.
Important
❒ The Reception Notice feature is only available if the receiver supports MDN
(Message Disposition Notification).
A
Place the original, and then select the scan settings you require.
B
Press [TX Mode].