Pixel polish – Konica Minolta IV User Manual
Page 37
37
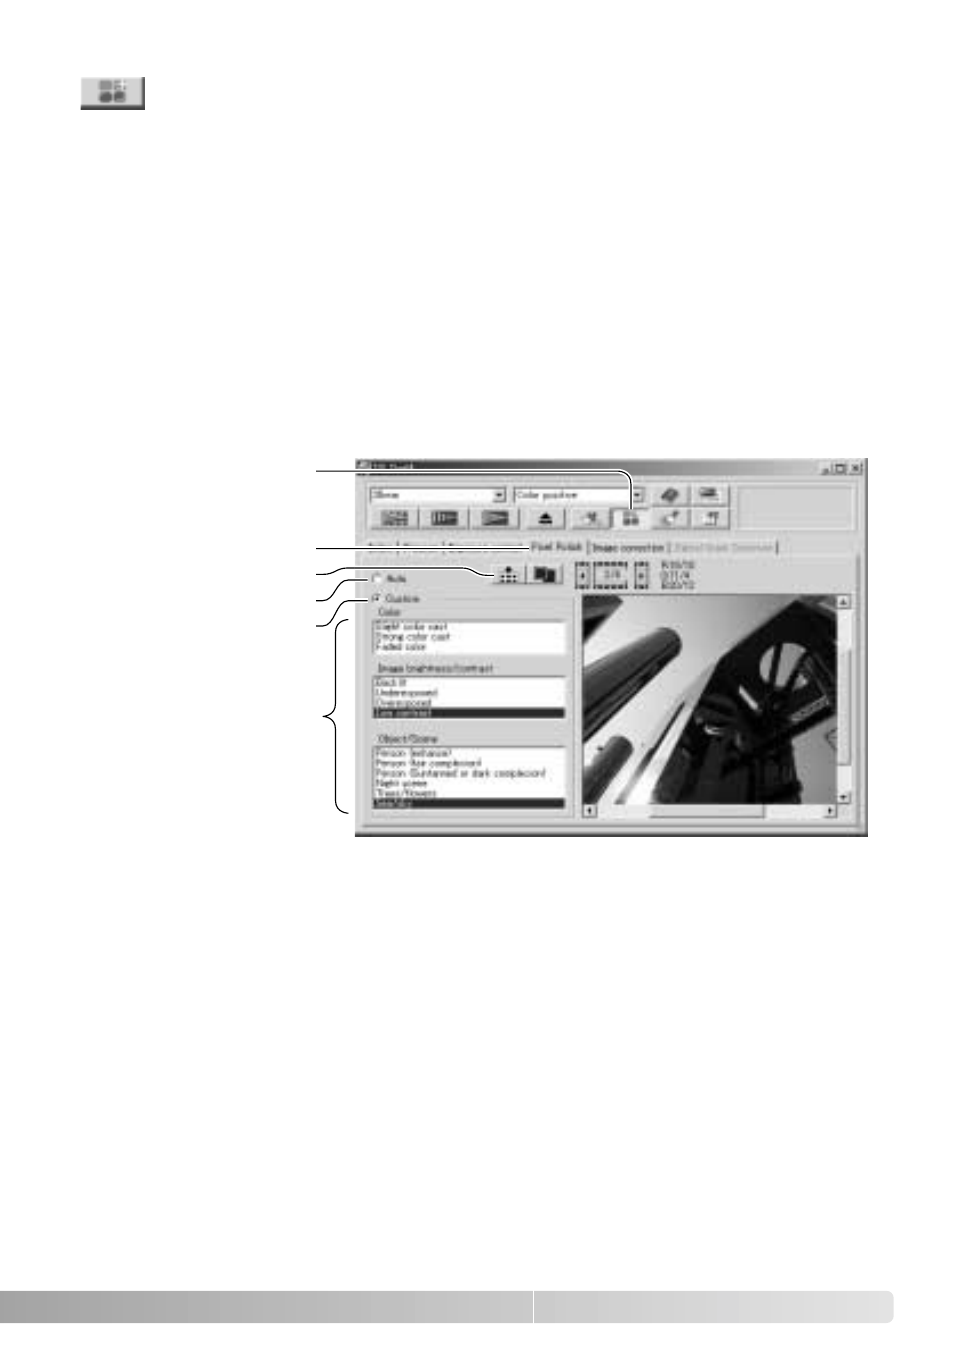
To make custom corrections, click the Pixel Polish tab. If a prescan has not been
made, the scanner will make one automatically.
Click the custom radio button. Click on the descriptions in the list boxes which best
describes the image. To deselect a description, click on it again (Windows) or press
the command key and click on it (Macintosh).
The apply-all button applies the custom settings to all images in the film holder. To
reset the images to the auto correction setting, click the auto radio button and then the
apply-all button.
Pixel Polish
Pixel Polish button
Auto radio button
Custom radio button
Custom correction
list boxes
Apply-all button
Pixel Polish tab
Pixel Polish makes automatic or custom image corrections. See page 11 for memory
requirements. Pixel Polish cannot be used with black and white film, 16-bit or 16-bit
linear color depth (p. 30). Scanning time increases. The effect of Pixel Polish is based
on the prescan image area. If the image is cropped after applying Pixel Polish, click
the crop-prescan button (p. 52) to view the results.
Click the Pixel Polish button in the main window to automatically correct the images in
the film holder; previous corrections are canceled. The correction is applied to the
prescan image.
Pixel Polish remains in effect until canceled; click the Pixel Polish button again. To
reapply image corrections made before using Pixel Polish, open the image in the
image-correction tab and click the undo button.