Recording features, Instant timer recording (itr), Watch another program while recording on the unit – JVC DR-M10 User Manual
Page 58: Pg. 58, Pg. 58, “instant timer recording, Itr)”), Ing, instant timer recording (itr), Pg. 58) o, Recording (cont.), Start recording
Filename [DR-M10U_08Recording.fm]
Masterpage:Left+
58
EN
Page 58
January 20, 2004 10:05 am
RECORDING (cont.)
Recording Features
Recording Speed
MPEG2 format is used as recording format. As a guide for picture
quality, the “bps” unit is used to represent how much data can
be recorded per second. The larger this value is, the better the
picture quality becomes but more capacity is required for the
recording. Select XP or SP for programs where quick movement
occurs, such as sports programs, and LP or EP for talk shows, etc.
with relatively less movement.
The recording speeds for a 4.7 GB disc are set as follows:
Instant Timer Recording (ITR)
This easy method lets you record for from 30 minutes to 6 hours
(selectable in 30-min. increments), and shuts the unit off after
recording is finished.
1
Start recording.
Press 7 on the unit.
2
Engage the ITR mode.
Press 7 again. On the front display panel, “0:30”
appears.
3
Set the recording duration.
If you want to record for more than 30 minutes, press 7
to extend the time. Each press extends recording time by
30 minutes.
NOTES:
● You can only perform ITR using the 7 button on the unit’s
front panel.
● It is possible to set the recording duration up to 6 hours, but it
is impossible to set exceeding the disc remaining time.
Watch Another Program While
Recording on the Unit
While recording is going on, you can watch another program on
the TV by using the TV’s tuner. It is required that the Remote is
set to be able to operate the TV in advance. (
੬
pg. 92, “TV
Multi-Brand Remote Control”)
1
Switch the TV to TV mode.
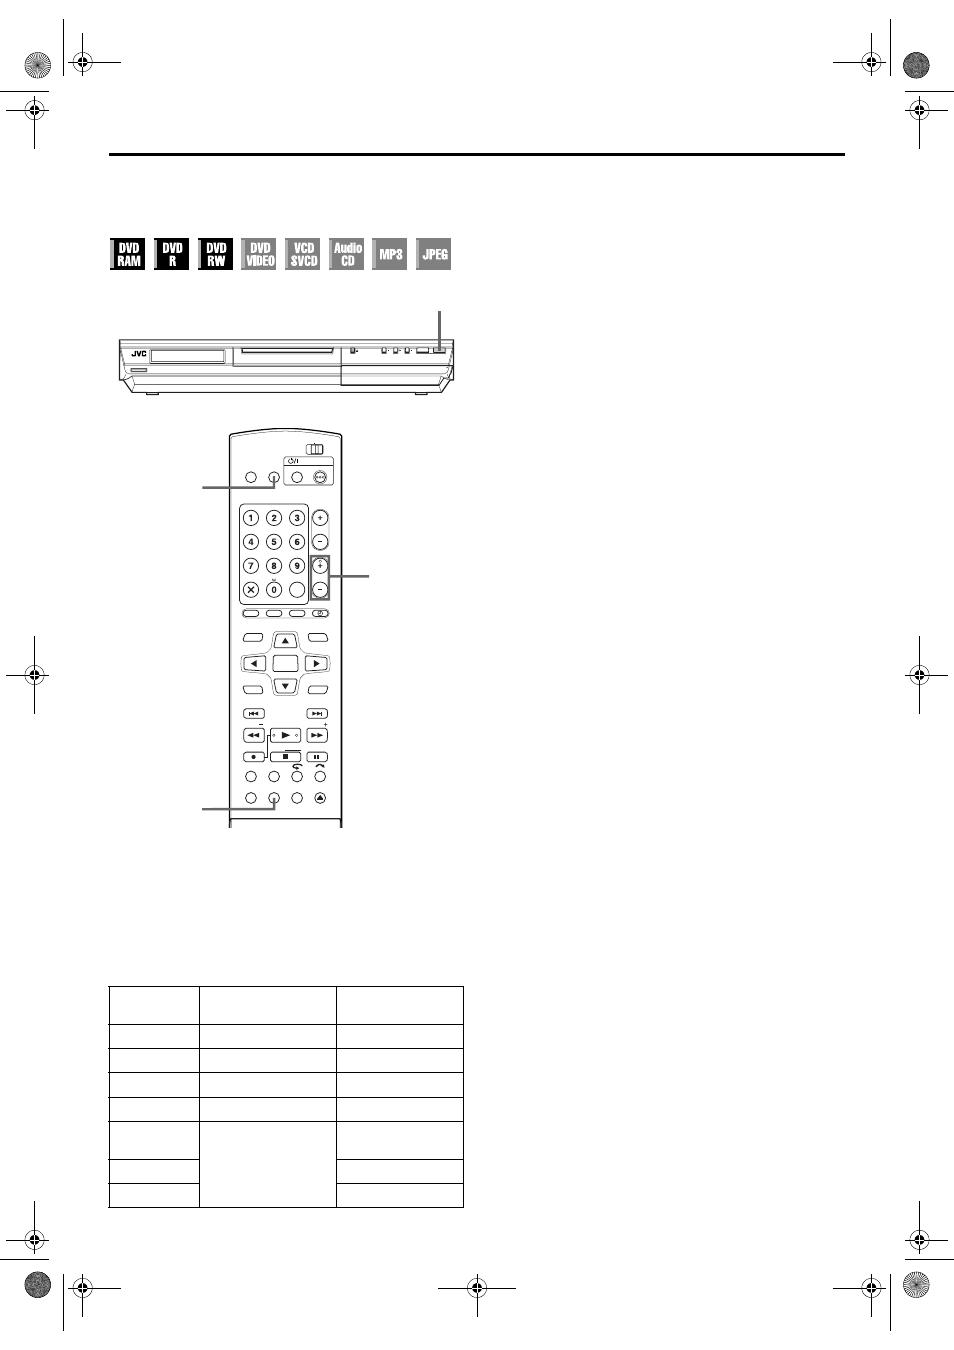
During recording, press TV/VIDEO to select TV mode.
● Video mode is disengaged and the video indicator on the unit
is turned off.
● The program received on the TV’s tuner is displayed on the TV
screen.
2
Switch the Remote to TV control mode.
Slide the TV/CABLE/DBS/DVD switch to TV.
3
Select the desired channel.
Press CH +/– repeatedly.
Elapsed Recording Time and Disc
Remaining Time Indication
During recording, press DISPLAY repeatedly until the
desired indication appears on the front display panel.
● Each time you press DISPLAY, the time indication changes as
follows:
Elapsed recording time ] Disc remaining time ] Clock ]
(Back to the beginning)
Recording
speed
Recording amount
(approx.)
Maximum recording
time (approx.)
XP
10 Mbps
1 hour
SP
5 Mbps
2 hours
LP
2 Mbps
4 hours
EP
1.6 Mbps
6 hours
FR60–FR360
The amount varies
depending on the
selected time.
1 – 6 hours
FR420
7 hour
FR480
8 hour
CABLE/DBS
DVD
TV
DVD
CH
TIMER
REC LINK
PROG/CHECK
VCR Plus+
NEXT
PREVIOUS
PAUSE
REC
REC MODE LIVE CHECK
SET UP DISPLAY ON SCREEN
OPEN/
CLOSE
SLOW
SLOW
PLAY/SELECT
STOP/
CLEAR
NAVIGATION
TOP MENU
RETURN
ENTER
MENU
TV/CBL/DBS
STANDBY/ON
TV
MUTING
TV/
VIDEO
TV VOLUME
ABC
JKL
GHI
MNO
TUV
PQRS
WXYZ
AUX
CANCEL
MEMO/MARK
DBS
DEF
CH +/–
DISPLAY
TV/VIDEO
1 STANDBY/ON
S-VIDEO
VIDEO
L(MONO)-AUDIO-R
DV
DV IN
F1
REC MODE
PULL - OPEN
7
DR-M10U_08Recording.fm Page 58 Tuesday, January 20, 2004 10:06 AM