Extension wings, Moving & placing planer – Grizzly G1033X User Manual
Page 18
-16-
Model g1033X (Mfg. since 4/12)
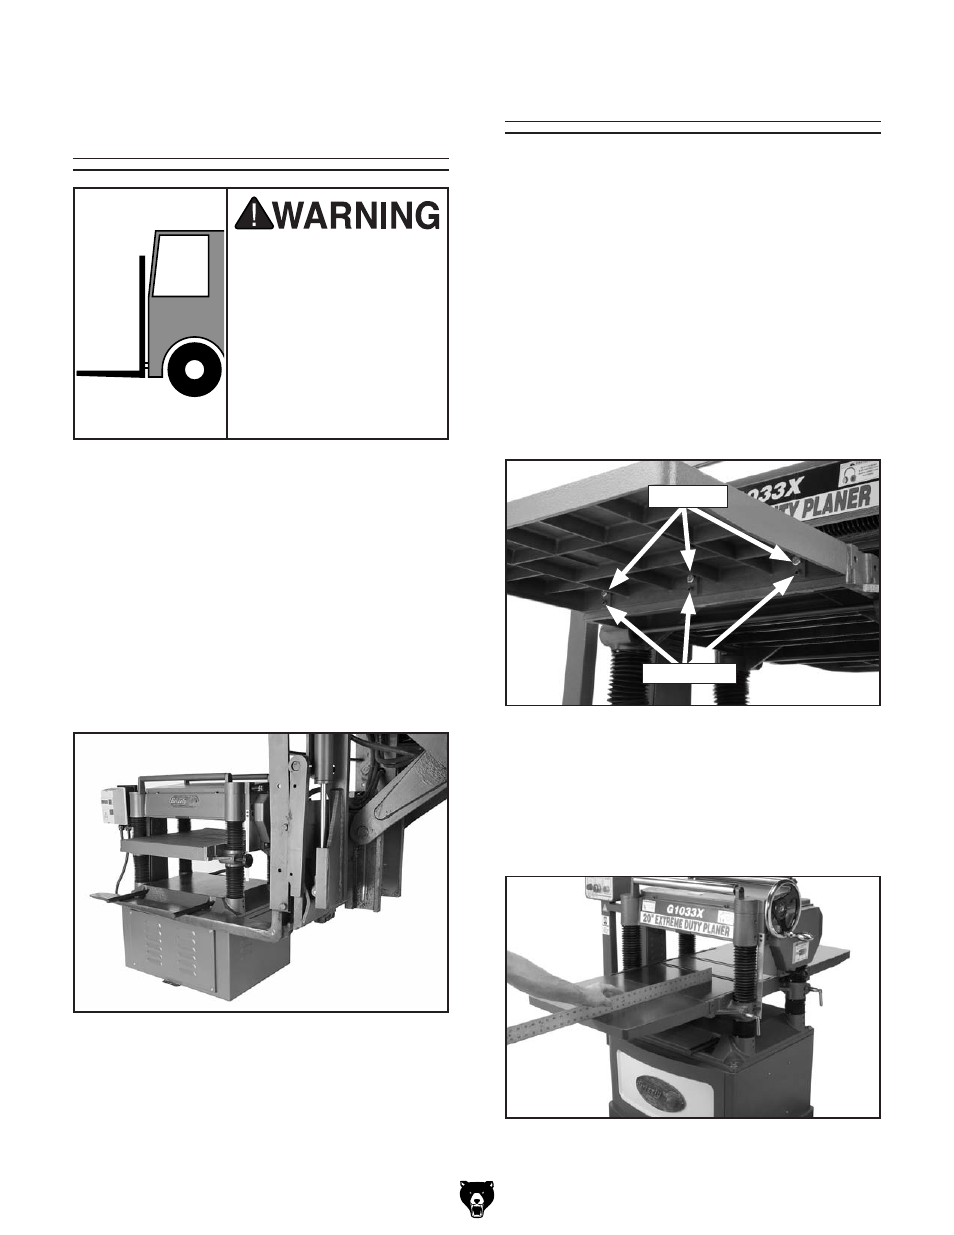
figure 8. leveling extension wings and table.
Components and Hardware Needed:
Qty
table Extension Wings ...................................... 2
hex Bolts M8-1.25 x 25 ..................................... 6
set screws M8-1.25 x 20 .................................. 6
Extension Wings
To attach the table extension wings:
1. With the help of an assistant, attach the table
extension wings to the planer table (
figure 7)
with the M8-1.25 x 25 hex bolts
. hand tighten
the bolts for now.
2. install the M8-1.25 x 20 set screws (figure 7)
in the holes in the bottom of the wings.
figure 7. Extension wing fasteners and leveling
controls.
set screws
hex Bolts
3. Using a straightedge as a guide (figure 8)
and the set screws for leveling control, posi-
tion the extension wings even with the table,
then fully tighten the hex bolts.
Moving & Placing
Planer
the cabinet stand on the Model g1033X is
equipped with lifting bars (see
Page 3) to lift and
place the planer.
When lifting the planer with a forklift, we recom-
mend placing shop rags or cardboard between
the forks and cabinet base so you do not scratch
the paint.
figure 6 shows an example of a typical planer
with lifting bars being lifted correctly with a fork-
lift.
figure 6.
Example of planer being lifted using
forklift.
The Model G1033X is a
heavy machine. Serious
personal injury may occur
if safe moving methods
are not used. To be safe,
get assistance and use
power equipment to move
the shipping crate and
remove the machine from
the crate.