ITC Hemochron Signature Elite Whole Blood Microcoagulation System User Manual
Page 24
24
11.
Press 0 to display the next page (for entering the Remote Port setting) of the XPORT Setup module:
12.
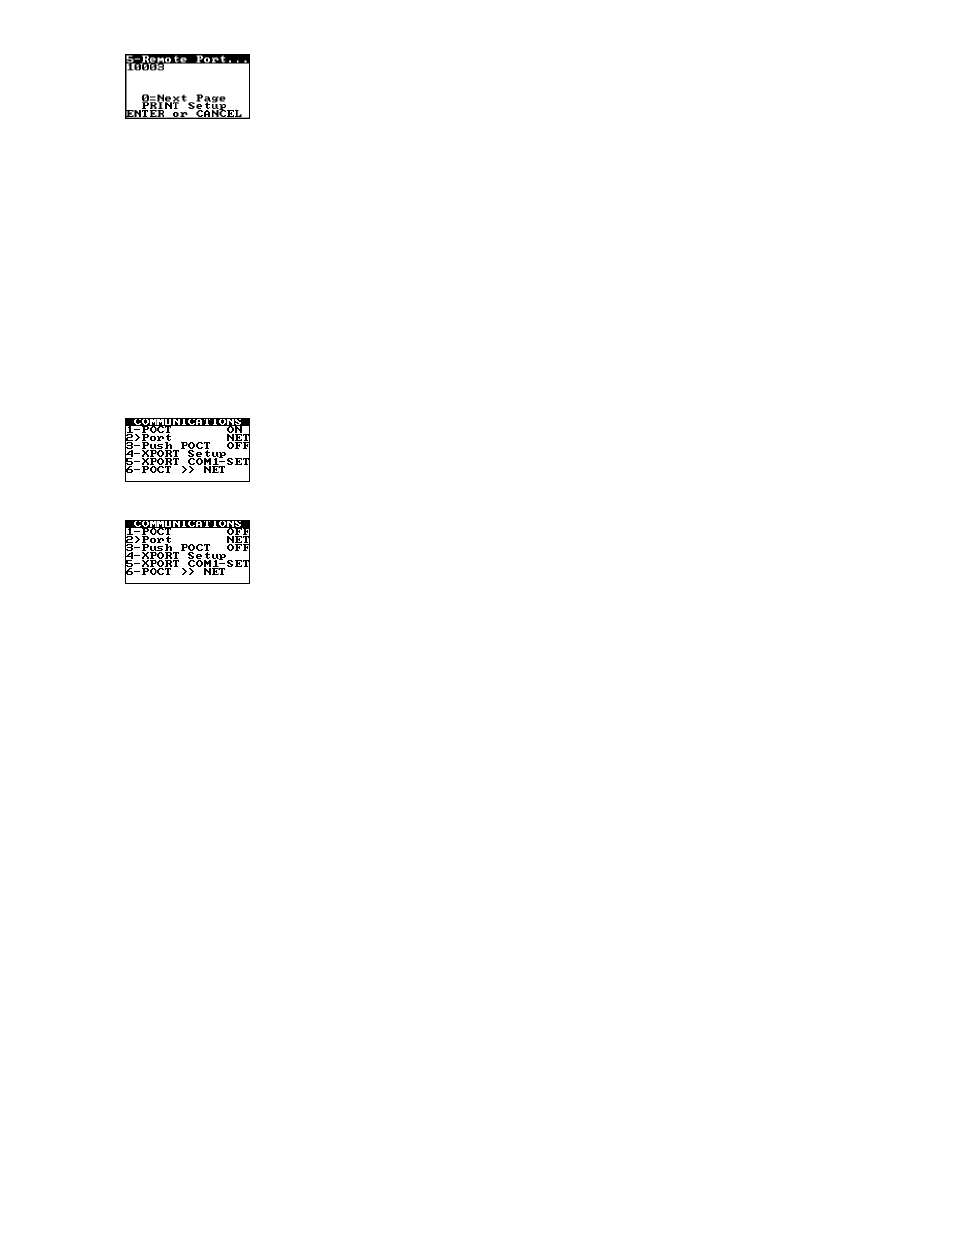
Press 5 to display the screen for entry of the Remote Port. Enter the Remote Port in the same manner
as for the IP Address, then press and hold ENTER to again display the screen for entering the Remote
Port setting.
13.
Press ENTER while any page of the XPORT Setup module is displayed to save the new parameters.
The message Updating XPORT is displayed, followed by the Communications menu (see Step 1).
Important: Parameters are temporarily stored until the Enter key is pressed while any page of
the XPORT Setup module is displayed. If the Cancel key is pressed while any page of the XPORT
Setup module is displayed, the message Cancel without updating XPORT? is displayed for
confirmation by the operator.
Note: The parameters can be printed to a device connected to the COM port by pressing the
PRINT/SCAN key.
Configuring Network Communication Parameters Using a Personal Computer
An experienced network administrator can communicate with the XPORT Setup module and enter
communication parameters using a personal computer connected to the COM port.
1.
From the Supervisor menu, press 7 to display the Communications menu:
2.
(If the CLSI POCT-1A compliant communication protocol is currently ON): Press 1 to toggle ON to
OFF for the ITC proprietary communication protocol:
Note: The CLSI POCT-1A compliant communication protocol must be OFF when running XPORT
Setup.
3.
Press 5 to start the XPORT COM-1 Setup module. The message XPORT Setup Please Wait is
displayed, followed by the message XPORT COM1-SET.
The XPORT module can now communicate with the personal computer through the COM port, using
terminal emulator software such as Microsoft Windows Hyperterminal.
Note: Description of XPORT Setup menus and commands using terminal emulator software is
beyond the scope of this Operator’s Manual. If needed, contact ITC Technical Support for assistance
at (800) 631-5945 or (732) 548-5700, or by e-mail at [email protected].
4.
Upon completing the communication session, press Cancel to exit the session and display the
Communications menu again.