ITC Hemochron Signature Elite Whole Blood Microcoagulation System User Manual
Page 23
23
4.
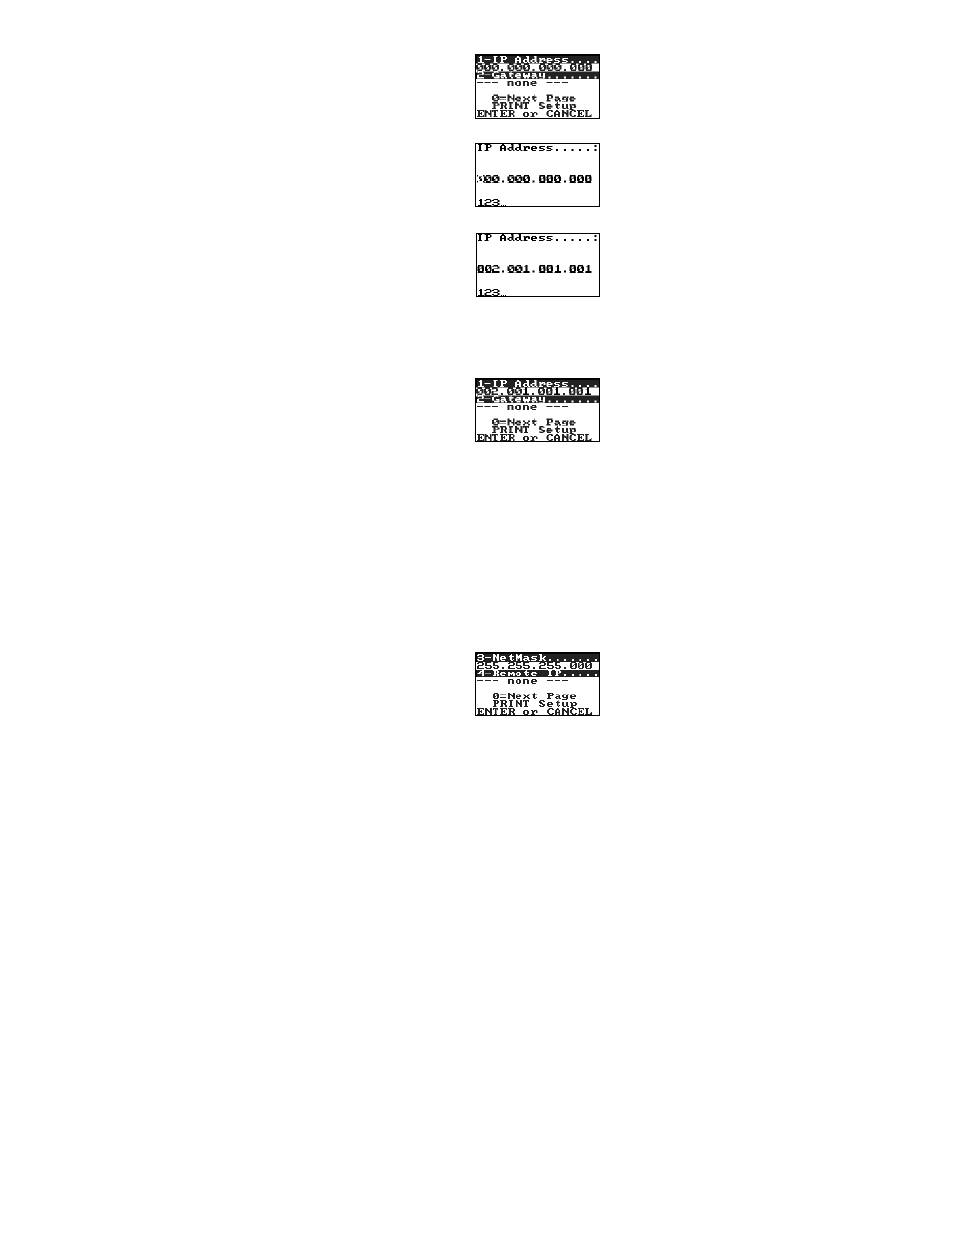
Press 0 to display the next page (for entering IP Address and Gateway settings):
5.
Press 1 to display the screen for entry of the IP Address:
Enter the IP Address using the numeral keys:
Note: Press Enter to move to the next field without entering a numeral. Press Cancel to move to
the previous field.
6.
After the IP Address has been entered, press and hold ENTER. The message Parameter String
Stored is displayed, followed by the screen for entering IP Address and Gateway settings:
Important: The parameter string is temporarily stored. Even though the new parameter is
displayed on the screen, it is not saved until Enter is pressed to exit XPORT Setup (Step 13).
Note: A range of IP addresses (from 169.254.0.1 to 169.254.255.1) has been reserved for Auto-IP
enabled devices. This range of Auto IP addresses should not to be used over the Internet.
Auto-IP can be disabled by setting the device’s IP address to 000.000.001.000. This setting enables
DHCP but disables Auto-IP.
7.
Press 2 to display the screen for entry of the Gateway. Enter the Gateway in the same manner as for
the IP Address, then press and hold ENTER to again display the screen for entering IP Address and
Gateway settings.
8.
Press 0 to display the next page (for entering NetMask and Remote IP settings) of the XPORT Setup
module:
9.
Press 3 to display the screen for entry of the NetMask. Enter the NetMask in the same manner as for
the IP Address, then press and hold ENTER to again display the screen for entering NetMask and
Remote IP settings.
10.
Press 4 to display the screen for entry of the Remote IP. Enter the Remote IP in the same manner as
for the IP Address, then press and hold ENTER to again display the screen for entering NetMask and
Remote IP settings.