49 scanning your film – Epson 10000XL User Manual
Page 49
Using Optional Equipment
49
Scanning Your Film
You can scan your film in either Home Mode or Professional Mode. For greater
control over your scanned images, choose Professional Mode.
Note: Be sure to select the correct Document Type (in Home Mode) or Film Type (in
Professional Mode): Positive Film, Color Negative Film, or B&W Negative Film.
Also, be sure to adjust the focus if you’re placing your film directly on the glass (instead
of in a holder) or are using film holders other than those that came with the scanner. See
page 50.
If you’re using Professional Mode, follow these steps:
1. Open your imaging application, then choose the
Import
(or
Acquire
) option in
the application and select
Epson Expression 10000XL
.
Note: If you are using Windows XP and choose WIA-EPSON Expression
10000XL, certain features won’t be available.
The EPSON Scan dialog box
opens.
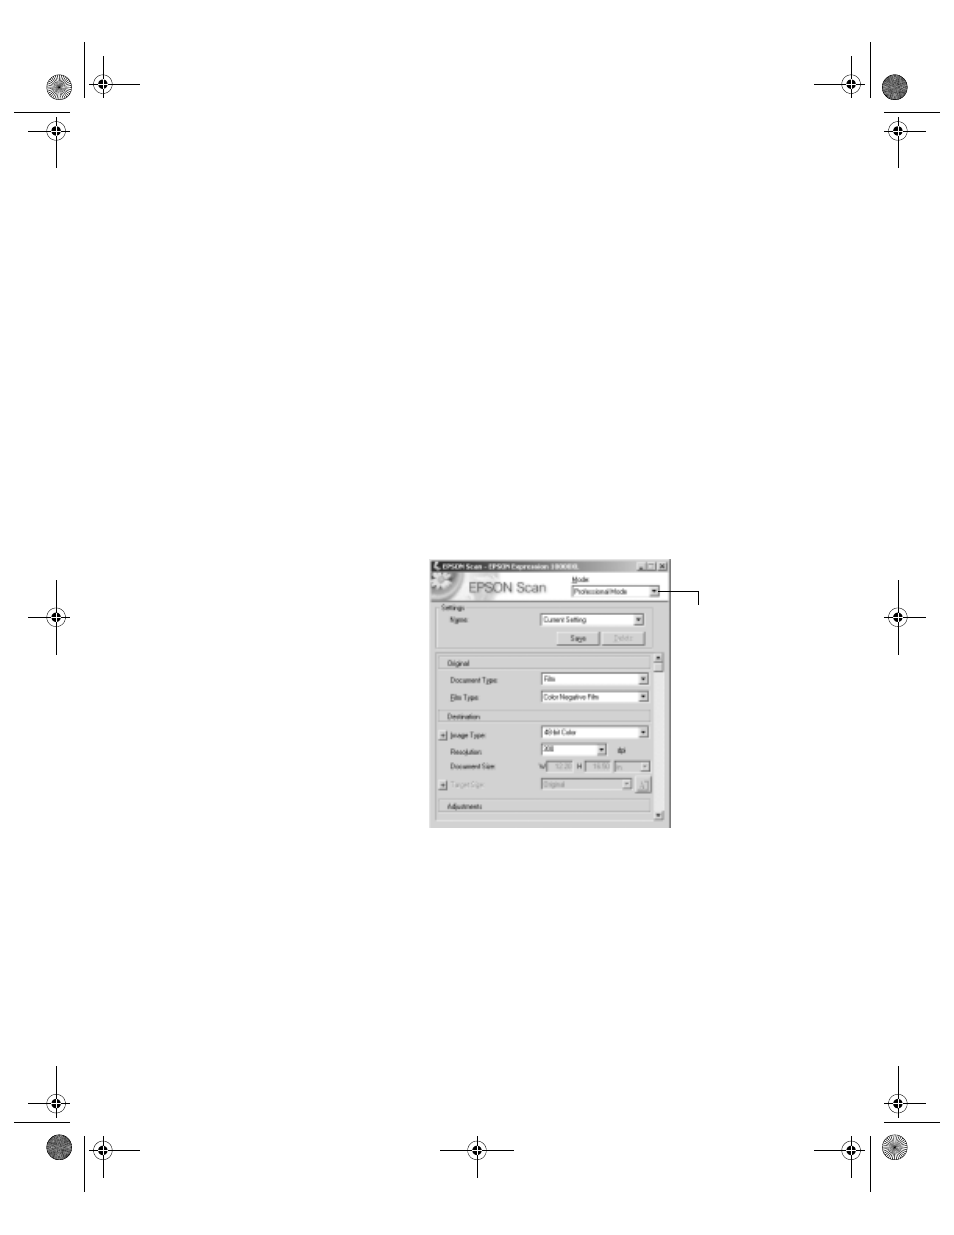
2. Select
Professional Mode
from the selection box at the
top of the screen.
Note: You may have to scroll
down to see all of the settings.
3. Under the Original settings,
select
Film
as your
Document Type, and then
select the correct Film Type
(
Positive Film
,
Color
Negative Film
, or
B&W Negative Film
).
4. Under the Destination settings, choose a color depth from the Image Type menu:
■
48-bit Color
for the highest quality color scans
Note: If you choose this option, make sure your application supports 48-bit
image files (Photoshop Elements does not support 48-bit color). This option
significantly increases your file size.
■
24-bit Color
for high quality color scans
Select
Professional Mode
Scroll down to see
more options
10000XL.book Page 49 Friday, June 4, 2004 1:57 PM