Epson 10000XL User Manual
Page 25
Scanning Basics
25
■
16-bit Grayscale
for the highest quality scans of black-and-white photos or
images
Note: Make sure your application supports 16-bit grayscale.
■
8-bit Grayscale
for high quality scans of black-and-white photos or images
■
Halftone
if you want to create pre-press scans of grayscale images; click to
select an appropriate screening pattern for your print vendor
■
Black & White
for text or line art
Click (Windows) or (Macintosh) to see more options, then choose
Best
or
Draft
for the Scanning Quality.
6. Choose a resolution setting (
50
to
12800
dpi). See page 30 for guidelines.
7. Click the arrow next to the Preview button to select the type of preview screen you
want to use (see page 15). Then click
Preview
to see a preview of your scan.
8. Click and drag within the preview image the select the area you want to scan. Or
do one of the following:
■
If you’re using the Normal preview screen, click the
Auto locate
button
in the preview window to automatically select your entire image.
■
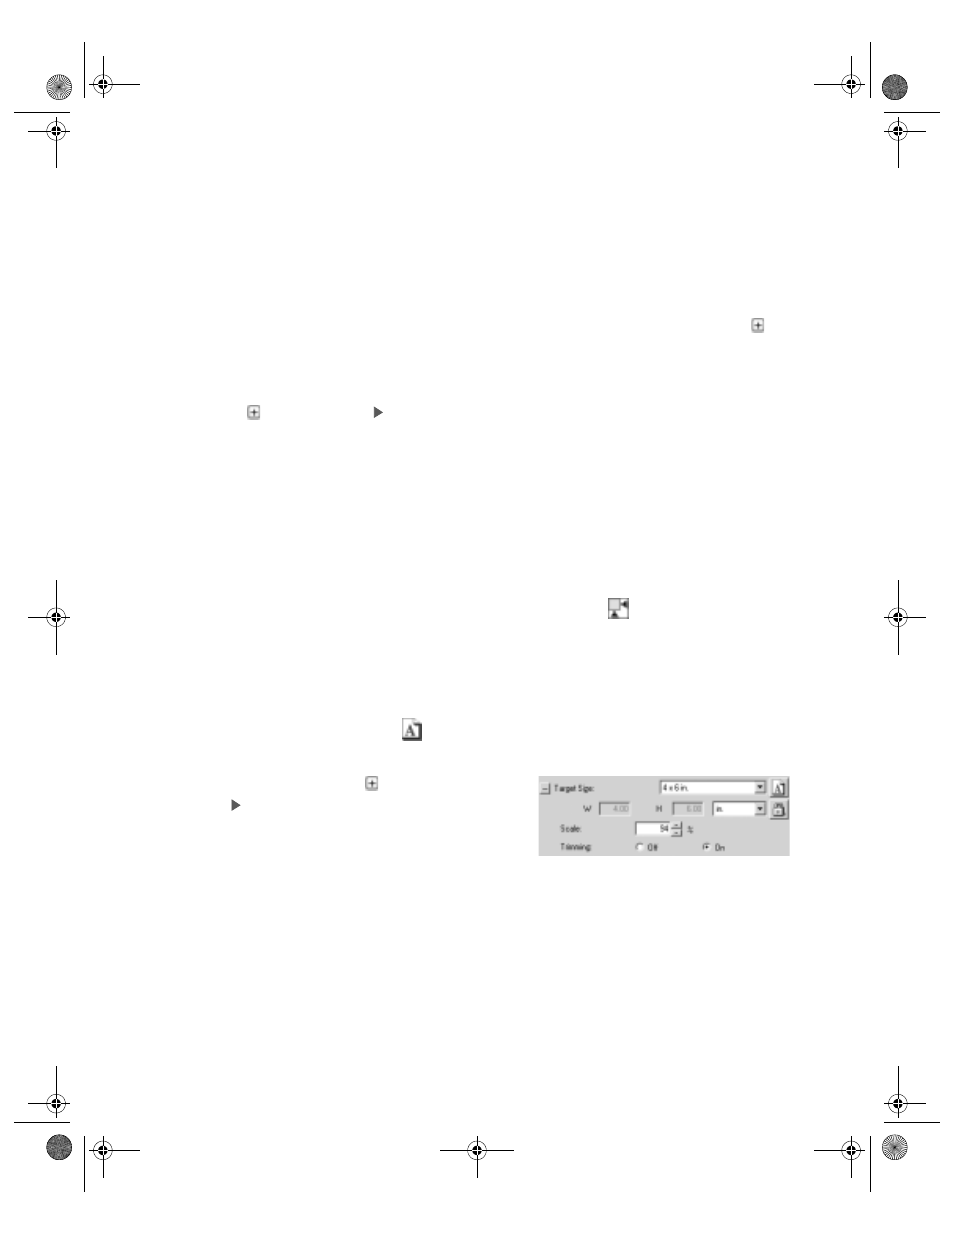
If you know how you plan to use the final image (for example, if you’re
printing it as a 4 × 6 photo), you can create a marquee with exactly the right
proportions. On the main screen, select a
Target Size
(under the Destination
settings), then click the
icon to choose either portrait or landscape
orientation. Move and resize the marquee as needed.
You can also click (Windows) or
(Macintosh) to see more options, then
type in the width and height, or scale the
image with a percentage. If Trimming is
set to
On
, your image is cropped to fit
the target size. If it is
Off
, the proportions of your original image will not be
changed.
Color and exposure adjustments are automatically applied to the marquee-
selected area (unless you’ve turned off
Continuous auto exposure
For best results, make sure only the part of the image you want to scan is selected
(do not include borders or white space around the image).
10000XL.book Page 25 Friday, June 4, 2004 1:57 PM