Epson 10000XL User Manual
Page 14
14
Scanning Basics
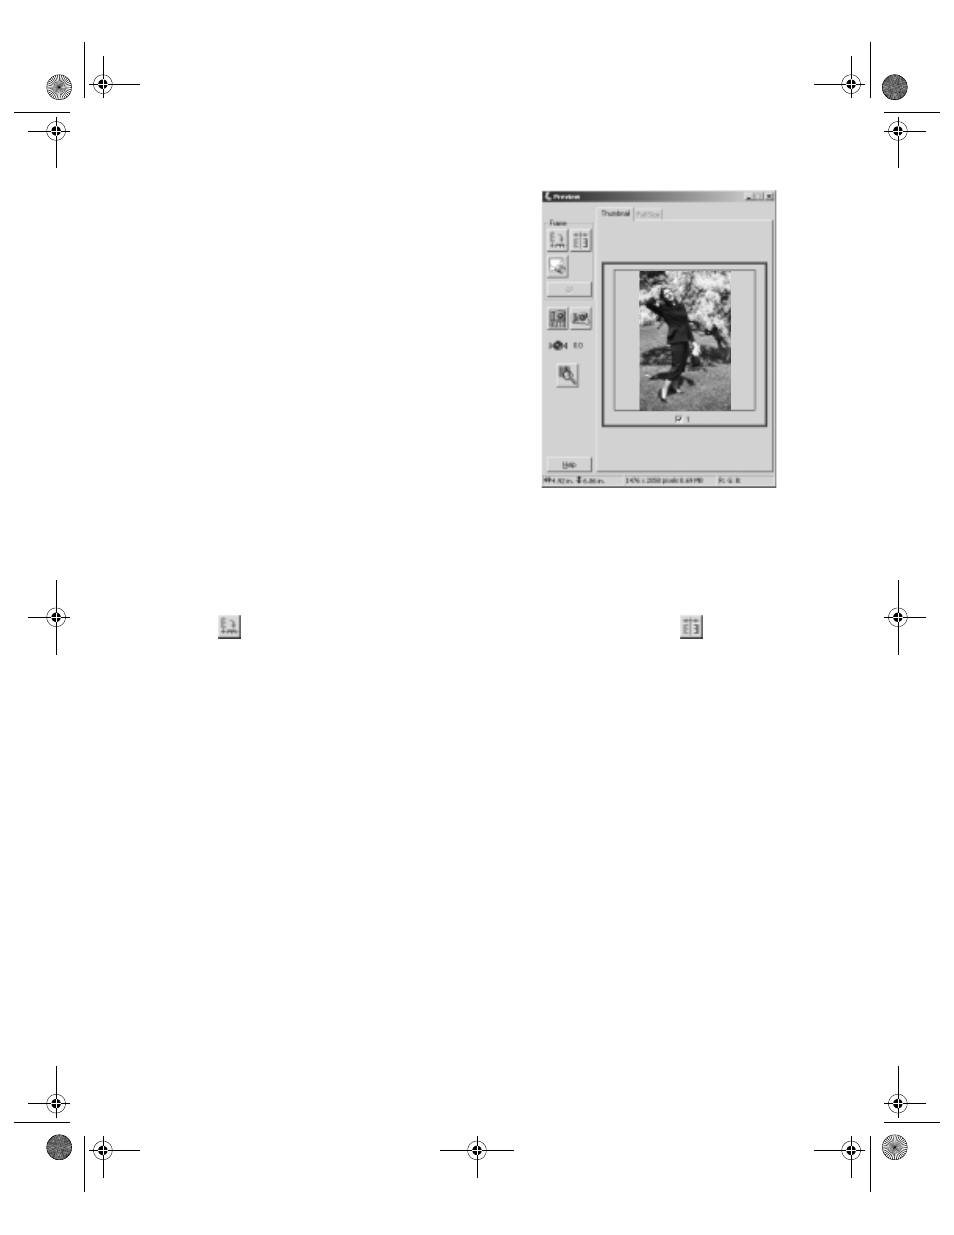
5. Click the
Preview
button to see a preview of
your scan.
Note: The Thumbnail preview screen is shown
at right. Depending on your selected mode, you
may see the Normal preview screen instead.
See page 15 to switch between the Thumbnail
and Normal preview screens.
In Home Mode, you can click the Auto preview
checkbox to make the preview screen open
automatically whenever you launch EPSON
Scan.
6. Click and drag within the preview image to
select the area you want to scan. See page 15
for details on selecting the scan area.
Note: Image quality adjustments will be automatically applied to the selected
area, unless you’ve turned off the Continuous auto exposure setting (see
page 32). For best results, avoid including borders with the selected area.
7. If you’re previewing your image as a thumbnail (as shown above), you can click
the
button to rotate the image, if needed. You can also click the
button
to mirror the image.
8. Click
Scan
.
9. When scanning completes, click
Close
to exit EPSON Scan and view the scanned
image in your imaging application.
Now you can use your imaging application to further modify the image, save it to
your hard drive, or print it.
10000XL.book Page 14 Friday, June 4, 2004 1:57 PM