Epson 10000XL User Manual
Page 16
16
Scanning Basics
in the Thumbnail preview screen, the document table area is already cropped out,
but you may still need to apply a marquee to remove any borders.
■
By target size
If you know how you plan to use the final image (for example, if you’re printing it
as a 4 × 6 photo or digitally projecting it), you can create a marquee with exactly
the right proportions. On EPSON Scan’s main screen, select a
Target Size
(under the Destination settings), then click the
icon to choose either portrait
or landscape orientation. Move and resize the marquee as needed.
Once you select the scanning area, image quality adjustments are automatically
applied within the marquee (unless you’ve turned off
Continuous auto exposure
;
see page 32). For best results, do not include borders when selecting the image area.
Moving and Resizing Marquees
Once you’ve created a marquee, you can move and resize it if necessary.
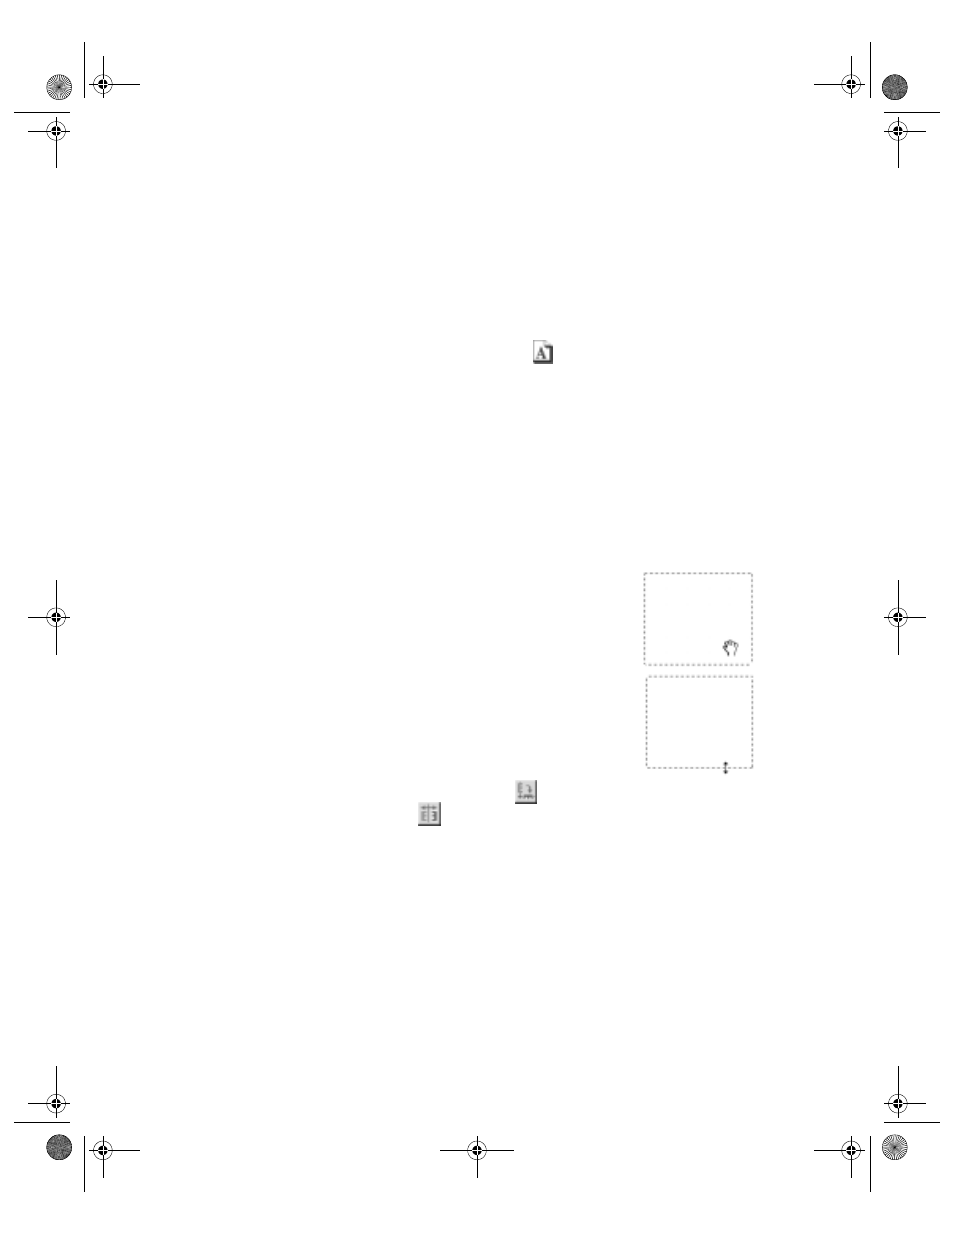
■
To move the marquee, place the cursor within its borders.
When the cursor turns to a hand symbol, click and drag
the marquee to a new position. Hold down the
Shift
key
to limit movement to the horizontal or vertical directions.
■
To resize the marquee, place the cursor on its edge or
corner. When the cursor turns into an arrow symbol, click
and drag to resize the selection area. Hold down the
Shift
key to resize the marquee proportionally.
If you’re viewing your image on the Thumbnail preview screen
and it appears sideways or upside down, click the
button to
rotate the image upright. Click the
button to create a
mirror image.
Applying Image Adjustments
After positioning the marquee where you want it, you can make additional image
quality adjustments. The adjustments apply only to the selected area.
See page 26 for more information about applying basic exposure and color
adjustments. You can also restore color or apply special filters to enhance your images,
as described on page 33.
10000XL.book Page 16 Friday, June 4, 2004 1:57 PM