Enhancing photographs, Using custom project types – Epson 2500 User Manual
Page 51
Printing
45
Enhancing Photographs
If you have low resolution photographs, special print settings
can improve their appearance. Although you can also edit your
photos with PhotoDeluxe, the changes you make are
permanently applied to your photos. When you use your print
settings, it only affects the printout, not the photo itself.
1. Open your EPSON Stylus Scan 2500 Properties window
(Windows; see page 39) or Print options (Macintosh; see
page 43).
2. Set the Media Type for the paper you’re printing on, then
choose the
Color
Ink setting.
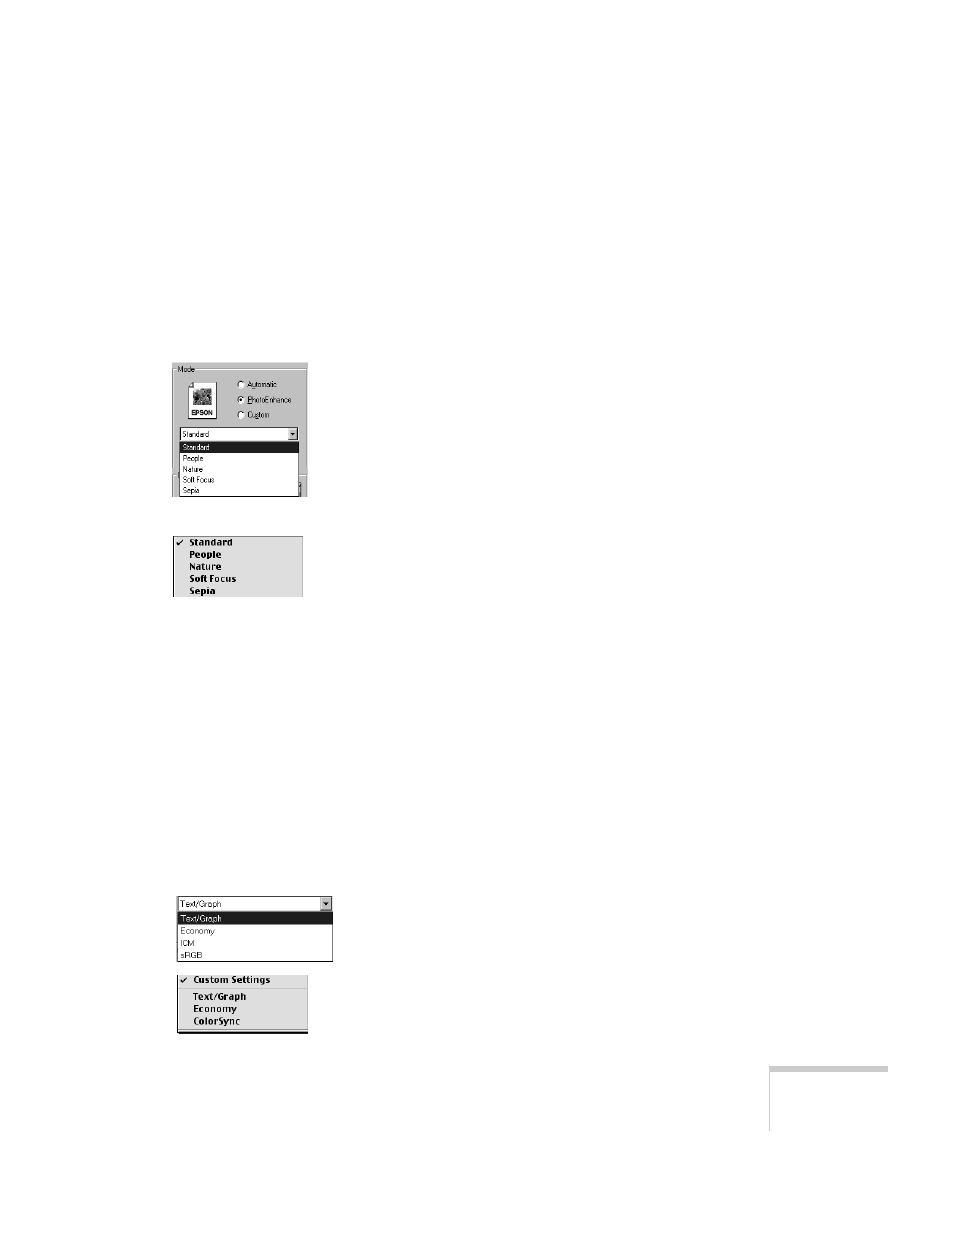
3. Click
PhotoEnhance
, then click
Standard
to display the
available settings, as shown at the left.
4. Choose
Standard
for most photos, or experiment with the
other settings.
5. Select any other settings you need to change, then:
W
Click
OK
until you see the Print window again. Then click
OK
(or
) to start printing.
M
Click
to start printing.
Using Custom Project Types
Custom project types let you choose settings for presentation
graphics, ink savings, or color matching. Some project types
may not be available, depending on your operating system and
other settings you choose.
1. Open your EPSON Stylus Scan 2500 Properties window
(Windows; see page 39) or Print options (Macintosh; see
page 43).
2. Select the Media Type setting for your paper, then choose
Color
or
Black
Ink.
3. Click the
Custom
button, then click the
Custom
Settings
list. You see a list of custom project types, as
shown to the left.
Windows
Macintosh