Epson BrightLink 450Wi User Manual
Page 98
98
Using the Projector on a Network
5. For the WEP encryption setting, select
128Bit
or
64Bit
and press
Enter
. Press
Esc
to return to the previous menu.
6. For Format, highlight
ASCII
to enable text input or
HEX
to
enable hexadecimal input, then press
Enter
. Press
Esc
to return to
the previous menu.
7. If you chose
64Bit
as WEP Encryption, choose
Encryption key
1
,
2
,
3
, or
4
. Press
Esc
to return to the previous menu.
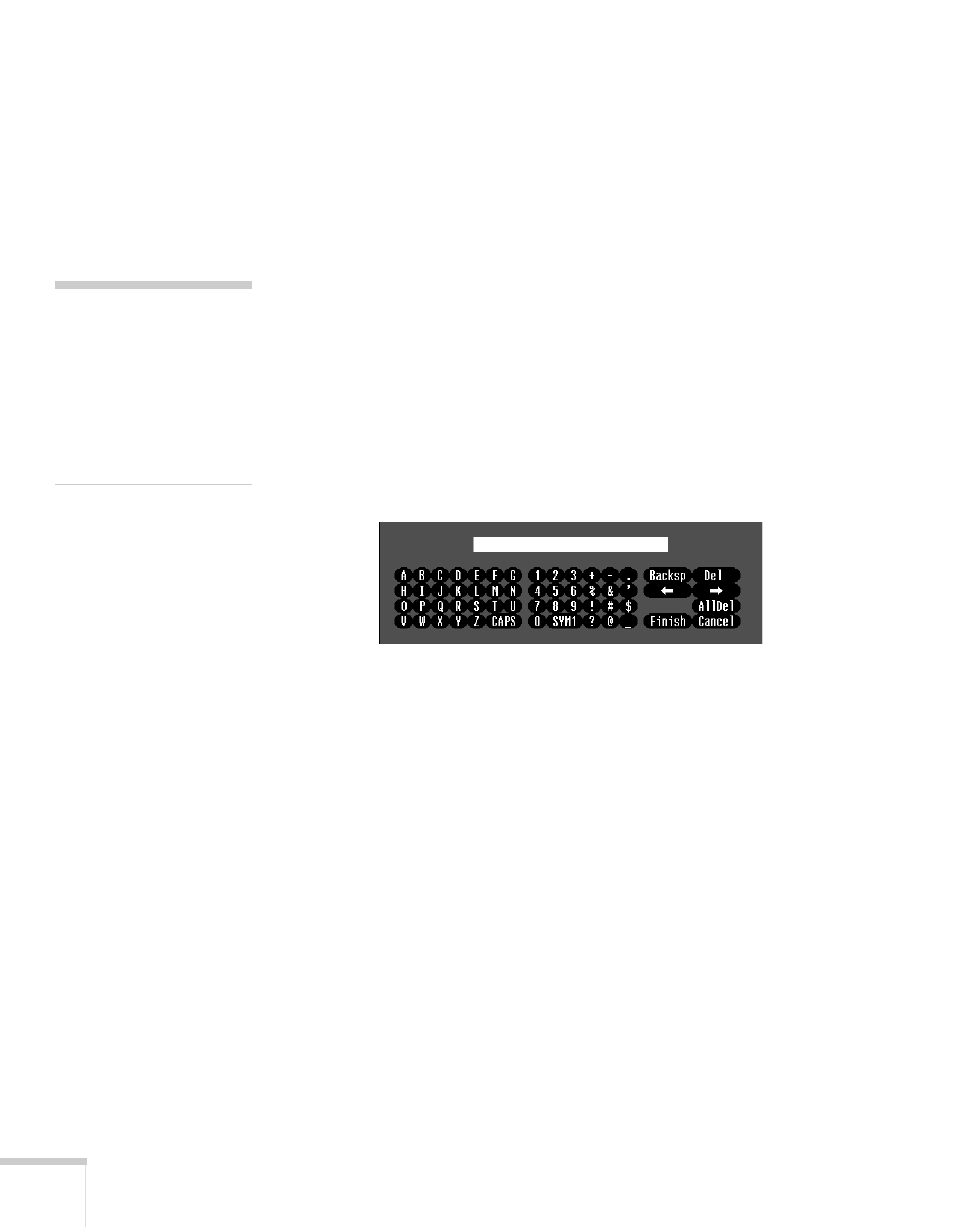
Highlight the
Encryption key
that corresponds to the Key ID
you selected, then press
Enter
. Use the arrow buttons to select
individual letters; then press
Enter
to input a character. To add a
blank space or to navigate backward and forward through the
input text, highlight the arrows and press
Enter
. To toggle
symbol settings or capital letters, highlight the option and press
Enter
. When you’re done, highlight
Finish
and press
Enter
.
8. Check with your network administrator for directions on entering
a key for your network, and follow these general guidelines:
■
For 128 bit WEP encryption with hexadecimal input, enter
26 characters, from 0 to 9 and from A to F.
■
For 64 bit WEP encryption with hexadecimal input, enter 10
characters, from 0 to 9 and from A to F.
■
For 128 bit WEP encryption with ASCII or text input, enter
13 alphanumeric characters.
■
For 64 bit WEP encryption with ASCII or text input, enter 5
alphanumeric characters.
9. For Authentication Type, select
Open
or
Shared
, depending on
the setting your network uses. Press
Esc
to return to the previous
menu.
note
Text input for WEP
encryption varies with
different access points; check
with your network
administrator. Try ASCII
first. If that doesn’t work,
try Text2 and then Text3.