Printing with windows – Epson 740i User Manual
Page 57
51
Printing with Windows
1. Make sure your printer and computer are turned on.
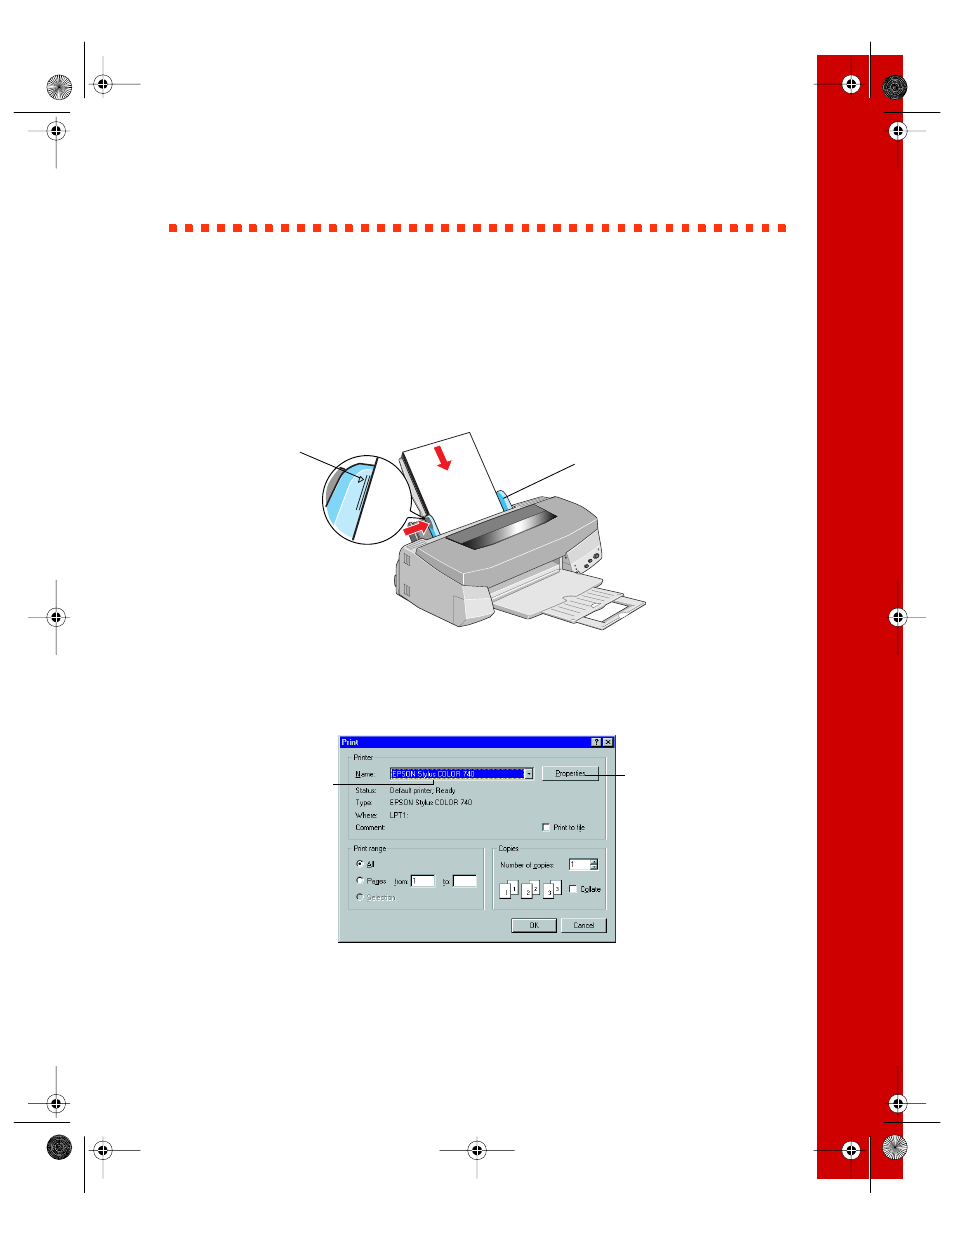
2. Load a stack of plain paper with the printable side up and place it against the right
edge guide. Then slide the left edge guide against the paper’s left edge, making
sure the stack is lower than the arrow on the guide. If you are using letterhead or
preprinted paper, be sure the top of the paper feeds into the printer first.
3. Open a Windows application program and select a document to print.
4. Open the File menu and click
. You see the Print dialog box for your
application (the Print dialog box for your application may look slightly different):
5. Make sure
EPSON Stylus COLOR 740
is selected. (Although your printer is
named the EPSON Stylus COLOR 740i, be sure to select EPSON Stylus
COLOR 740 in your application’s print dialog box.)
slide paper against the
right edge guide
load paper only
up to this arrow
if you see a Properties
button, click it
if you see Setup, Printer,
or Options, click that
button instead; then click
Properties in the next
screen
make sure your printer
is selected here
740i.book Page 51 Thursday, April 15, 1999 2:11 PM