Setting the destination, Setting the destination -9, E 8-9 – TA Triumph-Adler P-C2660i MFP User Manual
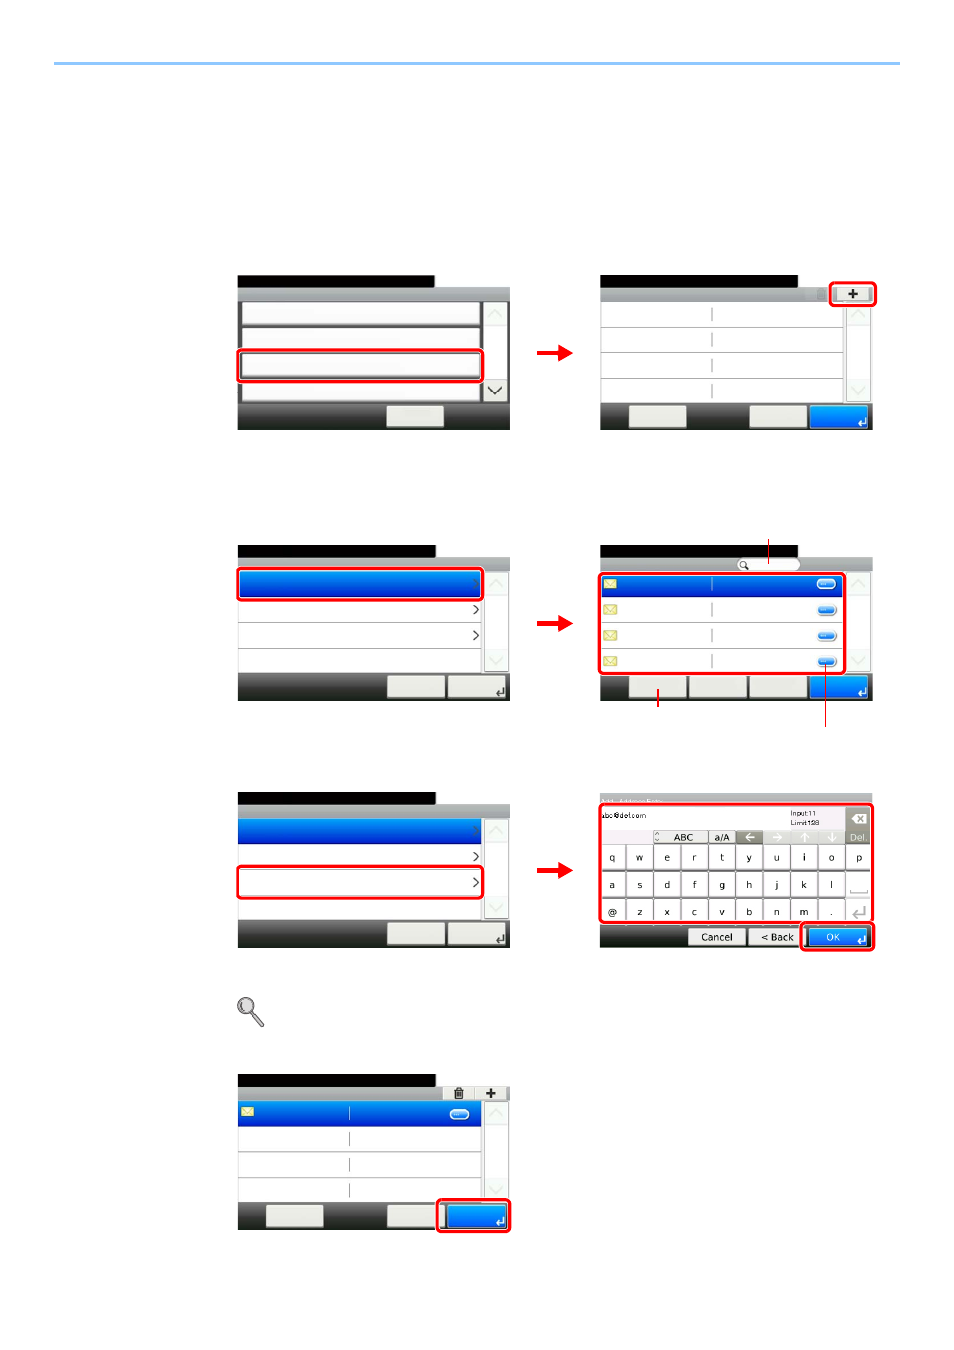
Page 249: Display the screen, Select the destination, Accept the destination, Status / job cancel > sending the log history, Searches by destination name

8-9
Status / Job Cancel > Sending the Log History
Setting the Destination
Set the destination to which log histories are sent.
1
Display the screen.
1
Referring to Sending the Log History on page 8-8, display the screen.
2
2
Select the destination.
Select from the Address Book.
Enter a new e-mail address.
Up to 128 characters can be entered.
Refer to Character Entry Method on page 11-8 for details on entering characters.
3
Accept the destination.
Sending Log History - Destination
10:10
System Menu/Counter.
Menu
1/1
OK
Cancel
G
B
0578_00
G
B
0581_00
Send Log History
10:10
System Menu/Counter.
Auto Sending
< Back
1/2
Off
Destination
E-mail:
Report - Sending Log History
Job Log Subject
1
2
Add - Address Book
10:10
System Menu/Counter.
AAA
Menu
1/1
OK
BBB
CCC
DDD
Cancel
< Back
G
B
039
8_01
G
B
058
3_00
Add
10:10
System Menu/Counter.
Ext. Address Book
Address Entry
Address Book
Cancel
1/1
Next >
Displays details for individual destinations.
Allows you to search for and sort destinations.
1
2
Searches by destination name.
G
B
0057_22
G
B
0583_00
Add
10:10
System Menu/Counter.
Ext. Address Book
Address Entry
Address Book
Cancel
1/1
Next >
2
3
1
Sending Log History - Destination
10:10
System Menu/Counter.
Menu
1/1
OK
Cancel
G
B
0581_01
