Function paraxmode – HEIDENHAIN TNC 620 (73498x-01) User Manual
Page 337
HEIDENHAIN TNC 620
337
1
0
.2 W
o
rk
ing with the par
a
llel ax
es U
, V and W
FUNCTION PARAXMODE
Use the PARAXMODE function to define the axes the TNC is to use for
machining. You program all traverse movements and contour
descriptions in the principal axes X, Y and Z, independent of your
machine.
Define the three axes in the PARAXMODE function (e.g. FUNCTION
PARAXMODE X Y W
), which the TNC is to use to execute the programmed
traverse movements.
Proceed as follows for the definition:
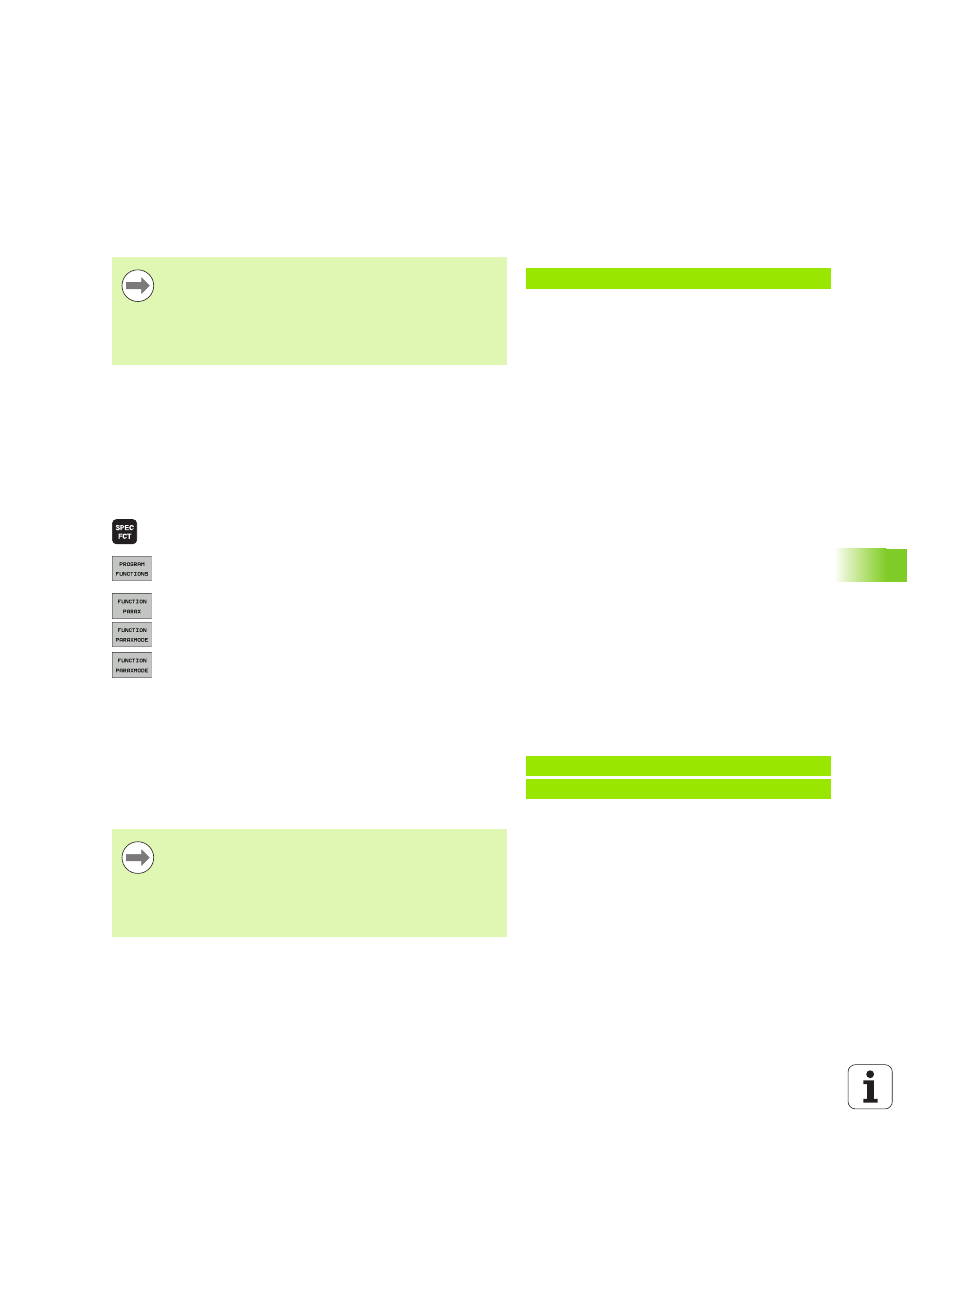
U
Show the soft-key row with special functions
U
Select the menu for defining various plain-language
functions
U
Select FUNCTION PARAX
U
Select FUNCTION PARAXMODE
U
Select FUNCTION PARAXMODE
U
Define the axes for machining
Move the principal axis and the parallel axis simultaneously
If the PARAXMODE function is active, the TNC uses the axes defined in
the function to execute the programmed traverse movements. If the
TNC is to traverse a parallel axis simultaneously with the associated
principal axis, you can identify the respective axis by additionally
entering the character "&". The axis with the & character then refers to
the principal axis.
Example: NC block
13 FUNCTION PARAXMODE X Y W
To activate the PARAXMODE function, you must always define
three axes.
If you combine the PARAXMODE and PARAXCOMP functions, the
TNC deactivates the PARAXCOMP function for an axis that
was defined in both functions. When you deactivate
PARAXMODE
, the PARAXCOMP function becomes active again.
Example: NC block
13 FUNCTION PARAXMODE X Y W
14 L Z+100 &Z+150 R0 FMAX
The syntax element "&" is only permitted in L blocks.
Additional positioning of a principal axis with the "&"
command is done in the REF system. If you have set the
position display to "actual value", this movement will not be
shown. If necessary, switch the position display to "REF
value".