Connecting and installing optical edge detection, 2 har dw a re installation – HEIDENHAIN ND 1200 User Manual
Page 84
84
2 Installation and Specifications
2.2 Har
dw
a
re
Installation
Connecting and installing optical edge detection
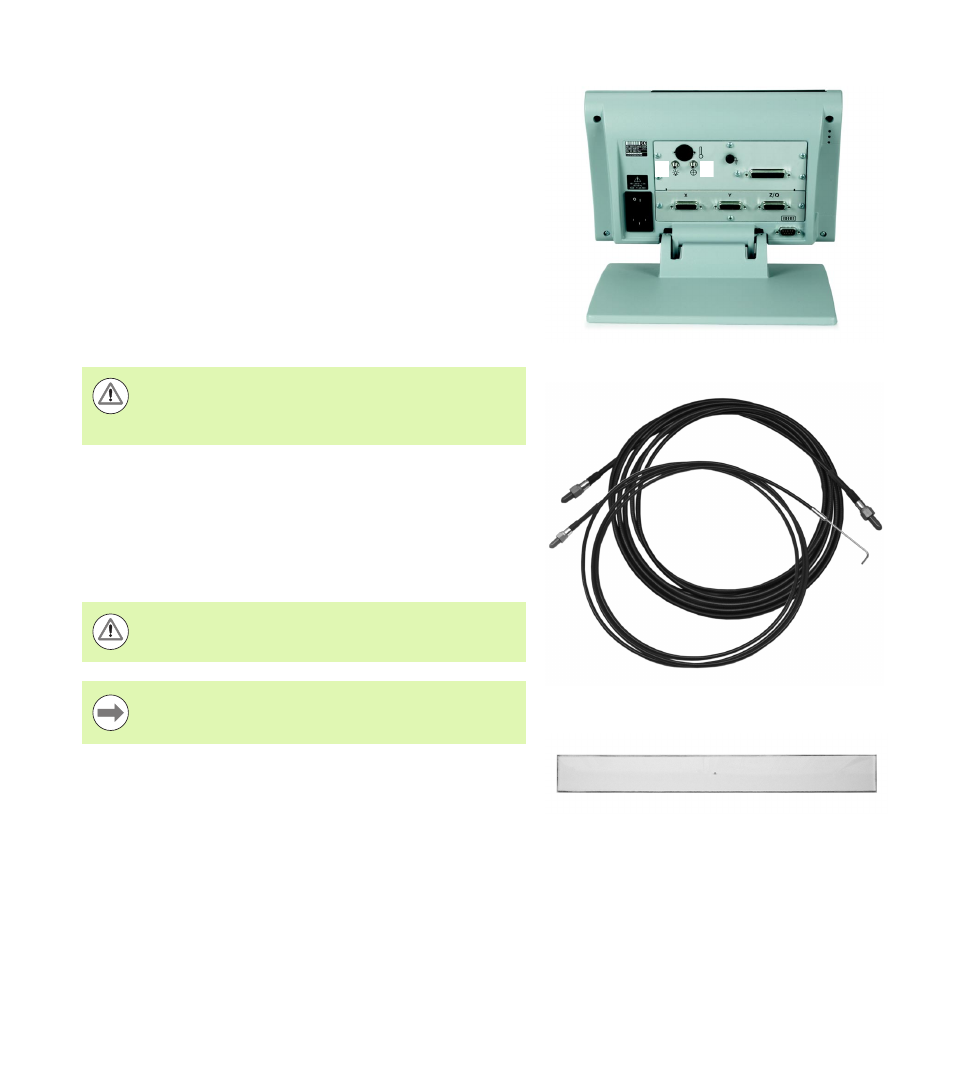
The optical edge detection option reference and sensor cables are
connected to two cable jacks on the rear of the ND 1200.
The optical cable jacks are shown here:
The reference cable is connected to the light reference source. The
sensor cable mounts over the comparator screen and detects light-to-
dark transitions. To connect the cables:
U
Verify that the ND 1200 and comparator are off.
U
Connect the reference and sensor cables to the ND 1200.
U
Point the comparator end of the reference cable end directly at the
comparator lamp. Consult the comparator manufacturer’s
information for specific mounting instructions.
U
Connect the sensor cable to the comparator. When the sensor will
be located in front of the screen, secure the end of the sensor cable
to the comparator screen using the plexiglas cable holder provided.
Place the cable holder under the comparator’s chart clips so the
small hole in the center of the holder is positioned over an
illuminated portion of the comparator screen, and then insert the
metal tip of the sensor cable through the hole and flush against the
screen.
Reference and sensor cable inputs
Reference and sensor cable inputs
Plexiglas optical sensor cable holder
2
1
1
Reference cable input
2
Sensor cable input
Avoid mounting fiber-optic cables very near the lamp. High
temperatures degrade fiber-optic cable performance.
Install the cable to receive cooling air from the lamp fan if
possible.
Be careful not to scratch the screen with the metal tip.
Software installation of the optical edge detector is
explained later in this chapter. See "Optical edge detection
setup" on page 96.