Measurement configuration, Measure screen, 3 sof tw a re set u p – HEIDENHAIN ND 1200 User Manual
Page 112
112
2 Installation and Specifications
2.3 Sof
tw
a
re
set
u
p
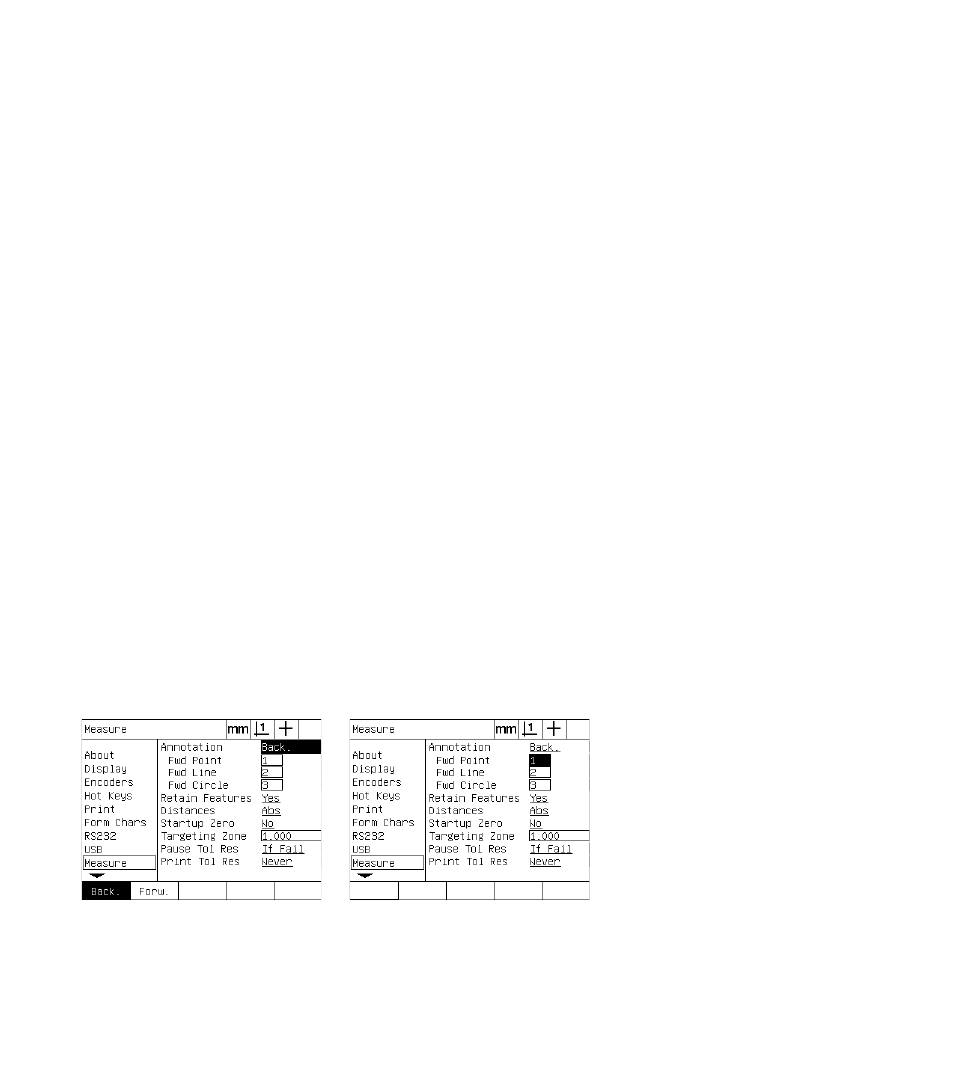
Measurement configuration
The Measure screen contains data and choice fields for configuring
ND 1200 measurement parameters.
Measure screen
The Measure screen contains configuration fields for:
Specifying forward or backward annotation point probing
Retaining features across power cycles
Specifying absolute or signed distances
Requiring a machine zero upon startup
Specifying a probing targeting zone size for programs that utilize
optical edge detection
Specifying program pauses if tolerance failures are encountered
Specifying printed reports depending on tolerance results
To configure measurement parameters:
U
Press MENU/SETUP to display the setup menu and then highlight
the Measure menu item.
U
Highlight the Annotation choice field and then press the BACK soft
key to allow the user to probe up to 100 points when measuring a
feature. Press the FORW soft key to complete a feature
measurement automatically when the number of points specified by
the Fwd data fields have been probed. For example, when FORW is
selected and the Fwd Circle value is 3, a circle measurement will be
completed automatically when 3 points have been probed.
U
Highlight each of the Fwd feature data fields and enter the number
of probed points required to automatically complete a measurement
for each feature type when forward annotation is used. The
minimum numbers are:
Point
1 probed point
Line
2 probed points
Circle
3 probed points
Select backward or forward annotation
Enter the minimum number of points for
forward annotation probing