Step 2: install the camera, Step 3: connect the cables – ACTi Bullet Camera on Straight Wall with Bundled Bracket User Manual
Page 7
Installation Guide
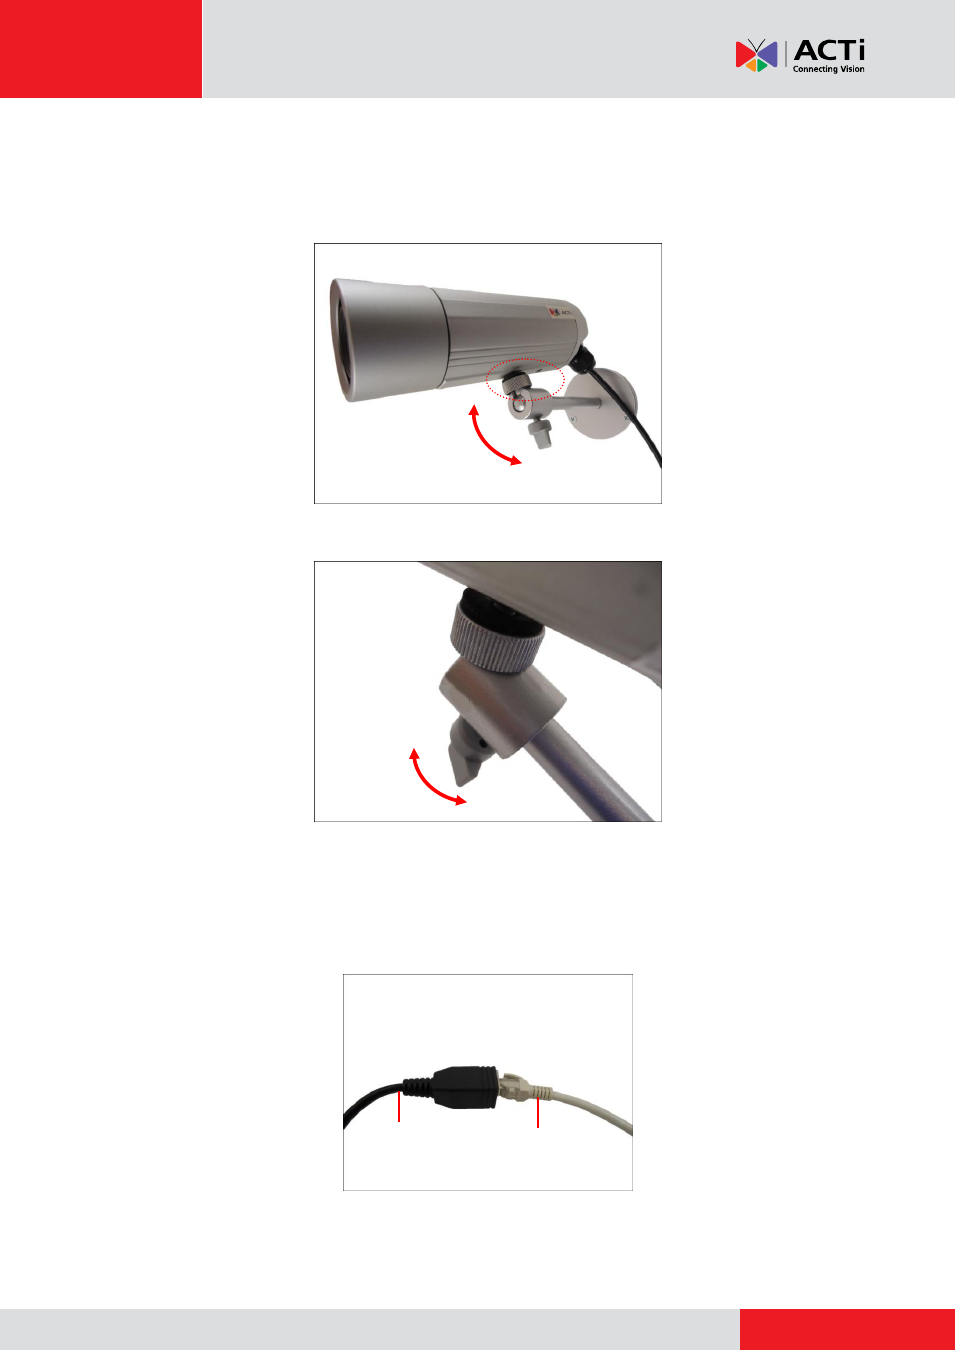
Step 2: Install the Camera
1.
Depending on how you want to install the camera, attach the camera to the bracket through
one of the two (2) holes below or to the hole on the back cover (only in D3x series).
2.
Adjust the camera viewing angle and tighten the knob to fix the camera position.
Step 3: Connect the Cables
1.
Connect the Ethernet cable from the network side to the Ethernet port of the camera to
complete the installation.
NOTES on using Ethernet cables:
For outdoor installations, it is recommended to use
exterior-grade
Ethernet cables (CAT5/CAT5e/CAT6); ordinary Ethernet cables are only
Camera Side
Network Side
This manual is related to the following products:
- Bullet Camera on Straight Wall with Heavy Duty Bracket Bullet Camera on Tilted Wall with Bundled Bracket Bullet Camera on Hard Ceiling with Bundled Bracket Bullet Camera on Dropped Ceiling with Bundled Bracket Bullet Camera on Corner with Accessory Set Bullet Camera on Vertical Pole with Accessory Set