Create cue marks during recording, Manual cue marking during recording, Add cue marks automatically to recording – Teac DR-22WL Reference Manual User Manual
Page 23: 4 – recording
TASCAM DR-22WL
23
4 – Recording
2. To switch to the overdubbing mode, press the F2
button. The overdubbing and airdubbing modes will appear
in turn on the screen.
After selecting, either the
OVERDUB
or the
AIRDUB
screen will be displayed.
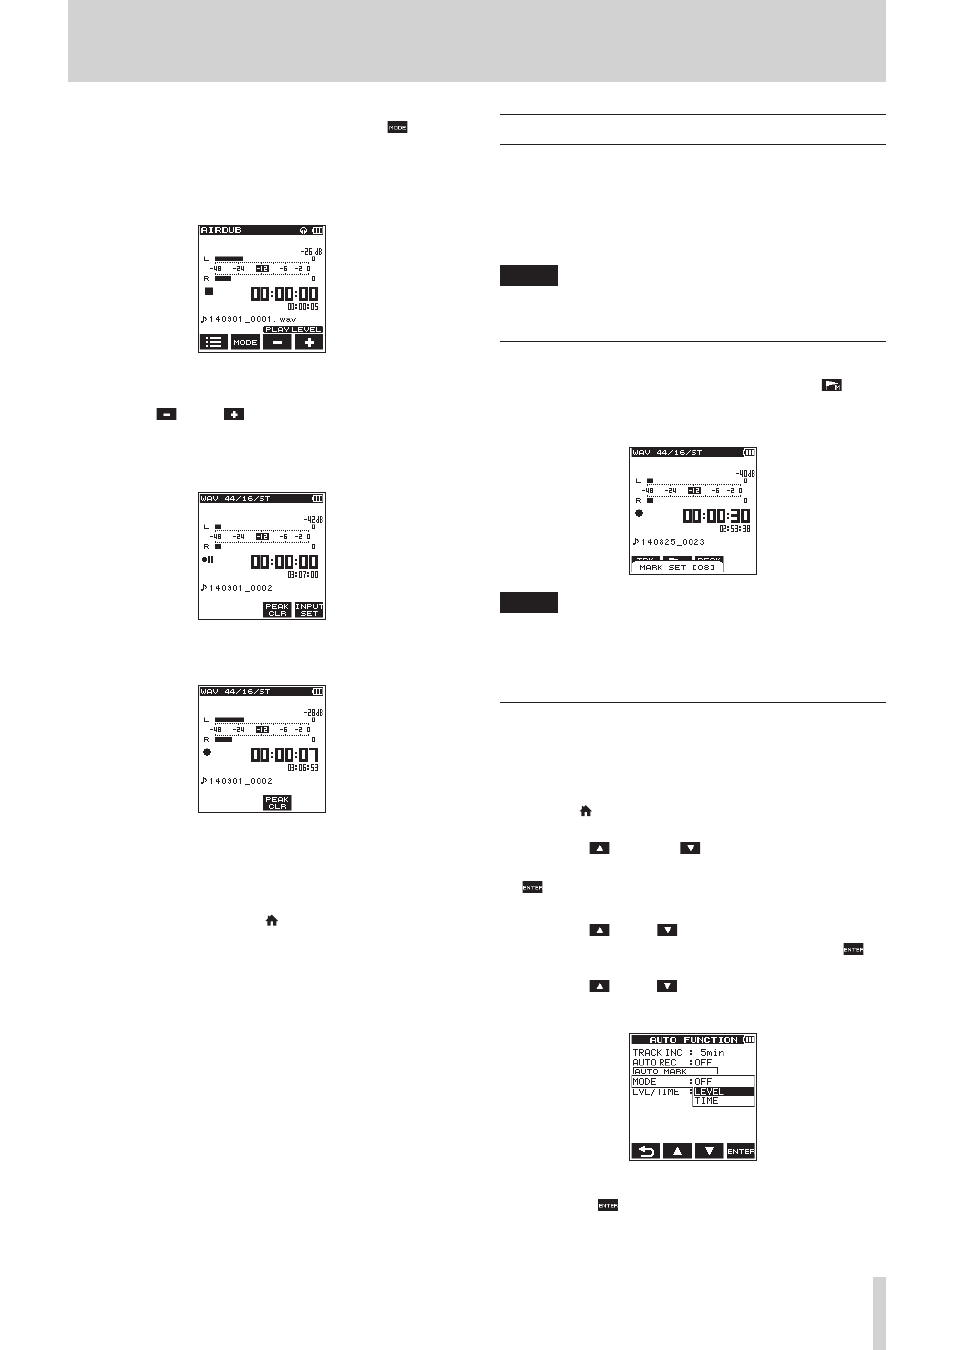
AIRDUB mode
3. Press the PLAY button to play the file for overdubbing, and
use the F3
and F4
buttons to adjust the playback
volume.
4. Press the RECORD button to set the recording standby
mode.
5. Press again the RECORD button.
Overdubbing will start.
When recording starts, the REC indicator lights, and the
recording screen displays the elapsed recording time and
the remaining recording time.
When a file that can be playbacked is not selected, a pop-up
message of
No
PB
File
will appear.
6. To finish recording, press the /MENU/8 button.
Create cue marks during recording
In recording or recording standby mode, the DR-22WL can
create cue marks to a file to quickly locate the marked position
and start playback. (See “Moving to the cue mark position” on
page 24.)
You can either manually set the cue mark, or automatically set
the cue mark level or time to minimize the operation noise.
NOTE
The unit will not move to the cue mark position in recording
or recording standby mode.
Manual cue marking during recording
In recording or recording standby mode, press the F2
button
to create a cue mark.
A pull-up cue mark no. message will appear above the icon.
NOTE
• Up to 99 cue marks can be created and stored in each file.
• Cue marks that are created during the recording of WAV file
in BWF format by this unit are stored in the file. You can use
the cue marks in softwares compatible with BWF format.
Add cue marks automatically to recording
If you turn the AUTO MARK function ON, cue marks will be
added automatically.
8
Add cue marks automatically according to set levels
1. Press the /MENU/8 button to display the
REC
page in
menu screen.
2. Use the F2
and the F3
buttons to select (highlight)
the parameter of the
AUTO
FUNC
item and press the F4
button.
AUTO
FUNCTION
screen is displayed.
3. Use the F2
and F3
buttons to select (highlight) the
MODE
in the
AUTO
MARK
item, and press the F4
button.
4. Use the F2
and F3
buttons to set the automatic cue
mark mode to
LEVEL
.
Options:
OFF
(default value),
LEVEL
,
TIME
5. Press the F4
button to finalize the set mode.