Configuration guide – SoundTraxx SurroundTraxx User Manual
Page 50
SurroundTraxx User’s Guide
Configuration Guide Page 2:22
SurroundTraxx User’s Guide
Configuration Guide Page 2:23
and push the control knob to select. You should now see:
Confirm your selection by pressing the knob. The display will read "Save
OK!".
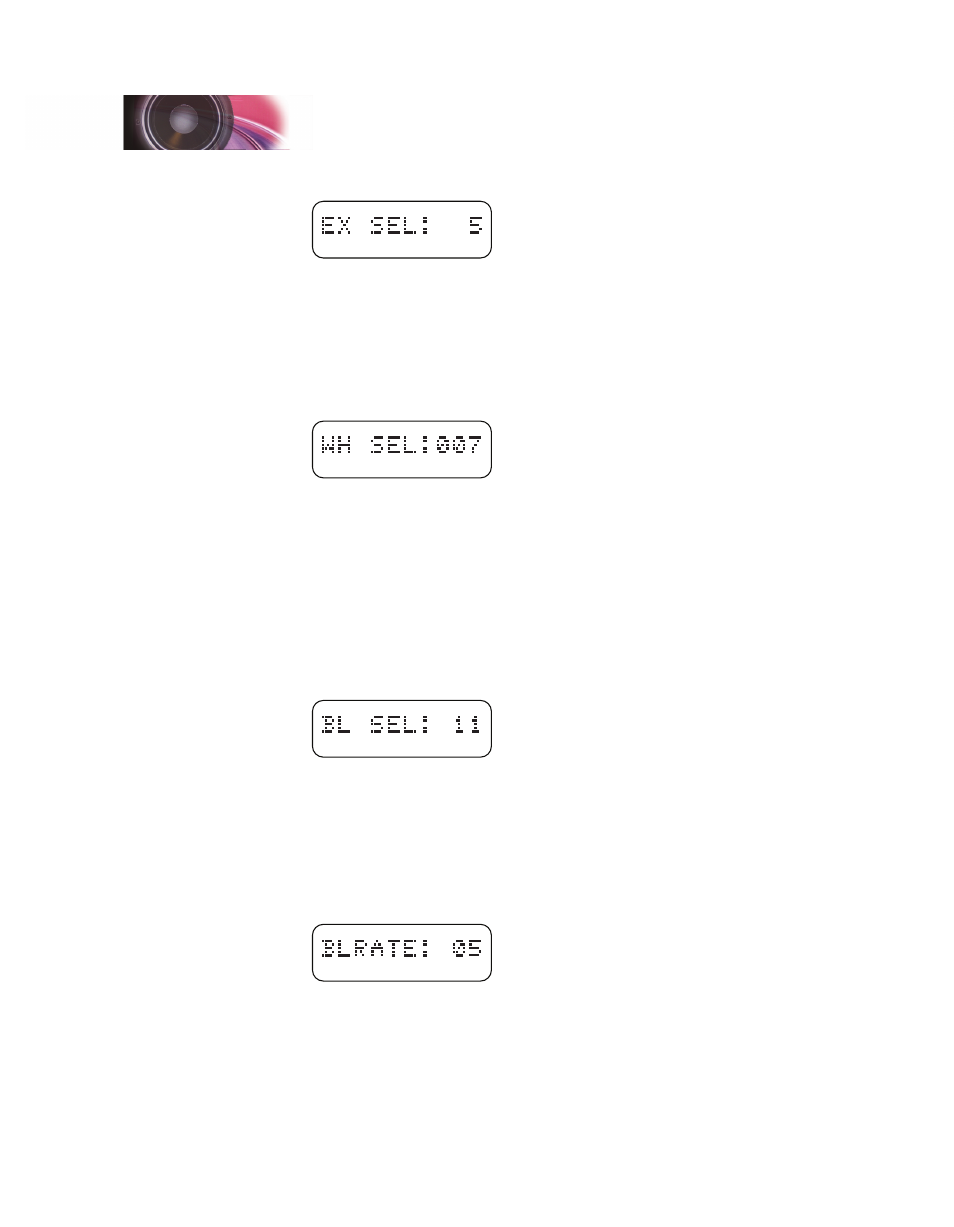
10. From here, to select our Nathan M3 airhorn, turn the knob one position
so that the display reads WH SEL: 000. Push the control knob to select
this. According to the table in the "Editing the Locomotive" section of
the Configuration Guide, choosing the Nathan M3 requires a value of
7. Bypass the first two zeros by pressing in the knob twice and turn the
knob until the last digit reads 7.
Confirm your selection by pressing the knob. The display will read "Save
OK!".
11. For the purposes of this example, let's select a different bell. From the
WH SEL: 007 display, turn the knob one position so that the display
reads BL SEL: 9 (Bell Select). Push the control knob to select this. For
this example, let's select the Electronic Modern Diesel Bell. If you follow
the table in the "Editing the Locomotive" section of the Configuration
Guide, we need to enter a value of 11. Turn the control knob until the
first digit is 1, and press the knob to enter this as the value for the first
position. Turn the knob to advance to the section digit, press the knob
and turn until the display reads BL SEL: 11.
Confirm your selection by pressing the knob. The display will read "Save
OK!".
12. The default bell ring rate is set to 7. This can be set from 0-15, with 0
being the fastest and 15 being the slowest. From the BL SEL: 11 display,
turn the control knob until the display reads BLRATE: 07. Push the knob
to select and push once again to move the second digit. Turn the knob
until the display reads BLRATE: 05, to speed up the ring rate a little.
Confirm your selection by pressing the knob. The display will read "Save
OK!".
13. Since you are configuring a modern General Electric prime mover, let's
change the default compressor to the Modern GE Compressor. From
the BLRATE: 05 display, turn the control knob until you see the display
read AP: 0. Following the table in the Configuration Guide section titled
Configuration Guide