Mua ii controller configuration, Mua ii confi guration screen index, Vav/cav/mua operator interface sd 42 – Orion System VAV II Controller v.1 User Manual
Page 42
Zone
Zone
MUA II CONTROLLER CONFIGURATION
VAV/CAV/MUA Operator Interface SD
42
MUA II Confi guration Screen Index
MUA II Confi guration Screen Index
The available Confi guration Screens for the MUA II Controller are
listed on the next few pages by sequential screen number. When the
Unit Controller is confi gured for the fi rst time, it is best to start with
screen #1 and proceed to each screen in numerical order until you have
viewed all available Confi guration Screens. This ensures that you have
seen all the available Controller confi guration possibilities and have the
opportunity to change or accept the defaults for each screen.
Once the unit is confi gured and you decide to change one of the screen
options, it is helpful to know what screen number contains the confi gu-
ration you wish to change. With this in mind, the following is a list of
all the MUA II Confi guration Screens in numerical order with a brief
listing of the confi guration feature available on each screen.
Screen #1
Proof of Flow Switch Installed
Screen #2
OA Humidity Sensor Installed
Screen #3
Heat in Dehumidify Installed
Screen #4
If External Heat, Output Range
Screen #5
Is External Heat Reverse Action
Screen
#6
Broadcast
Outside
Temperature
Screen #7
Broadcast Humidity Reading
Screens #8-27
Relay Confi guration Relays 2-21
Modular Service Tool Instructions
No matter what screen or menu you’re in, press
.
The Unit Selection Screen will appear, shown below, requesting that you
enter the unit ID number.
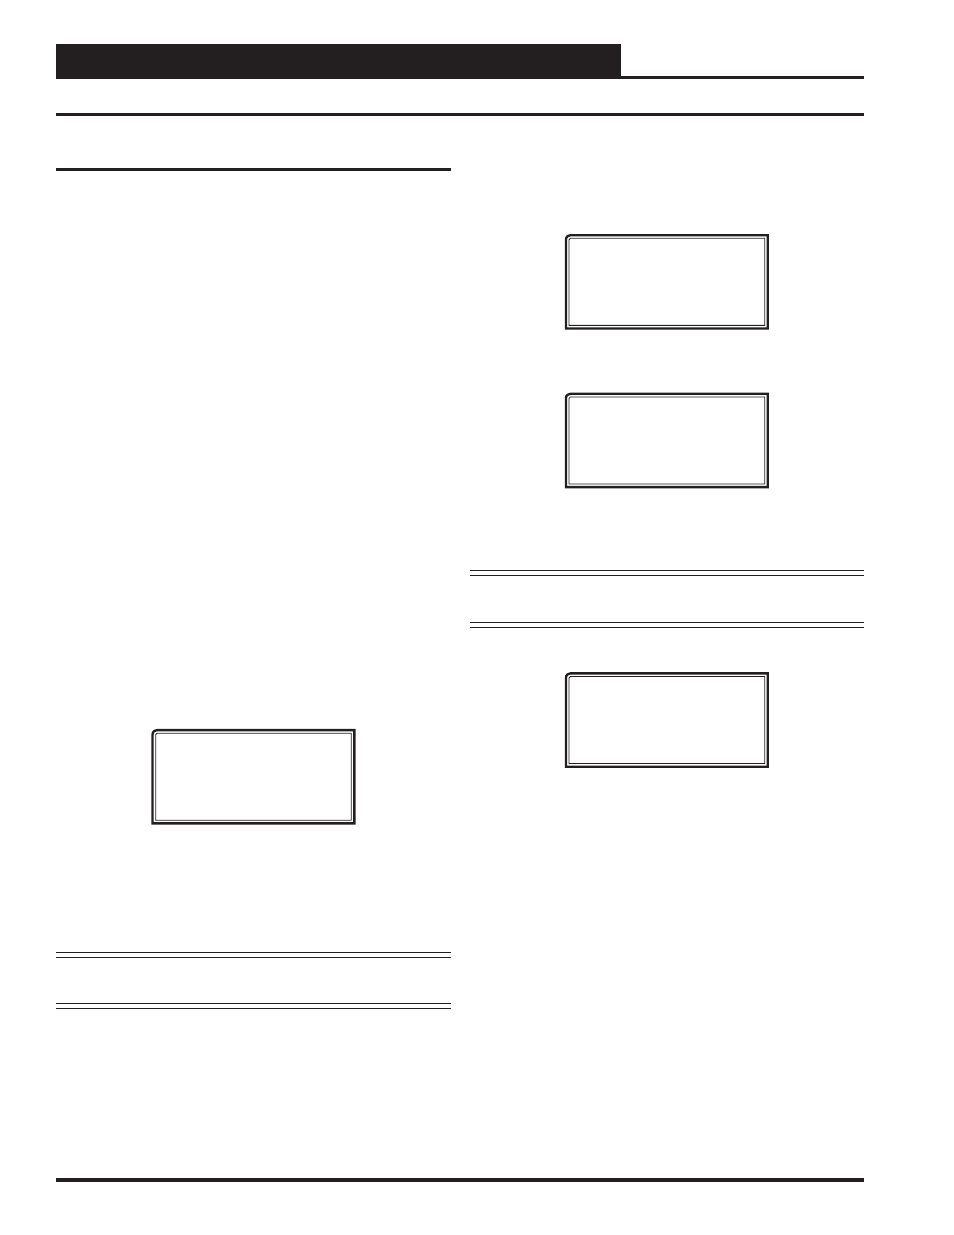
Unit Selection*00*
Enter Unit ID#
Selected ID#: XXXX
Enter the correct unit ID number of the Unit Controller you want to
confi gure and then press
. Once communication is established,
the *00* message will go away. Then
press
<
>
. You will then see
Unit Confi guration Screen #1. Press
to save entered data
and
press
<
>
to scroll through the screens.
NOTE:
If the *00* remains, it indicates a communication failure
to the controller.
System Manager SD Instructions
From any Main screen, press
. The screen below will
appear because this option requires passcode clearance. Only a Level 2
passcode can change setpoints.
THIS ACTION REQUIRES
PASSCODE CLEARANCE
Enter Passcode: XXXX
If the correct passcode was entered, the Unit Selection Screen will be
displayed.
Unit Selection*00*
Enter Unit ID#
Selected ID#: XXXX
Enter the Unit ID of the controller you wish to change schedules for and
press
. Once communication is established, the *00* message
will go away. Then
press
<
>
.
NOTE:
If the *00* remains, it indicates a communication
failure to the controller.
The following screen will be displayed:
Change Setpoints
Configure Unit
Save/Copy/Restore
Scroll down to the ‘Confi gure Unit’ option and press
. This
will take you to the fi rst Confi guration Screen shown below.
- CAV II Controller v.1 MUA II Controller v.1 VAV II Controller v.2 CAV II Controller v.2 MUA II Controller v.2 Modular System Manager SD VCB-X VCB-X Controller VCC-X Controller VCB-X Modular Service Tool VCM Controller Operator Interfaces SD VCM-X/RNE Controller VCC-X VCM-X/RNE Controller Operator Interface SD SA E-BUS Controller Modular System Manager SD Quick Start