1 temperature sensor overview, 2 mounting locations – Daktronics GPR-12EV-RGB User Manual
Page 69

Temperature Sensor Mounting For
GalaxyPro Revolution Displays
page 1 of 4
Reference Drawings:
Temp Sensor Cable Routing Schematic ............................................................. Drawing A-197884
Exploded Temp Housing Assembly .................................................................... Drawing A-198371
Figure 1: Temperature Sensor
1.1 Temperature Sensor Overview
The temperature sensor enclosure, shown in Figure 1, is
composed of eight plastic disks, a metal mounting bracket,
and a 25-foot weather-resistant cable.
In most cases, the enclosure is mounted using two screws. The
cable is plugged into the back of the display.
It may be necessary to disassemble the enclosure or rewire the
temperature sensor board. Instructions are provided for those
situations.
Refer to the following chart for part numbers if replacement
or additional parts are needed.
Parts List
Part Description
Daktronics Part Number
Temperature Sensor Housing Assembly
0A-1151-0005
4-pin Male Cable, 25 feet
W-1819
22 AWG 2-pair Shielded Cable
W-1234
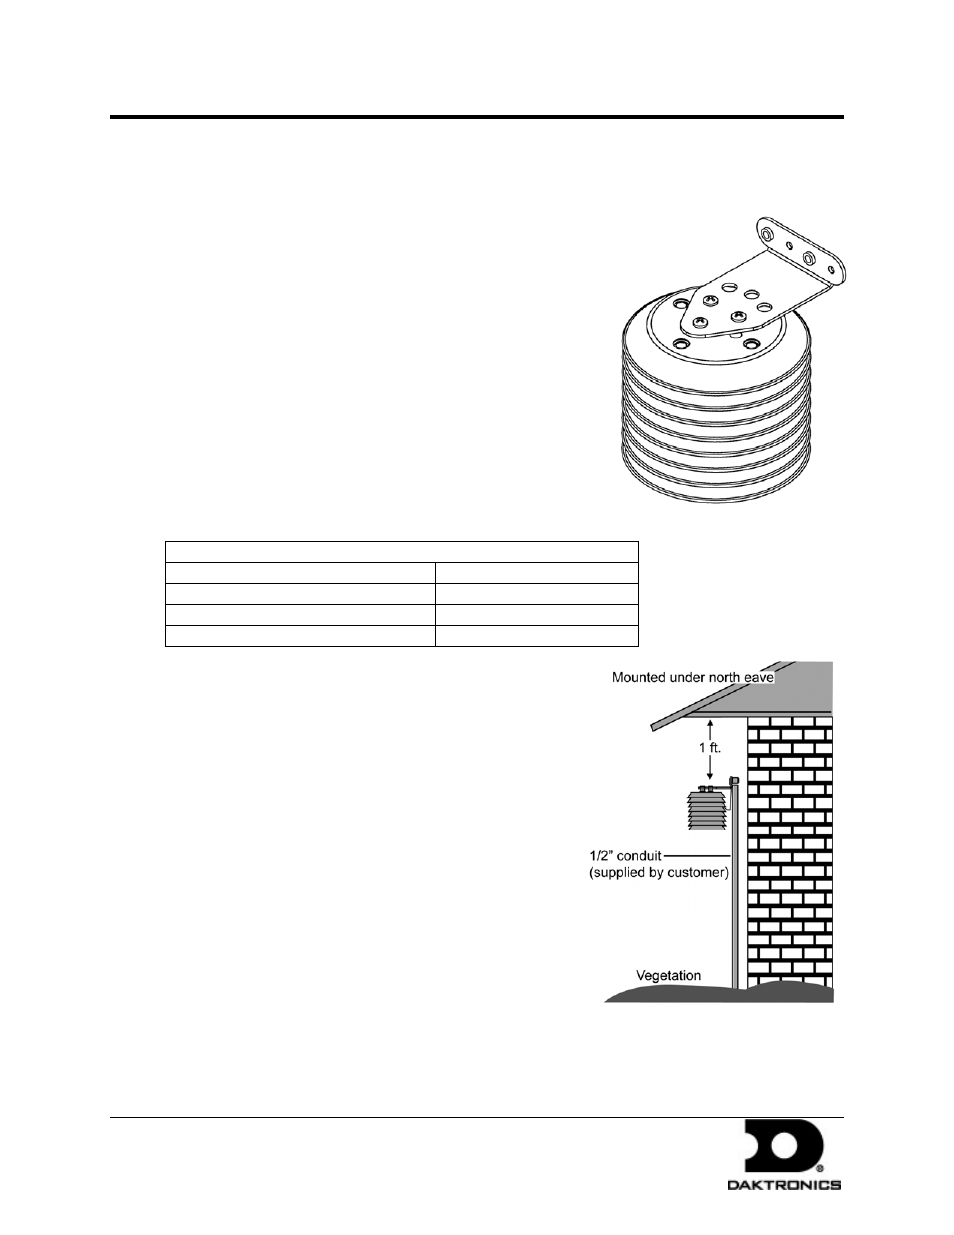
Figure 2: Located on the North Eave
1.2 Mounting Locations
For greater temperature accuracy, follow these
mounting recommendations:
• Mount sensor vertically.
• An ideal location is under a north eave or on a
northern exposure away from direct sunlight, as
shown in Figure 2. In these cases, the quick-
connect cable is not used. Four-conductor, 22-
AWG, shielded cable must be pulled from the
display to the temperature sensor location.
Route the cable through conduit when exposed
to outdoor conditions. The maximum length of
the cable should be no more than 500 feet.
• Mount the sensor above grass or vegetation
rather than concrete or other pavement.
• Mount at least 20 feet away from chimneys,
vents, air conditioners, or other items that
would influence correct temperature readings.
• Do not mount the sensor between displays or locations that restricts air movement.
• Mount the sensor so the cable is protected from weather and vandalism.
DD1514799 Rev 0
29 January 2009
201 Daktronics Drive PO Box 5128, Brookings, SD 57006-5128
tel: 866-343-3122 fax: 605-697-4700
www.daktronics.com
