Dell Emphasis Lighting Control System User Manual
Page 65
3
Quick Start
61
f.
Play back your cues to verify they look all right.
g. In the File menu, click Save Show.
Step 31:
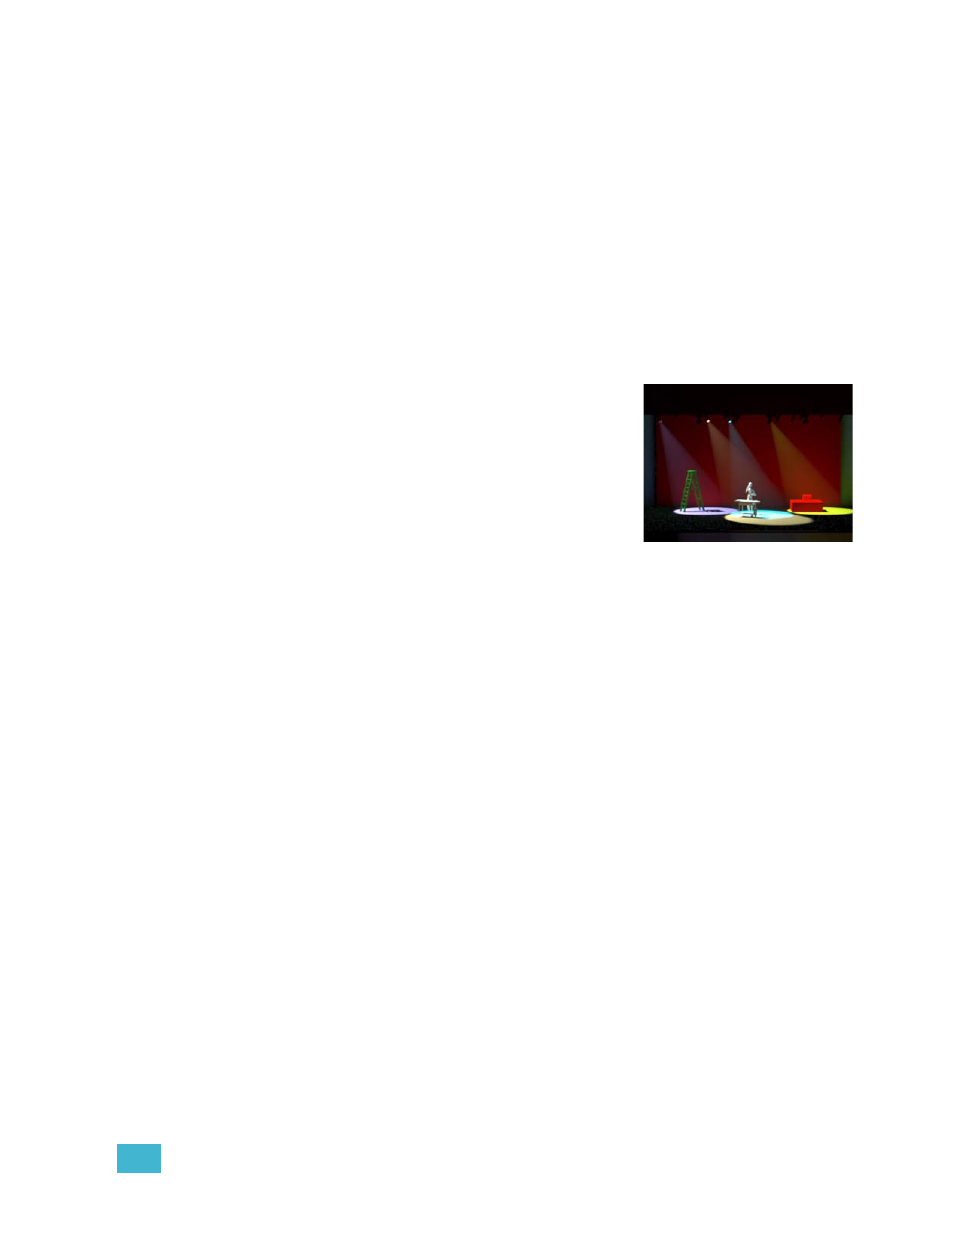
Emphasis 3D: Create a Rendering.
In Emphasis 3D, you can create photo-realistic renderings of your lighting cues.
There are many different settings you can play with to find the best look for your
own renderings. Be aware that the size of your rendering, and the more realistic
you want it to look, will affect the amount of time it takes to generate the image.
Some renderings can take more than a day to complete. You can continue
working while your rendering is “cooking”, but you may experience some
performance slow-down. It is not recommended to process a rendering during
show playback.
a. Press [Cue] [1] [AB Go]. This plays cue #1 on the AB fader pair. If you
have a cue active in the CD fader pair, press [Clear] above those faders.
b. In the EMPHASIS mode Design menu,
click Render. The Render Wizard will
open.
c. Click Next until you reach Step 5 -
Radiosity Options. Click to enable medium
radiosity.
d. Click Next until you reach Step 8 -
Antialiasing Options. Click to enable Best
Antialiasing.
e. Click Finish. Emphasis will begin to create the rendering.
f.
Make more renderings of the same look. Play with different settings to see
how they affect the image quality of your rendering. By default, renderings
are stored in PRES mode, in the Images layout tab.
g. In the File menu, click Save Show.