CRU RTX Secure 610-IR User Manual
Page 13
RTX220 QR - Manual
Page 13
System Name
The default system name is “RTX-IR” . To change the system name,
simply click in the box displaying the system name and highlight or
delete the part of the name you wish to change, then type the new
name and click the “Confirm” button at the bottom of the page.
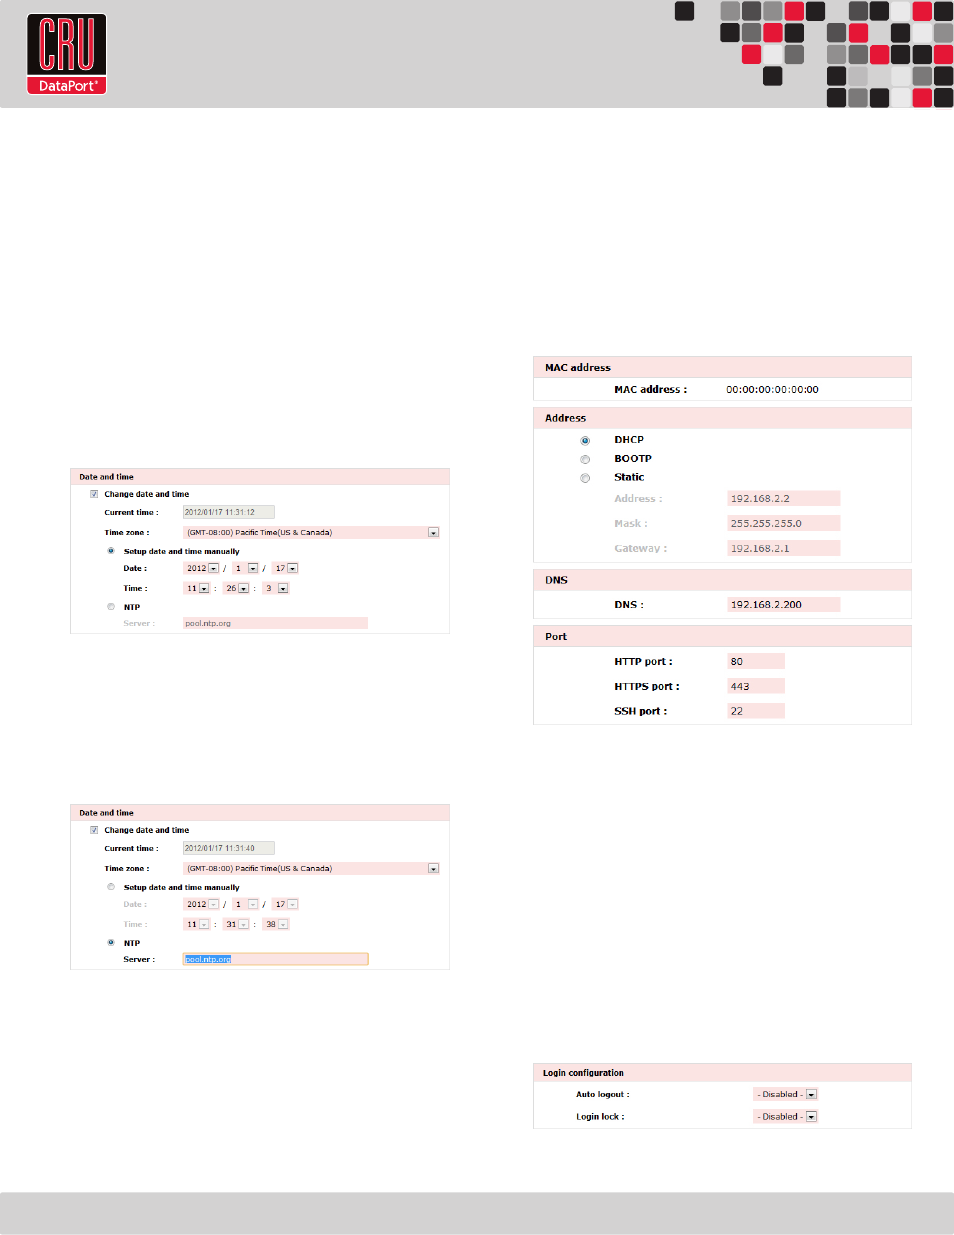
Date and Time
The Date and Time option allows you to change the date and time
settings of the RTX Secure. To change the date or time, check
the “Change date and time” check box and then click in the field
that you wish to change. Highlight or delete the information, then
type in the new information and click the “Confirm” button at the
bottom of the page.
To change the time zone, click the drop down box and then scroll
up or down until you reach the correct time zone. Then choose that
time zone and click the “Confirm” button at the bottom of the page.
After confirming, a dialog box will appear verifying that changes
have been made.
Alternatively, an NTP (Network Time Provider) can be used to sync
the RTX Secure’s time information with that of a standardized
server. To use an NTP, click the NTP check box, then input the
server information in the server field.
Click the “Confirm” button at the bottom of the page to update
the time settings. A dialog box will appear to inform you that the
changes have been made. The updated settings will reflect the
time settings of the NTP.
System Indication
To turn the System Indication LED on or off, select the “Confirm”
button in the System Indication box. After confirming, a dialog box
will appear verifying that changes have been made. To reverse this
action, press the “Confirm” button again.
8.5.2 IP Address
The IP Address option lists the RTX Secure’s MAC address and
allows you to view and modify the IP information of the Config
GUI port on the RTX Secure. This option does not allow the
administrator to configure the IP address of the individual data
ports. This must be done using the LCD interface on the front of
the RTX Secure (see Section 7.2).
An RTX Secure configured for DHCP.
8.5.3 Login Settings
The Login Settings page allows you to configure the Auto Logout
and Login Lock features, as well as change the administrator
account and user passwords.
Login Configuration
• Auto Logout will automatically log the user out of the system
after a set period of 5 minutes, 30 minutes, or 1 hour of
inactivity.
• Login Lock prevents multiple users from using the GUI
simultaneously. Both features are disabled by default. To
enable a feature, click on the dropdown menu associated,
select the new option, and click the “Confirm” button.