Installing the usb-blaster driver, Installing the usb-blaster driver –3 – Altera Arria II GX FPGA User Manual
Page 13
Chapter 3: Software Installation
3–3
Installing the USB-Blaster Driver
February 2011
Altera Corporation
Arria II GX FPGA Development Kit User Guide
2. Follow the on-screen instructions to complete the installation process. Be sure that
the installation directory you choose is in the same relative location to the
Quartus II software installation.
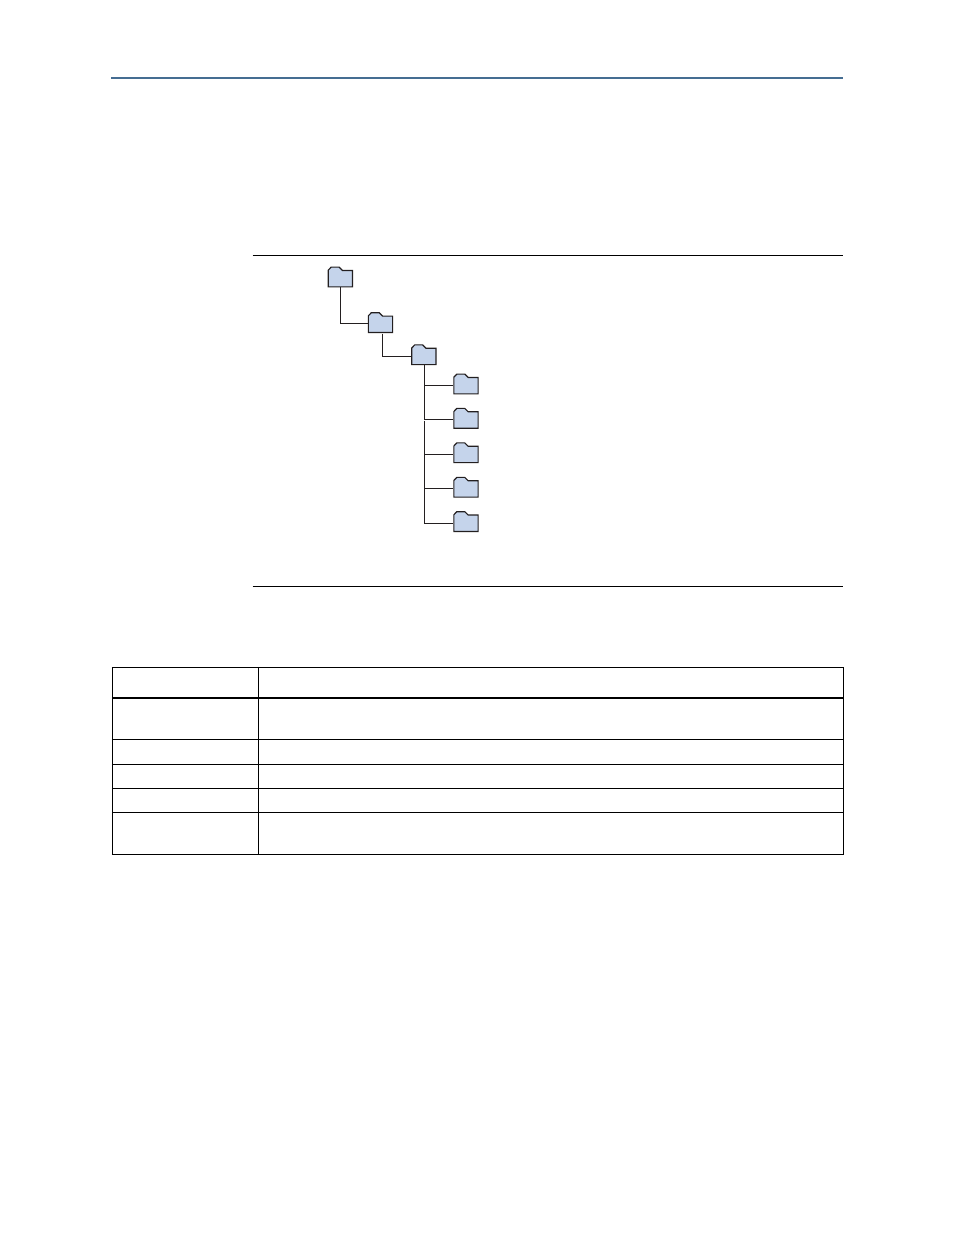
The installation program creates the Arria II GX FPGA Development Kit directory
structure shown in
.
lists the file directory names and a description of their contents.
Installing the USB-Blaster Driver
The Arria II GX FPGA development board includes integrated USB-Blaster circuitry
for FPGA programming. However, for the host computer and board to communicate,
you must install the USB-Blaster driver on the host computer.
f
Installation instructions for the USB-Blaster driver for your operating system are
available on the Altera website. On the
page of
the Altera website, locate the table entry for your configuration and click the link to
access the instructions.
Figure 3–2. Arria II GX FPGA Development Kit Installed Directory Structure
Note to
:
(1) Early-release versions might have slightly different directory names.
documents
board_design_files
The default Windows installation directory is C:\altera\
examples
factory_recovery
demos
kits
arriaIIGX_2agx125_fpga
Table 3–1. Installed Directory Contents
Directory Name
Description of Contents
board_design_files
Contains schematic, layout, assembly, and bill of material board design files. Use these files as a
starting point for a new prototype board design.
demos
Contains demonstration applications.
documents
Contains the kit documentation.
examples
Contains the sample design files for the Arria II GX FPGA Development Kit.
factory_recovery
Contains the original data programmed onto the board before shipment. Use this data to restore
the board with its original factory contents.