Auto image function (computer mode) – Ask Proxima Ultralight LS1 User Manual
Page 42
Attention! The text in this document has been recognized automatically. To view the original document, you can use the "Original mode".
The Auto image function is provided to automatically adjust Fine sync.. Total dots and Screen position to
computers.
1. Press MENU button and MAIN MENU DISPLAY dialoo box will apoear.
'¿.
Press POINT LEFT/RIGHT button(s) to select AUTO IMAGE and press SELECT button. Another dialc
AUTO IMAGE SETTING DISPLAY wil appear.
3. Press POINT DOWN button and a red arrow will appear.
4. Move the arrow to an item($) you want to adjust by pressing POINT UP/OOWN button(s).
5. Change the setting *On*. press SELECT button.
6. Move the arrow by pressing POINT UP/DOWN button(s) to select *Gor and then press SELECT buttor
auto image function is started now. It wil take at 10 • 60 seconds.
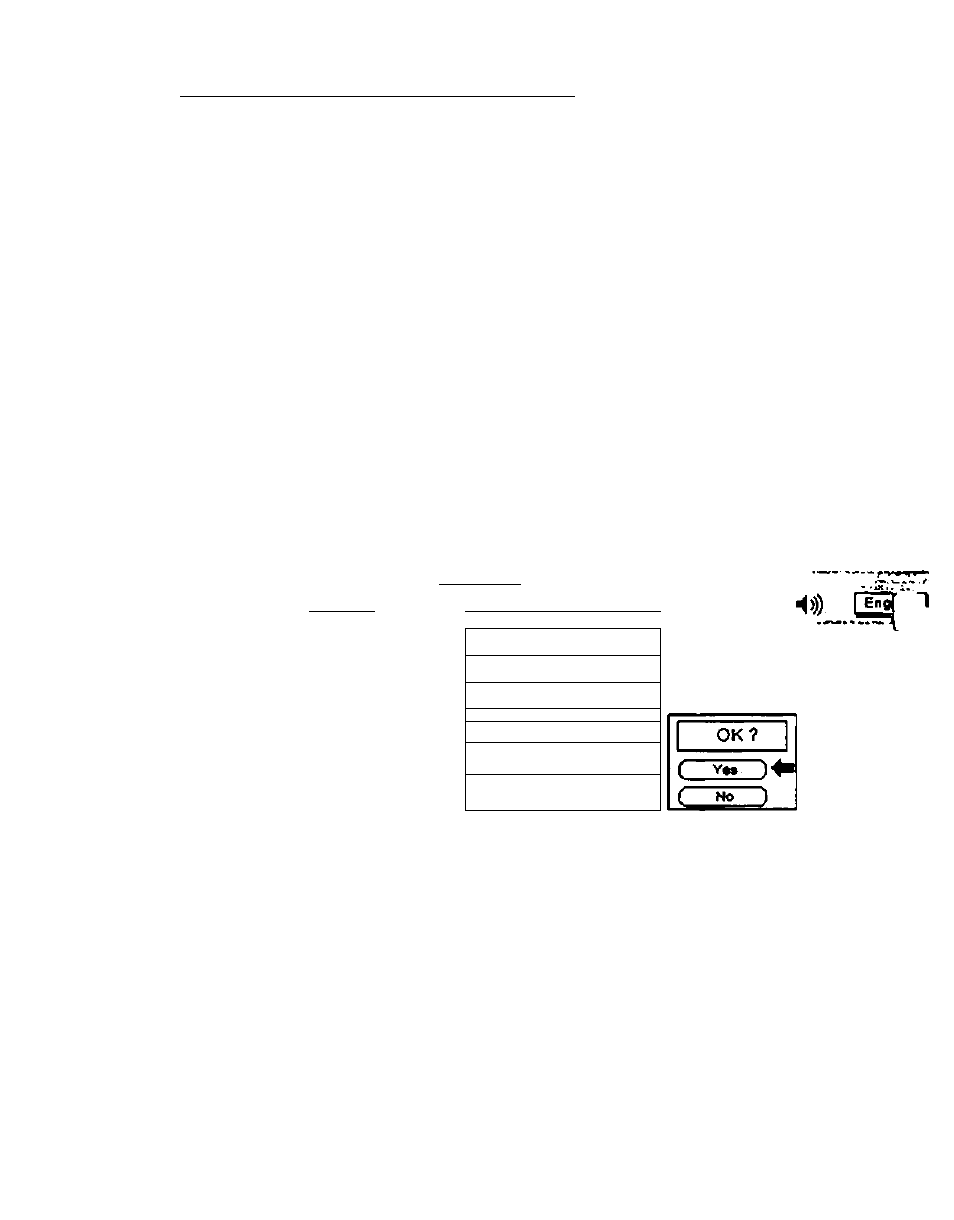
7. To store the settings, move the arrow to Stored and then press SELECT button. When you have store
settings. *OK?* is displayed for confirmaton.
8. Move the arrow to 'Yes' and then press SELECT button. The stored settings are permanentty held e-
POWER ON/OFF is switched off.
9. To quit Auto Image Menu, point to Quit and then press SELECT button.
10. This setting is temporarily effective until you turn off the projector or change the input signal.
NOTE: The fir>e sync., total dots and screen position of same computers may not be fully adjusted with the'
Image Fufwbon.’ In that case, use the *Picture Image' and/or *Picture Position* adiu$trr>ents (see p
34-35) to make fine-adjust them after the 'Auto Image function* is executed.
AUTO IMAGE FUNCTION (COMPUTER MODE)
Videe
CaTOMr
MAIN MENU DISPLAY
•
autoimaqc
■F.e-------- •"
g ¡1 VGA 1 I t a l i a :
AUTO
IMAGE
SETTING
DISPLAY
FKèsync.
tXSlatdots
1 On
Position
1
on~
c
Stored
D
c
Got
D
Out
d
:
■
— 40 —