Setting the ip address – Xerox 423 User Manual
Page 16
Attention! The text in this document has been recognized automatically. To view the original document, you can use the "Original mode".
Setting the IP Address
This section explains the procedure for setting up the IP address
manually by using the printer control panel. Depending on the network
environment you are using, you may need to set up the subnet mask
and gateway address. Set the necessary items after checking with the
network administrator.
NOTE: You do not need to define the IP address if it already exists.
(The screen to define the IP address will not be displayed in the
following case.)
1. With “Ready to print or fax” displayed, press the Menu button.
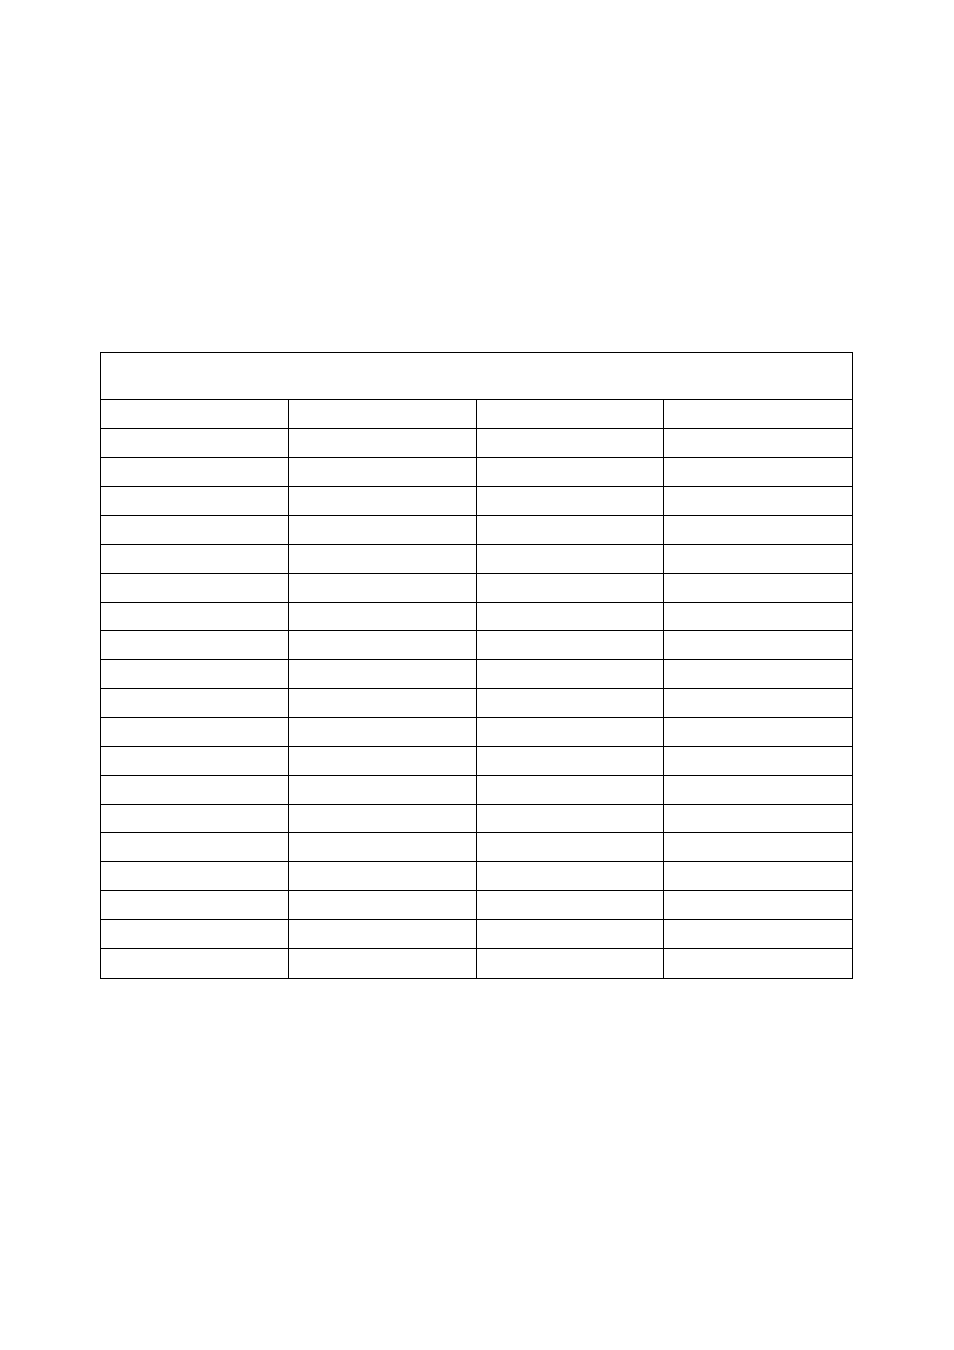
I ▼ I II ► I |EJed/Sel||
to move down a column. to move between columns. to select an Item (* shows beside item).
Quick Setup
Report List
System Setting
Network/Port
Parallel
LPD
Netware
SMB
IPP
USB
Port 9100
EtherTalk
Salutation
FTP Client
SNMP
Internet Service
TCP/IP Settings
Get IP Address
DHCP
BOOTP
RARP
Manually
IP Address
000.000.000.000
2. Set “Get IP Address” to Manually.
3. Enter the IP Address.
Use the left an right arrows to move between the numbers.
Use up and down arrows to increment or decrement the value. If
you keep your finger on a button, the number will change
automatically.
4. Press the Menu button to accept the changes and re-initialize the
printer.
Page 2-6
XEROX WorkCentre Pro 423/428 Scanner User Guide