Adjusting stitch length, Setting the dial, Reverse stitching – SINGER 9614 User Manual
Page 31: Adjusting stitch length reverse stitching
Attention! The text in this document has been recognized automatically. To view the original document, you can use the "Original mode".
3
ADJUSTING STITCH LENGTH
The stitch length dial controls the length of
stitches. The numbers around the edge of th^
dial express stitch length in mm; the lower the
number, the shorter the stitch. Generally, short
er stitches are best for lightweight fabric;
longer stitches for heavy fabric.
The area between 0 and 1 on the dial is used
for the adjustment of zig-zag satin stitching, a
series of closely spaced plain zig-zag stitches
that form a smooth, satin-like surface.
0-1 1
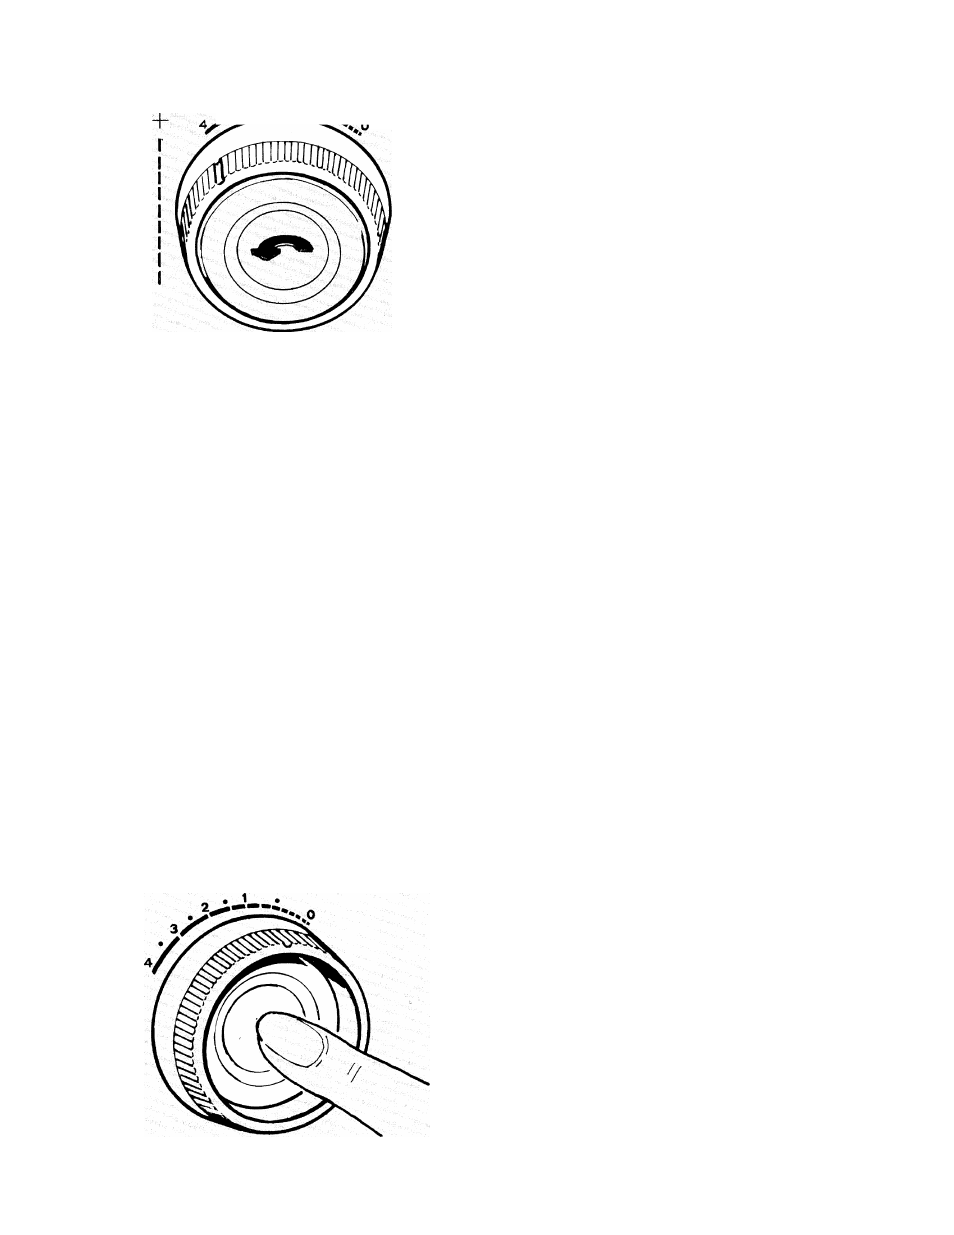
Setting the Dial
• Turn dial so that stitch length desired is
positioned under symbol [] .
• To shorten stitch length, turn dial toward
right to a lower number.
• To lengthen stitch length, turn dial toward
left to a higher number.
REVERSE STITCHING
For reverse stitching, depress push button
located in centre of dial, hold in until reverse
stitching is completed, then release push
button. Push button can be depressed while
machine is sewing.
NOTE: Reverse stitching cannot be done when
using a stretch stitch pattern.
29