Top Flite TOPA0215 User Manual
Page 17
- 17 -
❏
❏
11. Glue one of the 48-3/4" [1239mm] basswood
longerons to the top of the right fuse side as shown
on the plan. Glue the end of the stick where you
made the splice to the fuse side. Do not have the
splice at the rear of the fuselage. The 48-3/4"
[1239mm] longeron is longer than shown on the plan.
Place the longeron on the plan at the back of the
fuselage and allow the excess longeron length to
extend beyond the front of the fuselage. Set the
remaining 48-3/4" [1239mm] basswood longeron
aside until you do the left side of the fuselage.
❏
❏
12. Glue a 36" [914mm] basswood longeron in
place on the bottom of the fuse side. After the glue
has cured, cut the longeron to length as shown on
the plan.
❏
❏
13. From the remaining basswood stick, cut the
longeron braces to fit in the locations shown on the
plan. Glue them in place once you are satisfied with
the fit. For maximum strength we recommend that
they be glued in place with 6-minute epoxy because
CA does not bond as well to basswood. You can use
CA if you prefer, just be careful in handling the
fuselage until you glue the gussets in place later in
the building process.
❏
14. This completes the right side of the fuselage.
Now is a good time to sand the side of the fuselage
while you can lay it flat on the bench. Repeat steps
2-13 for the left side of the fuselage. It is very
important that you make a left and right side
fuselage! This is easily done if you build the left side
of the fuselage on top of the right side you have
already made. On the right fuselage side, insert
some 1/8” balsa under the longerons to keep them
straight. Place Plan Protector or a sheet of wax
paper on top of the completed right side and proceed
building the left side on top of it.
❏
15. Locate the right fuselage side. On the front of
the fuselage you will see an embossed line that is
approximately 1/8" [3mm] inside the edge of the front
of the fuselage. Cut the fuselage on the embossed
line. This will provide you with the proper amount of
right thrust when you assemble the fuse. Do this on
the right fuselage side only and be sure you only cut
the sheeting. Do not cut the longerons!
❏
16. Pin the right fuselage over the plan. Glue die-
cut 1/8" [3mm] plywood formers F2 through F7 in
place in the notches on the right fuselage side. Be
sure to glue them perpendicular to the fuselage.
❏
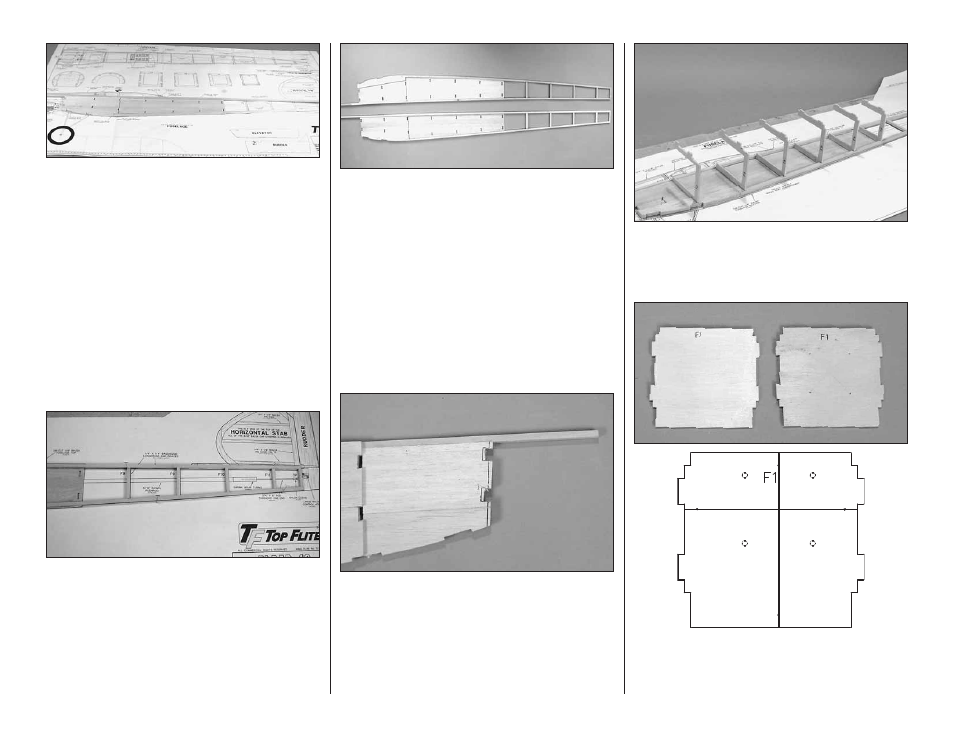
17. Locate two die-cut 1/8" [3mm] plywood F1
formers. Glue these together to form the 1/4" [6mm]
firewall. Make sure the punch marks are visible on
one side.