Installing the wip310, Manually configuring your wireless connection – Cisco WIP310 User Manual
Page 15
Chapter 2
Installing the WIP310
11
Wireless-G IP Phone
View the Wireless tab or screen Locate the Wireless
8
Protected Setup configuration menu
Enter the PIN into the field that allows you to setup
9
wireless devices using a PIN
A message appears if the connection is successful
NOTE:
If the connection is successful, the phone
creates a Wi-Fi Profile automatically To view,
edit, or manage your Wi-Fi Profiles, see Manually
Configuring Your Wireless Connection
Manually Configuring Your Wireless Connection
Use this method to connect to your network if your router
does not support the Wi-Fi Protected Setup feature
If you are manually configuring your WIP310 wireless
connection, you need to know the wireless security type
for your router The WIP310 works with the following
security types:
WEP
•
—Wired Equivalent Privacy With this type of
security, you need to enter a 64 or 128-bit key on the
phone (or a more easily remembered passphrase to
generate the key) The phone then authenticates with
your router to provide a secure connection
WPA
•
—Wi-Fi Protected Access With this type of
security, you need to enter a password on the phone
The phone then authenticates with your router to
provide a secure connection
Determining Your Wireless Router Security Type
If you do not know your wireless router security type,
you need to log in to the router interface to get this
information The steps below are written for a Linksys
router, but procedures for other routers should be similar
Log in to your wireless router’s web interface using
1
a web browser Your computer must be connected
to your wireless network Enter the IP address of the
wireless router in the browser toolbar
If required, enter the user name and password (By
2
default, Linksys routers typically use “admin” for the
user name and “admin” for the password )
View the Wireless tab or screen Note the network name
3
(SSID) and the type of security (WEP, WPA Personal, or
WPA2 Personal)
If your router is using WEP, note the following:
4
WEP encryption: 64 bit or 128 bit You need to choose
•
this later
Default transmit key, or TX key: The default key (of the
•
4) that the router transmits to authenticate This value
will be 1, 2, 3, or 4
Passphrase and keys: You choose one of two methods
•
to enter the WEP key You either directly enter the WEP
key, or enter a more simple passphrase to generate the
WEP key
If your router is using WPA, note the WPA shared key, or
passphrase that you need to enter later
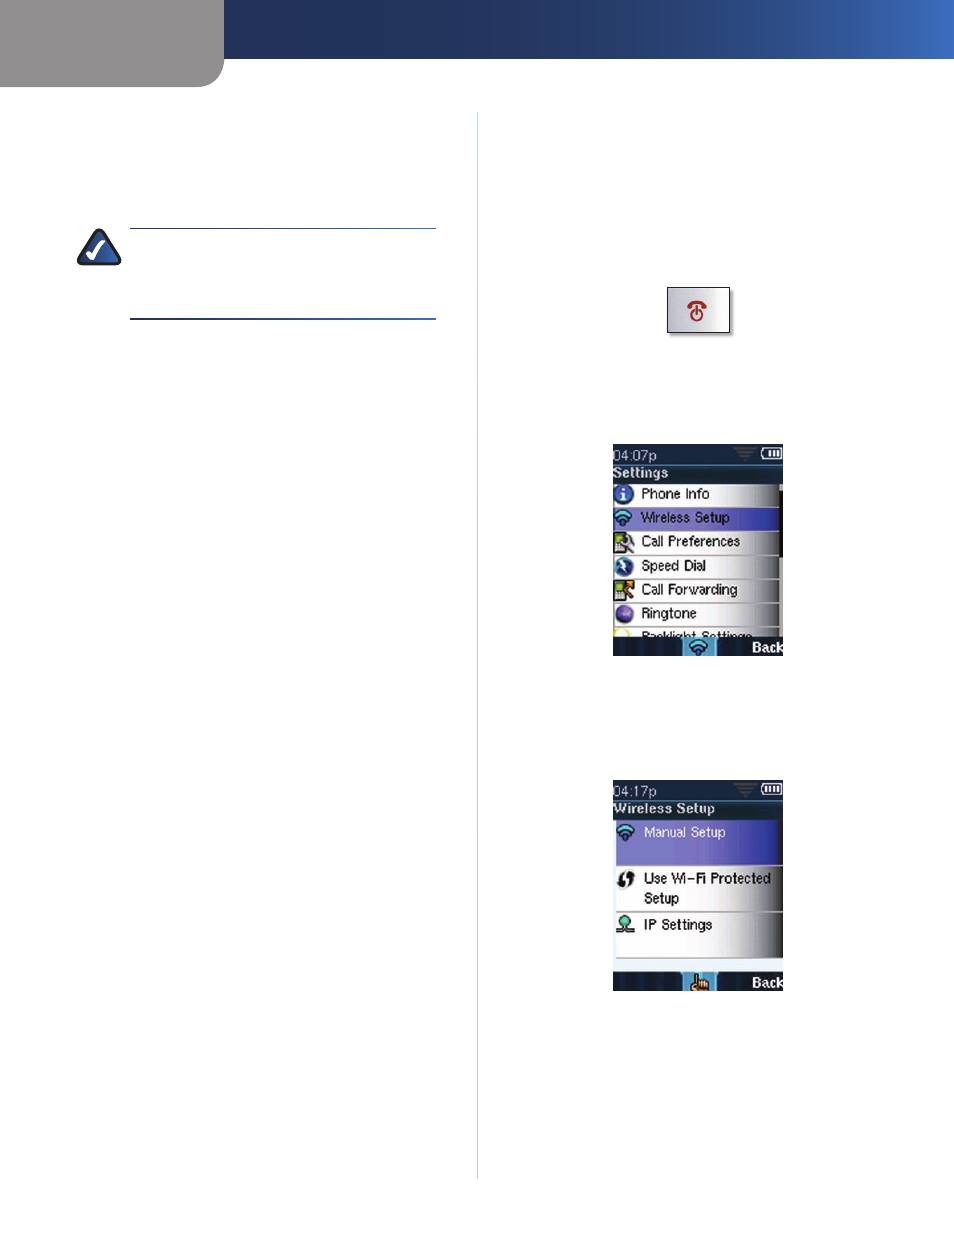
Adding a Wireless Profile
Press the
1
Power/End Call button to power on the
phone
Power/End Call button
When the Home screen appears, press the
2
Select
button to display the Settings menu Press the Select
Button again and navigate to the Wireless Setup
menu
Settings Menu
Press the
3
Select button to view your options
Select
4
Manual Setup to manually configure a Wi-Fi
Profile
Manual Wireless Setup
The Wi-Fi Profiles screen list appears The list is empty
5
when configuring your phone for the first time