Install the cowl – Great Planes Edge 540 1.60-43cc Performance Series ARF - GPMA1414 User Manual
Page 39
39
o
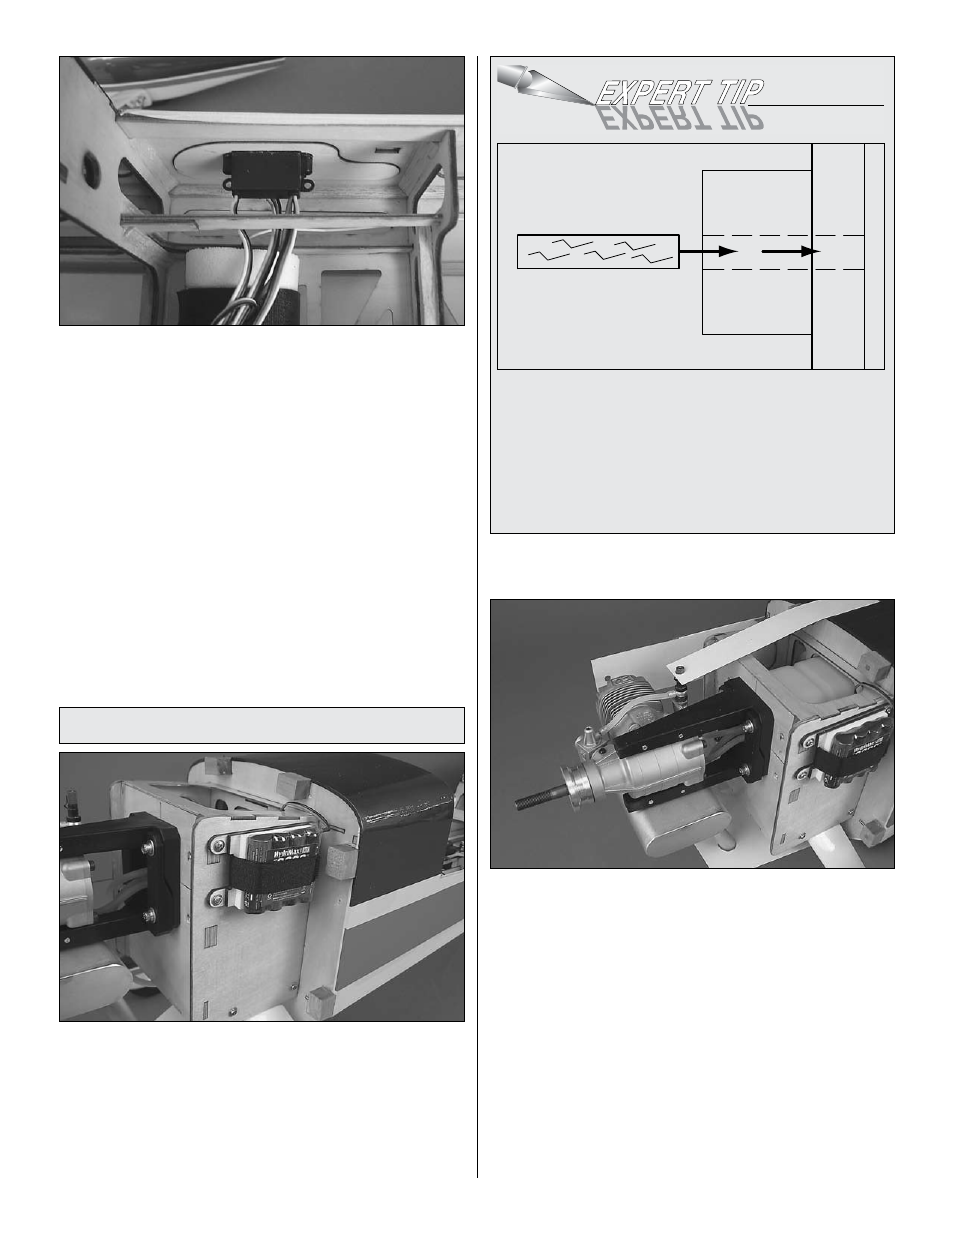
9. Pre-cut switch mount plates are included to fit a Hobbico
brand heavy-duty switch harness, Futaba brand heavy-
duty switch harness, Ernst charge jack receptacles, and a
blank plate to fit any other type of switch. Glue the plate that
matches your hardware in the location shown. The plate can
be installed on either side of the fuse. A larger plate is also
included that fits further aft on the side of the fuselage for
a gas engine installation. Use a covering iron to bond the
covering to the plate. Install your receiver switch and charge
jack onto the plate.
Install the Cowl
o
1. Position the six
cowl mounting blocks onto the firewall
in the positions shown and trace around them onto the firewall.
The outside of the blocks should be flush with the fuselage
sides. Remove the epoxy from the areas on the firewall beneath
the cowl mounting block locations with 220 grit sandpaper.
When satisfied, use 30-minute epoxy to glue the cowl blocks
in position. A small dot of medium or thick CA glue will hold the
blocks in place while the epoxy cures.
WOOD
DOWEL
COWL
BLOCK
FIREW
ALL
For added strength, after the cowl mounting blocks have
been securely epoxied in place, drill 1/8" [3.2mm] holes
through the center of each block and through the firewall.
Insert an appropriate length of 1/8" [3.2mm] dowel (not
included) into the holes and into the firewall. Glue the
dowels in place with epoxy and sand the dowels flush
with the face of the blocks. This modification is especially
important when using a high vibration engine.
o
2. Fuel-proof the cowl mounting blocks with epoxy.
o
3. In order to fit the
cowl in place, the muffler will need
to be removed from the engine. Before you unbolt it, make
a paper template for the location of the exhaust outlets and
tape it to the underside of the fuselage. Also make templates
for access to the glow plug, needle valve, etc.